The Ultimate Homemade Apple Crisp: A Comfort Food Masterpiece
Ever wondered what makes a dessert truly special, evoking memories of warmth and home with every bite? It’s often the simplest of pleasures, expertly crafted. Today, we’re diving into the delightful world of homemade Apple Crisp, a quintessential comfort food that’s surprisingly easy to master. While many cherish a perfectly baked Apple pie, there’s an undeniable charm and rustic elegance to an apple crisp that sets it apart. Preparing this classic at home allows you to control the quality of ingredients, customize the sweetness, and fill your kitchen with an aroma that store-bought versions simply can’t replicate. Join us as we unlock the secrets to a truly unforgettable dessert.
Ingredients & Kitchen Tools
To embark on your Apple Crisp journey, you’ll need a selection of fresh produce and pantry staples, along with a few essential kitchen tools.
Ingredients:
- For the Filling:
* 6-8 medium apples (about 3 lbs) – Granny Smith, Honeycrisp, or Fuji work best for a balance of tartness and sweetness. Peel, core, and slice them about ¼-inch thick.
* ¼ cup granulated sugar – Adjust based on apple sweetness.
* ¼ cup packed light brown sugar – Adds depth and a caramel note.
* 2 tablespoons all-purpose flour (or cornstarch for gluten-free) – Thickens the apple juices.
* 1 teaspoon ground cinnamon – Classic apple pairing.
* ¼ teaspoon ground nutmeg – Enhances the spice profile.
* 1 tablespoon lemon juice – Prevents browning and brightens flavors.
- For the Topping:
* 1 cup all-purpose flour – Creates the crispy texture.
* ½ cup packed light brown sugar – For sweetness and a chewy topping.
* ½ cup rolled oats (not instant) – Adds texture and a nutty flavor.
* ½ teaspoon ground cinnamon – Unifies the dessert’s spice.
* ½ cup (1 stick) cold unsalted butter – Cut into small cubes, essential for a crumbly topping.
Kitchen Tools:
- 9×13 inch baking dish (or similar size) – Ideal for even baking.
- Large mixing bowls (2) – For preparing the filling and topping separately.
- Vegetable peeler – For effortless apple peeling.
- Cutting board and sharp knife – For slicing apples.
- Pastry blender or your fingers – For cutting butter into dry ingredients.
- Measuring cups and spoons – For accurate ingredient proportions.
Prep Time & Cooking Schedule
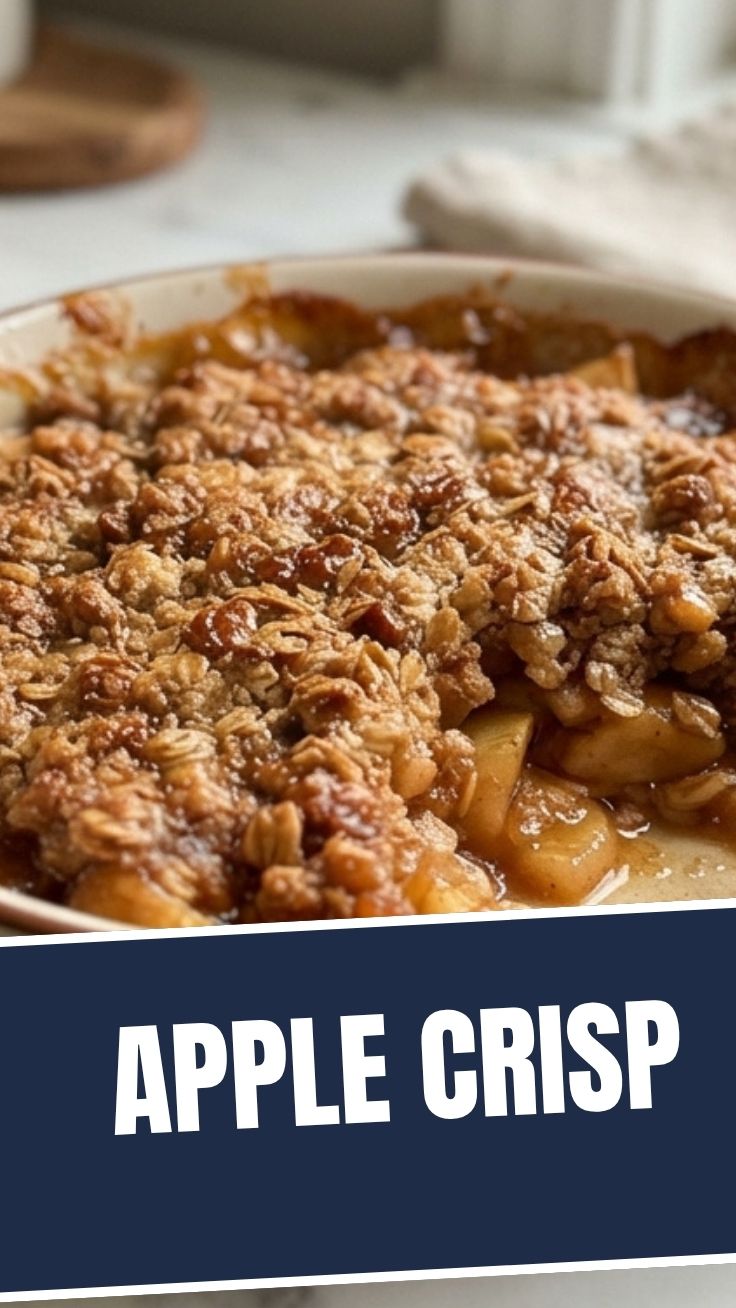
This recipe is designed for a delightful weekend bake or a comforting weeknight treat without too much fuss.
- Prep Time: 25-30 minutes (primarily for peeling and slicing apples).
- Cook Time: 45-55 minutes, until the apples are tender and the topping is golden brown and bubbly.
- Resting Time: 15-20 minutes after baking, allowing the filling to set and preventing burns. Planning for this allows the flavors to meld and the crisp to achieve its perfect consistency.
Step-by-Step Instructions
1. Preheat Oven & Prepare Dish: Preheat your oven to 375°F (190°C). Lightly grease your 9×13 inch baking dish.
2. Prepare Apple Filling: In a large mixing bowl, combine the sliced apples, granulated sugar, brown sugar, flour (or cornstarch), cinnamon, nutmeg, and lemon juice. Toss gently until the apples are evenly coated. Pour the apple mixture into the prepared baking dish. This vibrant filling is the heart of your Apple Crisp, setting the stage for a truly comforting dessert.
3. Make the Crispy Topping: In another large bowl, whisk together the flour, brown sugar, rolled oats, and cinnamon for the topping. Add the cold, cubed butter. Using a pastry blender, a fork, or your fingertips, cut the butter into the dry ingredients until the mixture resembles coarse crumbs with some pea-sized pieces remaining. This crumbly topping is what really differentiates it from a traditional Apple pie crust.
4. Assemble and Bake: Evenly sprinkle the crumb topping over the apple filling in the baking dish. Bake for 45-55 minutes, or until the topping is golden brown and the apple filling is bubbling around the edges. If the topping browns too quickly, loosely tent with foil.
5. Cool and Serve: Remove from the oven and let cool for at least 15-20 minutes before serving. This allows the fruit filling to set and prevents it from being too runny.
Nutritional Benefits & Advantages
Apples, the star of this dessert, are rich in dietary fiber, particularly pectin, which aids digestion and promotes gut health. They also provide vitamin C, an important antioxidant, and various polyphenols that contribute to anti-inflammatory effects. When prepared at home, you can control the sugar content, opting for less refined sugars or reducing the overall amount, making it a more wholesome treat compared to many processed desserts. The oats in the topping add another layer of fiber and some essential minerals.
Tips, Variations & Cooking Advice
- Flavor Boost: Add a pinch of ground ginger or cardamom to the apple filling for an extra layer of warmth. A splash of bourbon or rum can also elevate the flavor profile.
- Gluten-Free: Substitute the all-purpose flour in both the filling and topping with a 1:1 gluten-free baking flour blend, and ensure your oats are certified gluten-free.
- Nutty Topping: Incorporate ½ cup of chopped pecans or walnuts into the oat topping for added crunch and flavor.
- Dairy-Free: Use a plant-based butter alternative in the topping.
- Portion Control: Bake in individual ramekins for single servings, adjusting baking time as needed.
Common Mistakes to Avoid
- Under-baking the Apples: This leads to crunchy, unappealing apples. Ensure the filling is bubbling vigorously and the apples are fork-tender.
- Over-baking the Topping: A burnt topping is bitter. Keep an eye on it and tent with foil if it’s browning too quickly.
- Using Too Much Butter in Topping: This can make the topping greasy rather than crumbly. Stick to the specified amount for the best texture.
- Not Resting After Baking: Patience is key! Skipping the resting step results in a runny filling that doesn’t hold together.
Storage & Meal Prep Tips
Leftover Apple Crisp can be stored in an airtight container in the refrigerator for up to 3-4 days. For longer storage, you can freeze individual portions (without cream or ice cream) for up to 2-3 months. Reheat in the oven at 350°F (175°C) until thoroughly warmed through and the topping crisps up again, or microwave for quicker reheating, though the topping may soften.
Conclusion
Creating a homemade Apple Crisp is a rewarding experience, yielding a dessert that’s both comforting and impressive. With its tender, spiced apple filling and irresistible buttery oat topping, it easily rivals the allure of a classic Apple pie, offering a simpler yet equally satisfying alternative. We encourage you to try this recipe and savor the delightful flavors and aromas that will permeate your home. Share your results with us, and let’s celebrate the joy of home cooking!
FAQs
Q1: Can I use different fruits for this crisp?
A1: Absolutely! While apples are traditional, you can substitute or combine them with pears, peaches, berries, or plums. Adjust sugar content based on the sweetness of the fruit.
Q2: How do I prevent the topping from becoming soggy?
A2: Ensure your apples are properly thickened with flour or cornstarch, and don’t cover the crisp while baking. Allowing it to rest after baking also helps set the filling, reducing moisture that could affect the topping.
Q3: What’s the best way to reheat leftovers?
A3: For the best results, reheat in the oven at 350°F (175°C) for 15-20 minutes, or until warmed through and the topping is re-crisped. Microwaving is quicker but may soften the topping.
Q4: Can I prepare this ahead of time?
A4: You can assemble the crisp a day in advance, cover it, and refrigerate. Add an extra 10-15 minutes to the baking time when cooking from cold. The topping can also be made ahead and stored separately.
Q5: What are some good pairings for Apple Crisp?
A5: It’s traditionally served warm with a scoop of vanilla ice cream, a dollop of whipped cream, or a drizzle of caramel sauce.