Unveiling the Ultimate Homemade Delight: Crafting the Perfect Pumpkin Bread
Tired of bland, store-bought treats that lack that comforting homemade touch? Imagine the warm, inviting aroma of freshly baked goods filling your kitchen, promising a slice of pure seasonal bliss. Today, we’re diving into the delightful world of homemade Pumpkin Bread, a quintessential autumn classic that brings warmth and flavor to any occasion. Forget complicated recipes and obscure ingredients; crafting this delectable loaf yourself ensures not only a superior taste experience but also complete control over the quality and freshness of every bite. Get ready to embrace the cozy magic of fall with this exceptional recipe, perfectly seasoned with the quintessential essence of pumpkin spice.
Ingredients & Kitchen Tools
To embark on your homemade Pumpkin Bread journey, gather these essential components:
Dry Ingredients:
- 2 cups All-Purpose Flour: The structural foundation of our bread. For a lighter texture, some bakers prefer a blend with cake flour.
- 1 ½ cups Granulated Sugar: Provides sweetness and helps with browning. Brown sugar can be used for a deeper, molasses-like flavor.
- 1 tsp Baking Soda: A leavening agent that helps the bread rise.
- ½ tsp Baking Powder: Another leavening agent, working in tandem with baking soda for a tender crumb.
- 1 tsp Salt: Enhances all the other flavors. Don’t skip it!
- 1 ½ tbsp pumpkin spice: The heart of the flavor profile, a pre-blended mix of cinnamon, nutmeg, ginger, and cloves. You can also make your own blend.
Wet Ingredients:
- 1 (15-ounce) can Pumpkin Puree: Not pumpkin pie filling! This provides the signature pumpkin flavor and moisture.
- ½ cup Neutral Oil: Vegetable, canola, or grapeseed oil works well, contributing to a moist texture. Melted butter can also be used for a richer flavor.
- 2 Large Eggs: Bind the ingredients together and add richness.
- ¼ cup Milk: Adds moisture and helps blend the ingredients smoothly. Any milk (dairy or non-dairy) will work.
Kitchen Tools:
- Large Mixing Bowl: For combining ingredients.
- Whisk: For dry ingredients.
- Spatula or Wooden Spoon: For mixing wet and dry ingredients.
- Loaf Pan (9×5 inch): The classic shape for pumpkin bread. You’ll need to grease and flour it.
- Parchment Paper (optional): For easy removal.
- Wire Rack: For cooling the bread.
Prep Time & Cooking Schedule
- Prep Time: 15 minutes
- Cook Time: 55-65 minutes
- Cooling Time: 20-30 minutes
This recipe is perfect for a weekend baking project or a cozy weeknight treat. The prep is quick, allowing you to get the loaf into the oven without much fuss. The longer cooking time means you’ll have ample opportunity for the fragrant aromas to fill your home, building anticipation for that first warm slice.
Step-by-Step Instructions
1. Preheat & Prepare: Preheat your oven to 350°F (175°C). Grease and flour a 9×5-inch loaf pan, or line it with parchment paper for easier removal.
2. Combine Dry Ingredients: In a large mixing bowl, whisk together the flour, granulated sugar, baking soda, baking powder, salt, and pumpkin spice. Ensure there are no lumps and all ingredients are evenly distributed. This aeration helps with the bread’s texture.
3. Mix Wet Ingredients: In a separate medium bowl, whisk together the pumpkin puree, oil, eggs, and milk until smooth and well combined.
4. Combine Wet and Dry: Pour the wet ingredients into the dry ingredients. Stir carefully with a spatula or wooden spoon until just combined. Be careful not to overmix, as this can lead to a tough loaf. A few small streaks of flour are acceptable. The key is to achieve a uniform batter for your delicious Pumpkin Bread.
5. Pour into Pan: Pour the batter into your prepared loaf pan and spread it evenly.
6. Bake: Bake for 55-65 minutes, or until a wooden skewer or toothpick inserted into the center comes out clean. If the top starts to brown too quickly, you can tent it loosely with aluminum foil for the last 15-20 minutes.
7. Cool: Once baked, let the bread cool in the pan on a wire rack for 10-15 minutes. Then, carefully invert it onto the wire rack to cool completely. Slicing warm bread can sometimes cause it to crumble.
Nutritional Benefits & Advantages
Beyond its incredible taste, homemade Pumpkin Bread offers surprising nutritional perks. Pumpkin puree is rich in Vitamin A (beta-carotene), an antioxidant vital for eye health and immune function. It also provides dietary fiber, aiding digestion and promoting a feeling of fullness. By using neutral oils and controlling sugar content, you can make a healthier version than many store-bought options. Plus, the homemade aspect means you avoid artificial preservatives and unwanted additives.
Tips, Variations, & Cooking Advice
- Add-ins: Stir in ½ cup of chocolate chips, chopped walnuts, pecans, or dried cranberries for extra texture and flavor.
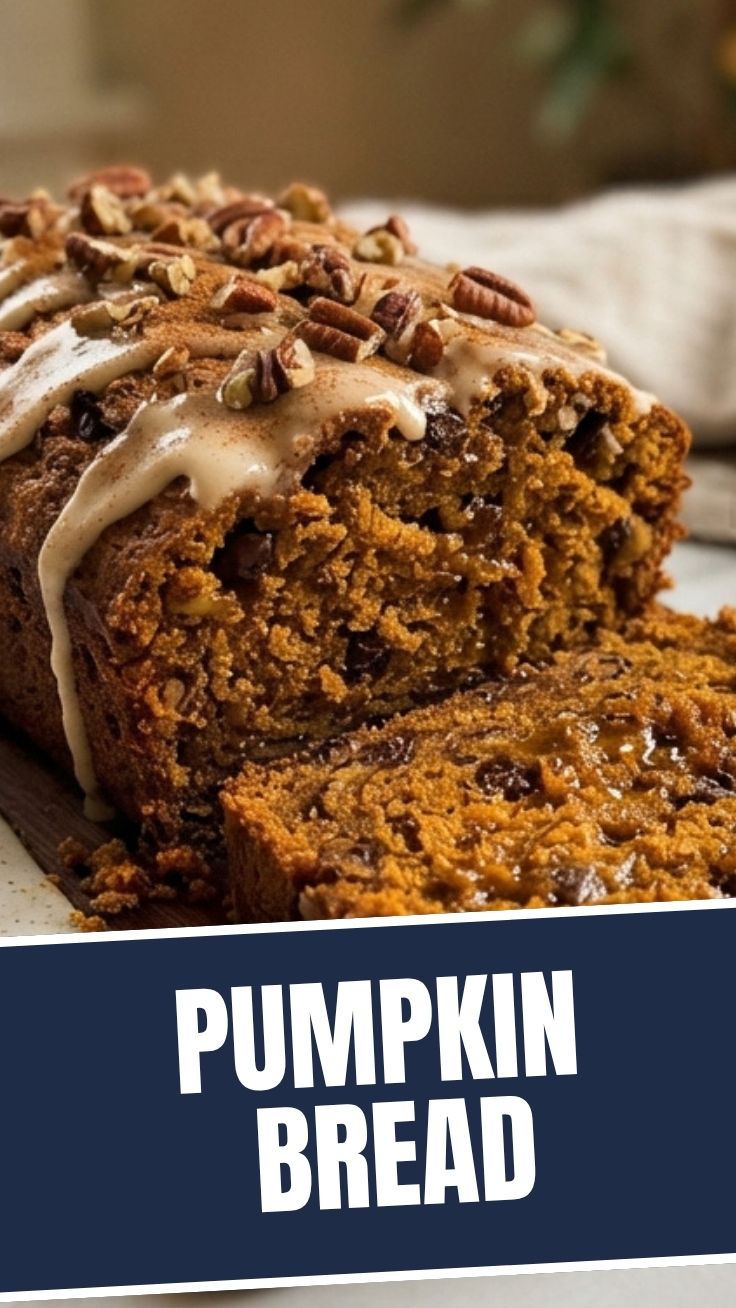
- Glaze: For an extra touch, whip up a simple cream cheese glaze or a powdered sugar glaze (powdered sugar + milk/lemon juice) to drizzle over the cooled loaf.
- Spice Adjustment: If you prefer a stronger spice flavor, feel free to add an extra ¼ tsp of cinnamon or an extra pinch of ginger.
- Mini Loaves: Divide the batter into mini loaf pans for individual servings (adjust baking time accordingly, usually 30-40 minutes).
- Muffin Form: Bake as muffins for grab-and-go treats (bake for 20-25 minutes).
Common Mistakes to Avoid
- Overmixing the Batter: This develops the gluten too much, resulting in a tough, dense bread instead of a tender, moist one. Mix until just combined.
- Using Pumpkin Pie Filling: Pumpkin pie filling contains added sugars and spices that will drastically alter the flavor and sweetness of your bread. Always use plain pumpkin puree.
- Undercooking: An undercooked loaf will be gummy and may sink in the middle. Always check for doneness with a toothpick.
- Slicing While Hot: While tempting, hot bread is more fragile and prone to crumbling. Allow it to cool thoroughly for clean slices.
Storage & Meal Prep Tips
Your homemade Pumpkin Bread will stay fresh at room temperature for 2-3 days when stored in an airtight container. For longer storage, refrigerate for up to a week. To freeze, wrap individual slices or the entire cooled loaf tightly in plastic wrap, then in foil. It can be frozen for up to 3 months. Thaw at room temperature or gently warm slices in a toaster oven for a fresh-baked feel. This makes it an excellent candidate for meal prepping; simply grab a slice for breakfast or an afternoon snack.
Conclusion
There’s truly nothing quite like the comforting embrace of a warm slice of homemade Pumpkin Bread. This recipe, infused with the enchanting aroma and taste of pumpkin spice, is a testament to the simple joys of home baking. It’s a sweet, moist, and utterly delightful confection that brings a touch of cozy autumn magic to your table, whether for breakfast, a comforting snack, or a delightful dessert. Give this recipe a try, savor the rich flavors, and share your baking triumphs with us – your taste buds (and your family) will thank you!
FAQs
Q1: Can I use fresh pumpkin instead of canned puree?
A1: Yes, you absolutely can! You’ll need to cook and puree your fresh pumpkin first. Ensure it’s thick and not too watery, as excess moisture can affect the bread’s texture.
Q2: My pumpkin bread sank in the middle, what went wrong?
A2: This often indicates undercooking or too much moisture in the batter. Make sure your oven temperature is accurate and bake until a toothpick comes out clean. If using fresh pumpkin, ensure it’s well-drained.
Q3: Can I make this gluten-free?
A3: Yes! Substitute the all-purpose flour with a 1:1 gluten-free baking flour blend that contains xanthan gum. The baking time might vary slightly, so keep an eye on it.
Q4: How can I intensify the pumpkin spice flavor?
A4: You can increase the amount of pumpkin spice by ¼ to ½ teaspoon. Additionally, adding a pinch of ground cloves or allspice can deepen the spice profile without overwhelming the pumpkin.
Q5: What’s the best way to reheat leftovers?
A5: For individual slices, a toaster oven or microwave works well. In a toaster oven, heat until warmed through and slightly crisp on the edges. In the microwave, heat for 15-30 seconds until just warm to avoid drying it out.