Mastering the Perfect Pumpkin Pie: Your Ultimate Guide to a Seasonal Classic
Ever wondered how to create a Pumpkin Pie that’s not just good, but legendary? The kind that evokes warmth, comfort, and the quintessential taste of autumn? While store-bought versions offer convenience, there’s an undeniable magic in crafting this beloved holiday staple from scratch. This comprehensive guide will empower you to create a show-stopping Pumpkin Pie that will undoubtedly become the star of your next family gathering or a cherished addition to your Thanksgiving Dessert spread. We’ll delve into the secrets of achieving a perfectly creamy filling, a flaky crust, and a spiced aroma that will leave your loved ones asking for seconds.
Ingredients & Kitchen Tools
Crafting the perfect Pumpkin Pie requires a few essential ingredients and kitchen tools. Here’s what you’ll need:
- For the Crust:
* All-Purpose Flour (2 ½ cups): Provides the structure for a tender, flaky crust.
* Unsalted Butter (1 cup, cold and cubed): Essential for a rich flavor and flaky texture; using cold butter prevents it from melting too quickly.
* Ice Water (½ cup, approximately): Binds the dough without overdeveloping gluten, resulting in a tender crust.
* Salt (1 teaspoon): Enhances the flavor of the crust.
- For the Filling:
* Pumpkin Puree (15 oz can, 100% pumpkin): The star ingredient; ensure it’s pure pumpkin, not pumpkin pie filling.
* Evaporated Milk (12 oz can): Adds creaminess and richness without diluting the flavor.
* Large Eggs (3): Act as a binder, giving the filling its smooth, custard-like texture.
* Granulated Sugar (½ cup): Sweetens the pie to perfection.
* Brown Sugar (¼ cup, packed): Adds a deeper, more complex sweetness with molasses notes.
* Pumpkin Pie Spice (2 teaspoons): A blend of cinnamon, nutmeg, ginger, and cloves; delivers classic autumn flavors.
* Ground Cinnamon (1 teaspoon, additional): Boosts the warm spice profile.
* Salt (½ teaspoon): Balances the sweetness and enhances other flavors.
* Vanilla Extract (1 teaspoon): Adds a touch of aromatic sweetness.
- Kitchen Tools:
* 9-inch Pie Dish: The ideal size for baking a standard pie.
* Large Mixing Bowls (2): For preparing the crust and the filling separately.
* Pastry Blender or Food Processor: For incorporating butter into the flour for a flaky crust.
* Whisk: For thoroughly combining filling ingredients.
* Rolling Pin: For rolling out the pie crust.
* Measuring Cups and Spoons: For accurate ingredient quantities.
* Spatula: For scraping bowls and transferring filling.
Prep Time & Cooking Schedule
Planning is key to a stress-free baking experience. Here’s a detailed schedule to ensure your Pumpkin Pie is ready when you are:
- Prep Time: 30 minutes (includes crust preparation and filling mixing)
- Chilling Time (Crust): 30-60 minutes (crucial for a flaky crust)
- Baking Time: 50-60 minutes
- Resting Time: 2-3 hours (essential for the filling to set properly)
Total Time: Approximately 3.5 – 4.5 hours
For optimal results, plan to bake your pie at least a few hours before serving, or even the day before, especially if it’s for a special occasion like a Thanksgiving Dessert.
Step-by-Step Instructions
Follow these clear instructions to create your perfect Pumpkin Pie:
1. Prepare the Pie Crust: In a large bowl, whisk together the flour and salt. Cut in the cold, cubed butter using a pastry blender or a food processor until the mixture resembles coarse crumbs with some pea-sized pieces of butter remaining. Gradually add ice water, one tablespoon at a time, mixing until the dough just comes together. Be careful not to overmix. Form the dough into a disc, wrap it in plastic, and refrigerate for at least 30 minutes. This chilling process is vital for a tender, flaky crust.
2. Roll Out the Crust: On a lightly floured surface, roll out the chilled dough into a 12-inch circle. Carefully transfer the dough to your 9-inch pie dish, pressing it gently into the bottom and up the sides. Trim any excess dough, leaving about a ½-inch overhang, and crimp the edges decoratively.
3. Blind Bake (Optional, but Recommended): For an extra-crisp crust, line the unbaked pie shell with parchment paper or foil and fill with pie weights or dried beans. Bake at 375°F (190°C) for 15 minutes. Remove the weights and parchment, and bake for another 5-7 minutes, or until the bottom is just starting to set. This step helps prevent a soggy bottom, especially crucial for a rich Thanksgiving Dessert.
4. Prepare the Filling: In a large bowl, whisk together the pumpkin puree, evaporated milk, eggs, granulated sugar, brown sugar, pumpkin pie spice, ground cinnamon, salt, and vanilla extract until completely smooth and well combined.
5. Assemble and Bake: Pour the pumpkin filling into the prepared pie crust. Carefully transfer the pie to a preheated oven at 375°F (190°C). Bake for 15 minutes, then reduce the oven temperature to 350°F (175°C) and continue baking for another 35-45 minutes, or until the edges are set but the center still jiggles slightly when gently shaken. To prevent the crust from over-browning, you can loosely cover the edges with foil partway through baking.
6. Cool and Set: Remove the pie from the oven and let it cool completely on a wire rack for at least 2-3 hours. The filling will continue to set as it cools, achieving that perfect, creamy consistency.
Nutritional Benefits & Advantages
Beyond its irresistible taste, this Pumpkin Pie offers several nutritional advantages. Pumpkin itself is a good source of Vitamin A (beta-carotene), which is crucial for vision and immune function, and also provides dietary fiber, aiding in digestion. When made at home, you have control over the sugar content, allowing for adjustments to suit dietary preferences, and you can avoid the preservatives often found in store-bought options. This makes it a more wholesome choice compared to many other holiday sweets.
Tips, Variations & Cooking Advice
- Spice It Up: For an extra kick, add a pinch of ground cloves or a touch of freshly grated ginger to the filling.
- Crust Variations: Experiment with a graham cracker crust or a gingersnap crust for a different flavor profile.
- Gluten-Free Option: Use a gluten-free all-purpose flour blend for the crust or opt for a store-bought gluten-free pie shell.
- Dairy-Free Option: Substitute evaporated milk with a dairy-free alternative like full-fat canned coconut milk for a rich, creamy texture.
- Mini Pies: Bake in individual ramekins or muffin tins (adjust baking time) for charming mini Pumpkin Pies.
- Roast Your Own Pumpkin: For an even richer flavor, consider roasting your own fresh pumpkin instead of using canned puree.
Common Mistakes to Avoid
- Overmixing the Crust: Leads to a tough, bready crust instead of a flaky one. Mix until just combined.
- Not Chilling the Dough: Warm dough is harder to work with and results in a less flaky crust.
- Overbaking the Filling: Causes cracks in the surface and a dry, crumbly texture. The center should still have a slight jiggle.
- Not Letting the Pie Set: Cutting into the pie before it has fully cooled will result in a runny, messy filling. Patience is key!
- Using Pumpkin Pie Filling Instead of Puree: These are not interchangeable; pumpkin pie filling is already sweetened and spiced.
Storage & Meal Prep Tips
Your homemade Pumpkin Pie can be stored at room temperature for up to 2 hours, but for longer freshness, it’s best to refrigerate it. Cover loosely with plastic wrap or foil. It will stay fresh in the refrigerator for 3-4 days.
Freezing: For long-term storage, you can freeze a baked Pumpkin Pie. Ensure it is completely cooled, then wrap it tightly in several layers of plastic wrap and then a layer of aluminum foil. It can be frozen for up to 1 month. Thaw overnight in the refrigerator before serving.
Conclusion
Crafting a perfect Pumpkin Pie from scratch is a deeply satisfying experience, transforming simple ingredients into a festive masterpiece. With this comprehensive guide, you now possess the knowledge to bake a truly memorable Thanksgiving Dessert that will impress everyone at your table. Don’t be afraid to embrace the journey – the aroma alone will be your first reward! We encourage you to try this recipe and share your delicious results with us. Happy baking!
FAQs
1. Can I use fresh pumpkin instead of canned puree?
Yes, absolutely! You’ll need to roast, peel, and then process about 2 pounds of fresh pumpkin to yield 15 oz of puree. This often results in an even richer flavor.
2. Why did my pie crust get soggy?
A soggy crust can be caused by not blind baking the crust or having too much moisture in the filling. Ensuring your liquid ingredients are accurate and blind baking can help.
3. How do I prevent cracks in my pumpkin pie?
Cracks usually result from overbaking or drastic temperature changes. Ensure you don’t overbake (the center should still jiggle), and allow the pie to cool slowly on a wire rack, away from drafts.
4. Can I make this pie ahead of time?
Yes, Pumpkin Pie is an excellent make-ahead dessert. You can bake it up to 2 days in advance and refrigerate it. This allows the flavors to meld beautifully.
5. What’s the best way to serve Pumpkin Pie?
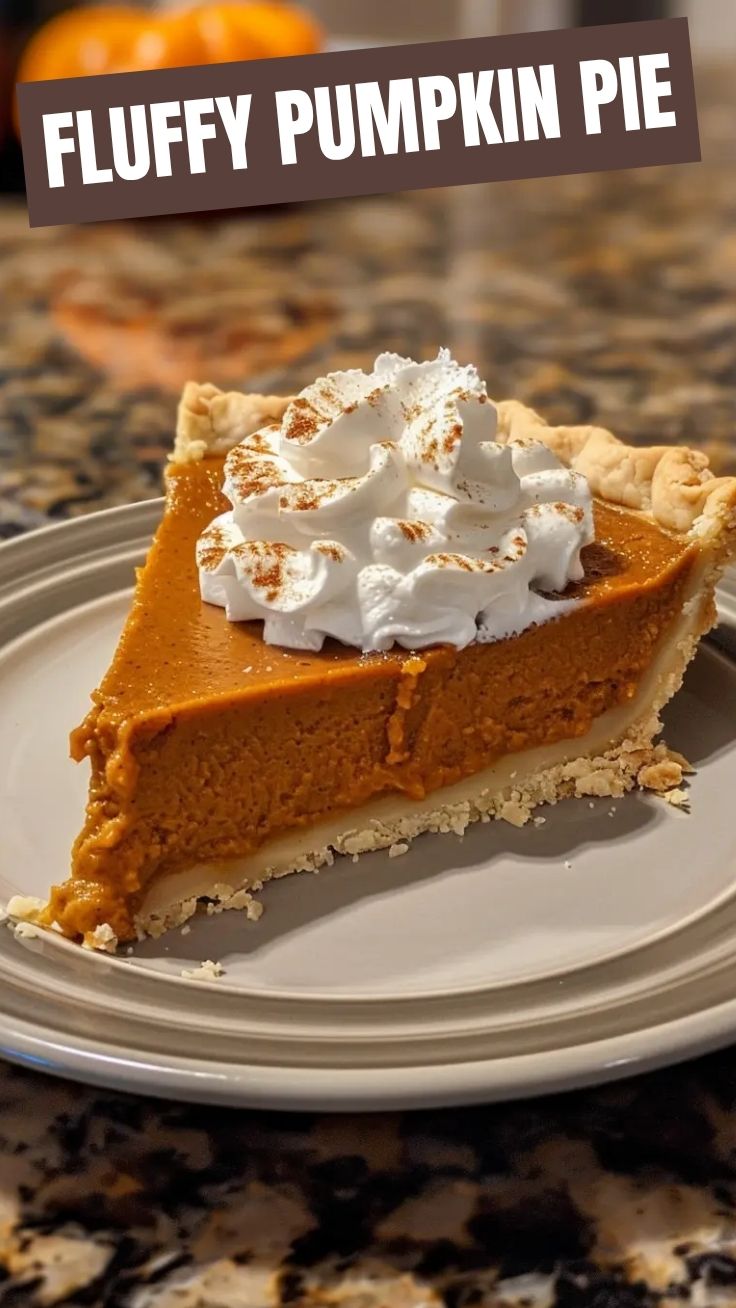
Serve chilled or at room temperature, often accompanied by a dollop of fresh whipped cream, a scoop of vanilla ice cream, or a sprinkle of extra cinnamon.