Beyond Basic Baking: Crafting the Perfect Pumpkin Bread from Scratch
Ever wondered what makes that quintessential autumn aroma so utterly irresistible? It’s often the warm, inviting scent of freshly baked pumpkin goods, a fragrance that instantly evokes comfort and coziness. While store-bought options abound, mastering the art of homemade Pumpkin Bread at home elevates this seasonal treat to an entirely new level. It’s not just about a delicious snack; it’s about infusing your home with warmth and creating a memorable experience. Imagine that first bite – moist, subtly spiced, and bursting with autumnal goodness. This comprehensive guide will equip you with everything you need to bake an outstanding Pumpkin Bread (or a delectable Pumpkin Loaf, if you prefer that terminology), ensuring your kitchen becomes the envy of the neighborhood.
Ingredients & Kitchen Tools
Gathering your mise en place before you begin is key to a smooth baking process.
Dry Ingredients:
- 2 cups All-Purpose Flour: The foundational structure for your bread.
- 1 ½ teaspoons Baking Soda: Provides lift and a tender crumb.
- 1 teaspoon Salt: Balances the sweetness and enhances flavor.
- 1 teaspoon Ground Cinnamon: The star spice of autumn baking.
- ½ teaspoon Ground Nutmeg: Adds warmth and depth.
- ¼ teaspoon Ground Cloves: Complements the cinnamon and nutmeg.
- Optional: ½ teaspoon Ground Ginger: For an extra spicy kick.
Wet Ingredients:
- 1 cup Granulated Sugar: Sweetness and browning.
- ½ cup Packed Light Brown Sugar: Adds moisture and a hint of molasses flavor.
- ½ cup Vegetable Oil: Keeps the bread incredibly moist. Can substitute with melted unsalted butter for a richer flavor.
- 2 Large Eggs: Binds the ingredients and provides structure.
- 1 (15-ounce) can Pumpkin Puree: The star ingredient, ensure it’s 100% pumpkin, not pumpkin pie filling.
- Optional: ½ cup Milk or Buttermilk: For an even moister crumb.
Kitchen Tools:
- Large Mixing Bowl: For combining dry ingredients.
- Separate Medium Mixing Bowl: For combining wet ingredients.
- Whisk: For aerating dry ingredients and blending wet ingredients.
- Rubber Spatula: For folding the batter and scraping bowls.
- 9×5 inch Loaf Pan: The ideal size for baking a standard loaf.
- Parchment Paper (optional): For easy removal and cleanup.
- Wire Rack: For cooling the baked bread.
Prep Time & Cooking Schedule
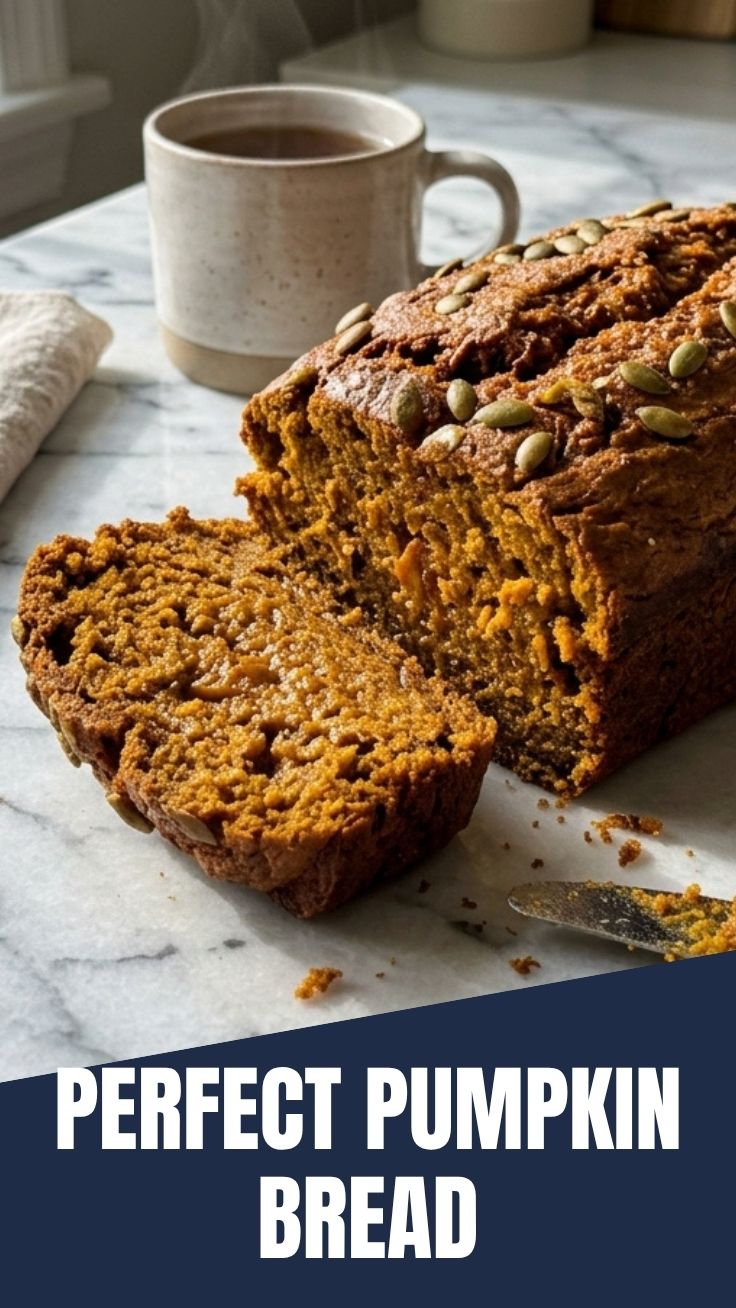
- Prep Time: 15 minutes. This includes gathering ingredients and mixing the batter.
- Cook Time: 60-70 minutes. Baking time can vary depending on your oven.
- Resting Time: 15-20 minutes in the pan, then fully cool on a wire rack for at least 1 hour before slicing. This allows the bread to set and prevents crumbly slices.
Step-by-Step Instructions
Baking an exquisite Pumpkin Bread is a straightforward process, but attention to detail makes all the difference.
1. Preheat & Prepare: Preheat your oven to 350°F (175°C). Grease and flour a 9×5 inch loaf pan, or line it with parchment paper for effortless removal.
2. Combine Dry Ingredients: In a large bowl, whisk together the flour, baking soda, salt, cinnamon, nutmeg, and cloves (and ginger, if using). Ensure no clumps remain for even distribution in your future Pumpkin Loaf.
3. Mix Wet Ingredients: In a separate medium bowl, whisk together the granulated sugar and brown sugar. Add the vegetable oil and eggs, beating until well combined. Stir in the pumpkin puree (and milk or buttermilk, if using) until smooth.
4. Combine Wet and Dry: Pour the wet ingredients into the dry ingredients. With your rubber spatula, gently fold until just combined. Be careful not to overmix, as this can lead to a tough bread. A few streaks of flour are acceptable.
5. Bake: Pour the batter into your prepared loaf pan and spread evenly. Bake for 60-70 minutes, or until a wooden skewer or toothpick inserted into the center comes out clean.
6. Cool: Let the Pumpkin Bread cool in the pan on a wire rack for 15-20 minutes. This allows the internal structure to stabilize. Then, carefully remove the loaf from the pan and transfer it directly to the wire rack to cool completely before slicing.
Nutritional Benefits & Advantages
Pumpkin is a nutritional powerhouse! It’s rich in Vitamin A (beta-carotene), an antioxidant essential for vision and immune health. It’s also a good source of Vitamin C, potassium, and fiber, which aids digestion and promotes satiety. Enjoying a slice of homemade Pumpkin Bread means you’re indulging in a treat that offers more than just flavor.
Tips, Variations & Cooking Advice
- Spice it Up: For even more spice, add a pinch of allspice or white pepper.
- Add-ins: Stir in ½ to 1 cup of chocolate chips, chopped nuts (pecans or walnuts are delicious), or dried cranberries for added texture and flavor.
- Glaze: A simple cream cheese frosting or a powdered sugar glaze can elevate this bread to dessert status.
- Muffin Form: This recipe can easily be adapted for muffins. Reduce baking time to 20-25 minutes.
- Gluten-Free: Substitute the all-purpose flour with a 1:1 gluten-free baking blend that contains xanthan gum.
- Dairy-Free: Ensure you use a plant-based milk if incorporating milk, and vegetable oil already makes this recipe dairy-free if you avoid butter.
Common Mistakes to Avoid
- Overmixing: This is the most common culprit for tough pumpkin bread. Mix until just combined.
- Incorrect Pumpkin Product: Always use 100% pure pumpkin puree, not pumpkin pie filling, which contains added sugar and spices.
- Undercooking: An undercooked center will be gummy. Always check for a clean toothpick.
- Slicing Too Soon: Resist the urge! Cooling completely allows the bread to firm up for clean slices.
Storage & Meal Prep Tips
Your homemade Pumpkin Bread is a fantastic make-ahead option.
- Room Temperature: Store cooled slices or the whole loaf in an airtight container at room temperature for up to 3-4 days.
- Refrigeration: For longer storage, refrigerate for up to a week.
- Freezing: Wrap individual slices or the entire loaf tightly in plastic wrap, then in foil. Freeze for up to 3 months. Thaw at room temperature or gently reheat in the oven or microwave.
Conclusion
There’s truly nothing quite like the comforting aroma and taste of a freshly baked Pumpkin Bread cooling on your counter. This guide has provided you with a reliable recipe and the knowledge to confidently bake a moist, flavorful loaf that will undoubtedly become a fall favorite. Whether you call it Pumpkin Bread or a delightful Pumpkin Loaf, the joy of creating something so delicious from scratch is unparalleled. Go ahead, give this recipe a try, and share your baking triumphs with us! What are your favorite additions to this classic treat?
FAQs
Q1: Can I use fresh pumpkin instead of canned puree?
A1: Yes, you can! You’ll need to roast and puree your own pumpkin. Ensure it’s thick and has a similar consistency to canned puree. You’ll need about 2 cups of fresh puree for this recipe.
Q2: My bread is browning too quickly on top. What should I do?
A2: If the top is browning before the inside is cooked, tent the loaf pan loosely with aluminum foil for the remaining baking time.
Q3: How can I make this Pumpkin Bread extra moist?
A3: Ensure you’re not overmixing the batter. Adding ½ cup of milk or buttermilk to the wet ingredients can also contribute to a wonderfully moist crumb in your Pumpkin Loaf.
Q4: Can I halve this recipe?
A4: Yes, you can halve all the ingredients and bake it in a smaller 8×4 inch loaf pan, adjusting the baking time as needed (likely around 45-55 minutes).
Q5: What’s the best way to reheat leftovers?
A5: For best results, reheat individual slices in a toaster oven or microwave for 10-20 seconds until just warm. This prevents it from drying out.