The Ultimate Guide to Homemade Apple Crisp: Your New Go-To Dessert!
Ever wondered how to master the art of a perfectly comforting, fragrant Apple Crisp right in your own kitchen? There’s a certain magic in baking a dessert that fills your home with the warm, inviting aroma of cinnamon and apples. Moving beyond store-bought options to craft your own homemade version not only guarantees fresh, quality ingredients but also allows for personalized touches that truly make it your own. And while many cherish the classic Apple Pie, the crisp offers a delightful, less fussy alternative that’s equally satisfying. This comprehensive guide will walk you through every step, ensuring your apple crisp is a resounding success.
Ingredients & Kitchen Tools
To embark on this delightful culinary journey, gather the following:
– Apples (6-8 medium): Granny Smith, Fuji, Honeycrisp, or a mix for balanced flavor and texture. About 6-8 medium apples, peeled, cored, and sliced.
– All-Purpose Flour (1 cup): Forms the structure of the crisp topping.
– Rolled Oats (1 cup): Provides a chewy texture to the topping. Quick oats can be used, but rolled oats offer a better crunch.
– Granulated Sugar (1/2 cup): Sweetens the apple filling. Adjust to your apple’s sweetness.
– Packed Light Brown Sugar (1/2 cup): Adds depth and caramel notes to the topping.
– Unsalted Butter (1/2 cup, 1 stick): Chilled and cut into cubes for the topping; melted for the apple mixture.
– Cinnamon (1 tsp): Essential spice for that quintessential apple dessert flavor.
– Nutmeg (1/4 tsp): Enhances the spice profile; optional, but recommended.
– Lemon Juice (1 tbsp): Prevents apples from browning and brightens their flavor.
– Pinch of Salt: Balances sweetness in both filling and topping.
– 9×13 inch Baking Dish: Standard size for this recipe.
– Large Mixing Bowls (2): For preparing the apple filling and the crisp topping.
– Vegetable Peeler & Corer: For easy apple preparation.
– Pastry Blender or Fork: To cut butter into the flour mixture for the topping.
Prep Time & Cooking Schedule
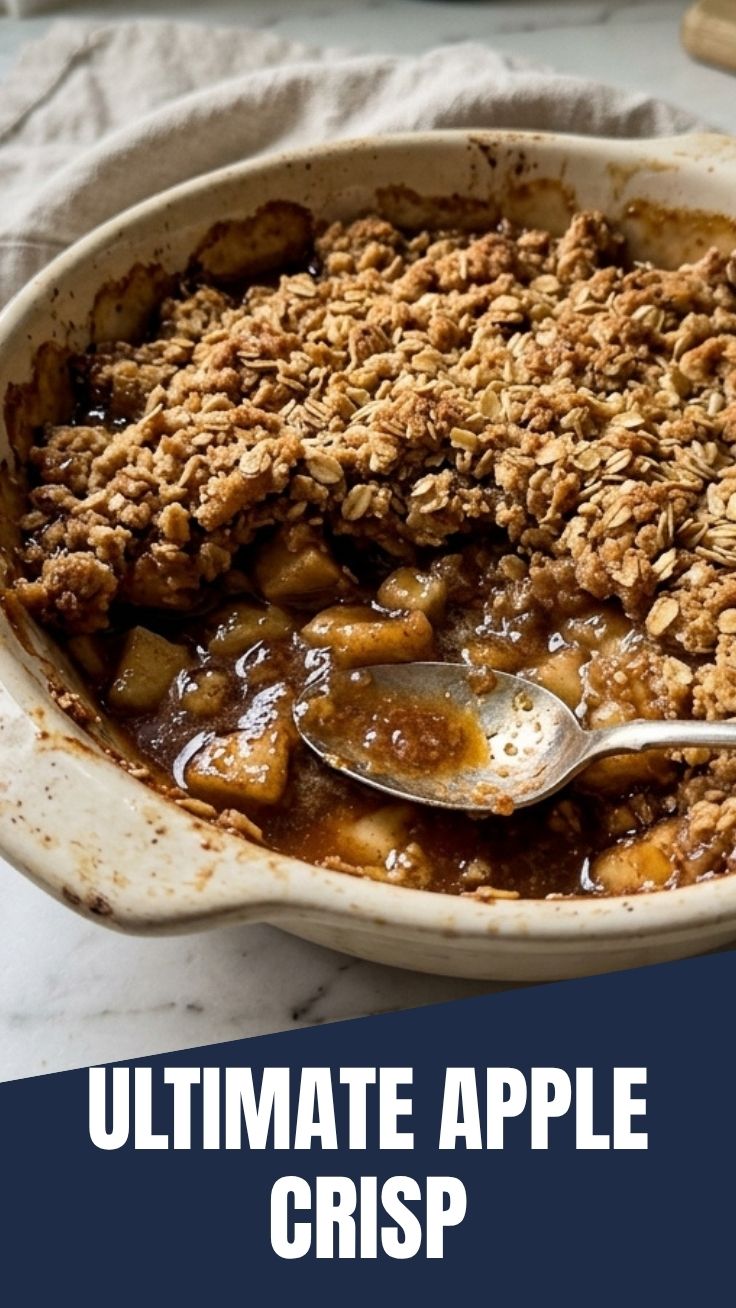
This recipe is surprisingly straightforward, making it perfect for a weekend bake or a special weeknight treat.
- Prep Time: 20 minutes (mostly for peeling and slicing apples).
- Cook Time: 45-55 minutes, until the topping is golden brown and the apples are tender.
- Resting Time: 10-15 minutes after baking to allow the juices to settle and the crisp to firm up slightly. This makes serving much neater. You can always plan to serve it warm but not piping hot, as the flavors meld beautifully as it cools slightly.
Step-by-Step Instructions
1. Preheat Oven & Prepare Apples: Preheat your oven to 375°F (190°C). Peel, core, and slice your apples into uniform pieces, about 1/4-inch thick. In a large bowl, toss the apple slices with granulated sugar, 1/2 teaspoon cinnamon, nutmeg, lemon juice, and a pinch of salt. Ensure the apples are evenly coated. Pour this mixture into your 9×13 inch baking dish. This apple foundation is key to a flavorful Apple Crisp.
2. Prepare the Crisp Topping: In another large bowl, combine the all-purpose flour, rolled oats, brown sugar, remaining 1/2 teaspoon cinnamon, and a pinch of salt. Add the cold, cubed butter. Using a pastry blender or your fingers, cut the butter into the dry ingredients until the mixture resembles coarse crumbs. This creates the signature crunchy texture.
3. Assemble and Bake: Evenly sprinkle the crisp topping over the prepared apple mixture in the baking dish. Place the dish on a baking sheet (to catch any potential spills) and bake for 45-55 minutes, or until the topping is golden brown and the apple filling is bubbly and tender when pierced with a fork. Much like perfecting an Apple Pie, the baking time can vary slightly depending on your oven and apple variety.
4. Cool and Serve: Once baked, remove the crisp from the oven and let it cool for at least 10-15 minutes. This allows the filling to set. Serve warm, ideally with a scoop of vanilla ice cream or a dollop of whipped cream.
Nutritional Benefits & Advantages
Apples are a fantastic source of dietary fiber, especially pectin, which aids digestion and can help regulate blood sugar levels. They are also rich in antioxidants like quercetin and vitamin C, supporting immune health and reducing inflammation. Oats contribute soluble fiber, beneficial for heart health, while cinnamon is known for its anti-inflammatory and antioxidant properties. This dessert, in moderation, offers a satisfying way to enjoy these wholesome ingredients.
Tips, Variations & Cooking Advice
- Flavor Boost: Add a splash of vanilla extract or a tablespoon of bourbon to the apple mixture for extra depth.
- Gluten-Free: Substitute all-purpose flour with a 1:1 gluten-free baking blend and ensure your oats are certified gluten-free.
- Nutty Topping: Incorporate 1/2 cup of chopped pecans or walnuts into the crisp topping for added crunch and flavor.
- Less Sweet: Reduce the amount of sugar in both the apple filling and the topping if your apples are naturally very sweet or if you prefer a less sugary dessert.
- Individual Servings: Bake in ramekins for adorable individual apple crisps – adjust baking time accordingly.
Common Mistakes to Avoid
- Over-Slicing Apples: Too thin, and they’ll turn to mush. Aim for 1/4 inch slices for optimal texture.
- Underbaking: Don’t pull it out too early! Ensure apples are tender and the topping is a deep golden brown for the best flavor and texture.
- Warm Butter in Topping: Cold butter is crucial for a crumbly, crisp topping. Warm butter makes it greasy and dense.
- Forgetting Lemon Juice: It’s not just for browning; it brightens the apple flavor.
Storage & Meal Prep Tips
Leftover apple crisp can be stored in an airtight container in the refrigerator for up to 3-4 days. To reheat, warm individual portions in the microwave or a larger dish in a preheated oven at 350°F (175°C) until heated through and crisp. Freezing is possible, either baked or unbaked. For unbaked, assemble and freeze; bake from frozen, adding an extra 15-20 minutes to the cook time.
Conclusion
Creating a homemade Apple Crisp is a rewarding experience that yields a truly memorable dessert. With its comforting blend of tender, spiced apples and a crunchy, buttery oat topping, it’s a delightful treat for any occasion. This recipe provides a fantastic alternative to the more elaborate process of crafting an Apple Pie, offering similar comforting flavors with less fuss. We encourage you to try this recipe, experiment with your favorite apple varieties, and share your delicious creations!
FAQs
Q: Can I use different types of apples?
A: Absolutely! A mix of sweet and tart apples (e.g., Granny Smith with Fuji or Honeycrisp) offers the best flavor balance.
Q: How do I prevent the crisp topping from getting soggy?
A: Ensure your apples are not overly juicy. If they are, you can toss them with a tablespoon of flour or cornstarch before baking to absorb excess moisture.
Q: Can I make this ahead of time?
A: You can prepare the apple filling and the crisp topping separately and store them in the refrigerator for up to 24 hours. Assemble and bake just before serving for the best results.
Q: What if my crisp topping isn’t crunchy?
A: This usually happens if the butter wasn’t cold enough or if it’s underbaked. Make sure butter is chilled and bake until the topping is deeply golden brown.
Q: Can I make it dairy-free?
A: Yes, substitute unsalted butter with a plant-based butter alternative to make this recipe dairy-free.