Unlock the Secret to Creamy, Homemade Hummus: A Culinary Journey from Scratch
Have you ever wondered if that store-bought Hummus could truly rival the velvety texture and vibrant flavor of a homemade version? The answer is a resounding yes, and preparing this beloved Middle Eastern dip from scratch is not only incredibly rewarding but also allows you to control every ingredient, ensuring a healthier, more personalized experience. Imagine a luscious, silken dip, bursting with fresh flavors, perfect for dipping, spreading, or even as a base for a wholesome meal. Today, we’re diving deep into the art of crafting the perfect homemade Hummus, highlighting the star ingredient, the humble chickpea, and transforming it into a culinary masterpiece. Get ready to elevate your snack game and impress your taste buds with this simple yet sophisticated recipe.
Ingredients & Kitchen Tools
Crafting the perfect Hummus requires a few essential ingredients and basic kitchen tools. Each component plays a crucial role in achieving that desirable creamy texture and authentic flavor.
- 1 (15-ounce) can chickpeas, rinsed and drained (reserve 1/4 cup aquafaba): The foundation of our Hummus. Rinsing removes excess sodium, and reserving the aquafaba (the liquid from the can) helps achieve a lighter, creamier consistency.
- 1/4 cup tahini: A sesame seed paste that provides the characteristic nutty, slightly bitter flavor. Crucial for authentic Hummus.
- Juice of 1 large lemon (about 1/4 cup): Adds brightness and a tangy kick, balancing the richness of the tahini.
- 2 cloves garlic, minced: Essential for that pungent, aromatic depth. Fresh is always best!
- 1/2 teaspoon ground cumin: A warm, earthy spice that complements the chickpea beautifully.
- 1/4 teaspoon salt (or to taste): Enhances all the flavors. Adjust as needed.
- 2-4 tablespoons cold water or reserved aquafaba: Used to adjust the consistency to your desired creaminess.
- Optional garnish: Paprika, a drizzle of extra virgin olive oil, fresh parsley, or a few whole chickpeas.
Kitchen Tools:
- Food processor or high-speed blender: Absolutely essential for achieving that silky-smooth texture.
- Can opener: For the chickpeas.
- Measuring cups and spoons: For accurate ingredient proportions.
- Rubber spatula: For scraping down the sides of the food processor.
- Citrus juicer (optional): To get the most juice from your lemon.
Prep Time & Cooking Schedule
One of the greatest advantages of homemade Hummus is its quick preparation time. You’ll be enjoying your fresh batch in no time!
- Prep Time: 10 minutes
- Cook Time: 0 minutes
- Resting Time (optional): 30 minutes (allows flavors to meld, but not strictly necessary if you’re eager to dig in!)
This recipe is perfect for last-minute gatherings or meal prepping for the week. The simplicity allows for spontaneous deliciousness.
Step-by-Step Instructions
Follow these steps carefully to achieve a restaurant-quality Hummus that will delight your palate. The secret to an incredibly smooth Hummus lies in the processing and the gradual addition of liquid.
1. Prepare the Chickpeas: Drain and rinse the canned chickpeas thoroughly under cold running water. Reserve about 1/4 cup of the aquafaba. For an ultra-creamy Hummus, you can gently rub the chickpeas between your hands to remove some of the skins, though this is optional.
2. Combine Wet Ingredients: In the bowl of your food processor, add the tahini, lemon juice, minced garlic, and salt. Process for 1-2 minutes until the mixture is light and creamy. This emulsifies the tahini and lemon juice, preventing any bitterness from the tahini.
3. Add Chickpeas and Cumin: Add the rinsed chickpeas and ground cumin to the food processor. Process for another 3-5 minutes, scraping down the sides occasionally. The mixture will be thick and paste-like at this stage.
4. Achieve Creaminess: With the food processor running, slowly drizzle in the reserved aquafaba or cold water, 1 tablespoon at a time, until your desired consistency is reached. You might need more or less depending on the brand of chickpea and your preference. Continue processing until the Hummus is incredibly smooth and light.
5. Taste and Adjust: Taste the Hummus and adjust seasonings as needed. You might want more salt, lemon juice, or even a pinch more cumin.
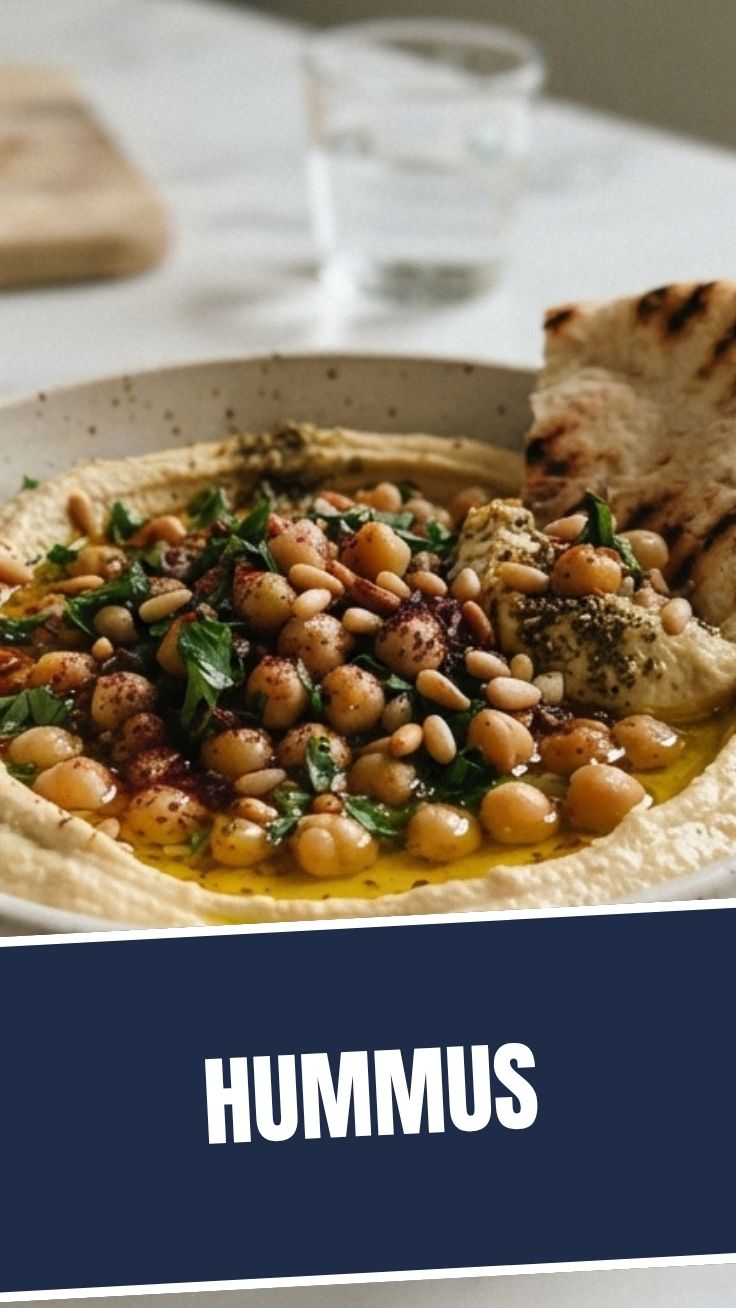
6. Serve and Garnish: Transfer the Hummus to a serving bowl. Drizzle with extra virgin olive oil, sprinkle with paprika, and garnish with fresh parsley or whole chickpeas for an appealing presentation.
Nutritional Benefits & Advantages
Beyond its delicious taste, homemade Hummus offers a plethora of nutritional benefits, making it a smart and satisfying addition to any diet. The primary ingredient, the chickpea (also known as garbanzo bean), is a nutritional powerhouse. They are an excellent source of plant-based protein and dietary fiber, which promotes satiety, aids in digestion, and helps regulate blood sugar levels. Tahini contributes healthy fats, particularly monounsaturated and polyunsaturated fats, along with essential minerals like calcium and magnesium. Lemon juice provides a boost of vitamin C, while garlic offers immune-boosting compounds. By making Hummus at home, you avoid the added preservatives, unhealthy oils, and excessive sodium often found in store-bought varieties, ensuring a fresh and wholesome product.
Tips, Variations & Cooking Advice
- Roasted Garlic Hummus: For a milder, sweeter garlic flavor, roast a head of garlic before adding it to the food processor.
- Spicy Kick: Add a pinch of cayenne pepper or a dash of your favorite hot sauce for a fiery variation.
- Herbal Infusion: Incorporate fresh herbs like cilantro, basil, or dill for a vibrant, aromatic twist.
- Sun-Dried Tomato Hummus: Add 1/4 cup of oil-packed sun-dried tomatoes (drained) for a rich, savory flavor.
- Beetroot Hummus: For a stunning pink color and earthy sweetness, blend in 1/2 cup of roasted beets.
- Texture Control: If you prefer a chunkier Hummus, process for a shorter time. For super smooth, consider removing the skins from the chickpeas.
- Dietary Adaptations: This recipe is naturally vegan and gluten-free.
Common Mistakes to Avoid
1. Not processing long enough: The key to creamy Hummus is patience with the food processor. Don’t rush it!
2. Skipping the tahini: Tahini is non-negotiable for authentic flavor and texture. Don’t omit it.
3. Adding all the liquid at once: Gradually add the aquafaba or water to control the consistency precisely.
4. Not seasoning properly: Taste and adjust! A good Hummus is well-balanced.
5. Using old or poor-quality ingredients: Fresh lemon and good quality tahini make a noticeable difference.
Storage & Meal Prep Tips
Homemade Hummus stores beautifully, making it an excellent option for meal prepping.
- Refrigeration: Store leftover Hummus in an airtight container in the refrigerator for up to 5-7 days. To prevent it from drying out, you can drizzle a thin layer of olive oil over the top before sealing.
- Freezing: While it can be frozen, the texture might become slightly grainy upon thawing. If freezing, transfer to a freezer-safe container, leaving some headspace, and freeze for up to 1 month. Thaw in the refrigerator overnight. Stir well before serving, and you might need to add a touch more olive oil or lemon juice to restore the texture and flavor.
- Serving Suggestions: Serve with pita bread, fresh vegetables (carrots, cucumbers, bell peppers), crackers, or as a spread on sandwiches and wraps. It’s also fantastic dolloped onto grain bowls or salads.
Conclusion
Crafting your own creamy, flavorful Hummus at home is a simple yet incredibly rewarding experience. By following these steps, you can transform humble chickpeas into a velvety smooth dip that surpasses any store-bought version. The control over ingredients, the burst of fresh flavors, and the nutritional benefits make this a recipe you’ll revisit again and again. We encourage you to try this recipe and discover the pure delight of homemade Hummus. Share your culinary creations in the comments below, and let us know your favorite variations!
FAQs
Q1: Do I have to remove the skins from the chickpeas for creamy Hummus?
A1: While optional, removing the skins does contribute to an even silkier texture. However, with a good food processor and enough processing time, you can still achieve a very smooth Hummus without this extra step.
Q2: My Hummus is too thick/thin. How do I fix it?
A2: If it’s too thick, gradually add more cold water or aquafaba, one tablespoon at a time, until you reach your desired consistency. If it’s too thin, you can try adding a few more cooked chickpeas and processing again, or letting it chill in the fridge for a while, as it tends to firm up slightly.
Q3: Can I use dried chickpeas instead of canned?
A3: Absolutely! Soaking and cooking dried chickpeas from scratch often yields an even better flavor and texture. Just make sure they are very tender before blending. You’ll need about 1/2 cup of dried chickpeas, soaked overnight and cooked until soft.
Q4: My tahini is separated. Is it still good to use?
A4: Yes, tahini naturally separates. Just stir it very well before measuring to recombine the oil and solids. If it’s too stiff to stir, you can warm the jar slightly in a bowl of warm water.