Unlock the Zest: Crafting the Perfect Homemade Salsa for Every Occasion
Ever wondered how to elevate your next taco night from good to utterly unforgettable? The secret lies in a vibrant, fresh, and homemade Salsa! Forget those bland, store-bought jars; preparing this zesty condiment from scratch is not only surprisingly easy but also incredibly rewarding. It allows you to control the freshness of ingredients, tailor the spice level to your exact preference, and infuse your dish with an explosion of authentic flavors. Imagine the satisfaction of scooping up a spoonful of perfectly balanced Salsa, knowing every ingredient was chosen and chopped by you. This blog post will guide you through crafting a delectable Salsa that will have your taste buds doing a happy dance, perhaps even inspiring a spontaneous urge to try some Salsa dancing in your kitchen!
Ingredients & Kitchen Tools
Here’s everything you’ll need to create your culinary masterpiece:
Ripe Tomatoes (4-5 medium): Opt for Romas or vine-ripened tomatoes for the best flavor and texture. Clarification: These provide the sweet, juicy base.*
Red Onion (1/2 small): Finely diced for a mild, crisp bite. Clarification: Adds a pungent depth without being overpowering.*
Jalapeño Pepper (1, or to taste): Deseeded and minced for adjustable heat. Clarification: The primary source of heat; remove seeds for less spice.*
Fresh Cilantro (1/2 cup, packed): Roughly chopped for a bright, herbaceous note. Clarification: Essential for authentic flavor; can be omitted if you dislike it.*
Lime (1 large): Freshly squeezed for acidity and brightness. Clarification: Balances flavors and prevents browning.*
Garlic (2 cloves): Minced for aromatic depth. Clarification: Adds a foundational savory element.*
Salt (1/2 teaspoon, or to taste): Fine sea salt is recommended. Clarification: Enhances all other flavors.*
Black Pepper (1/4 teaspoon, or to taste): Freshly ground is best. Clarification: Adds a subtle kick.*
Optional: Cumin (1/4 teaspoon): Ground for an earthy warmth. Clarification: Enhances the savory profile.*
Optional: Pinch of Sugar: To balance acidity if tomatoes are very tart. Clarification: A small amount can round out the flavors.*
Kitchen Tools:
- Cutting Board: A sturdy surface for chopping.
- Sharp Knife: Essential for clean, precise cuts.
- Large Mixing Bowl: To combine all ingredients.
- Citrus Juicer: For extracting lime juice efficiently.
- Spoon or Spatula: For mixing.
- Airtight Container: For storage.
Prep Time & Cooking Schedule
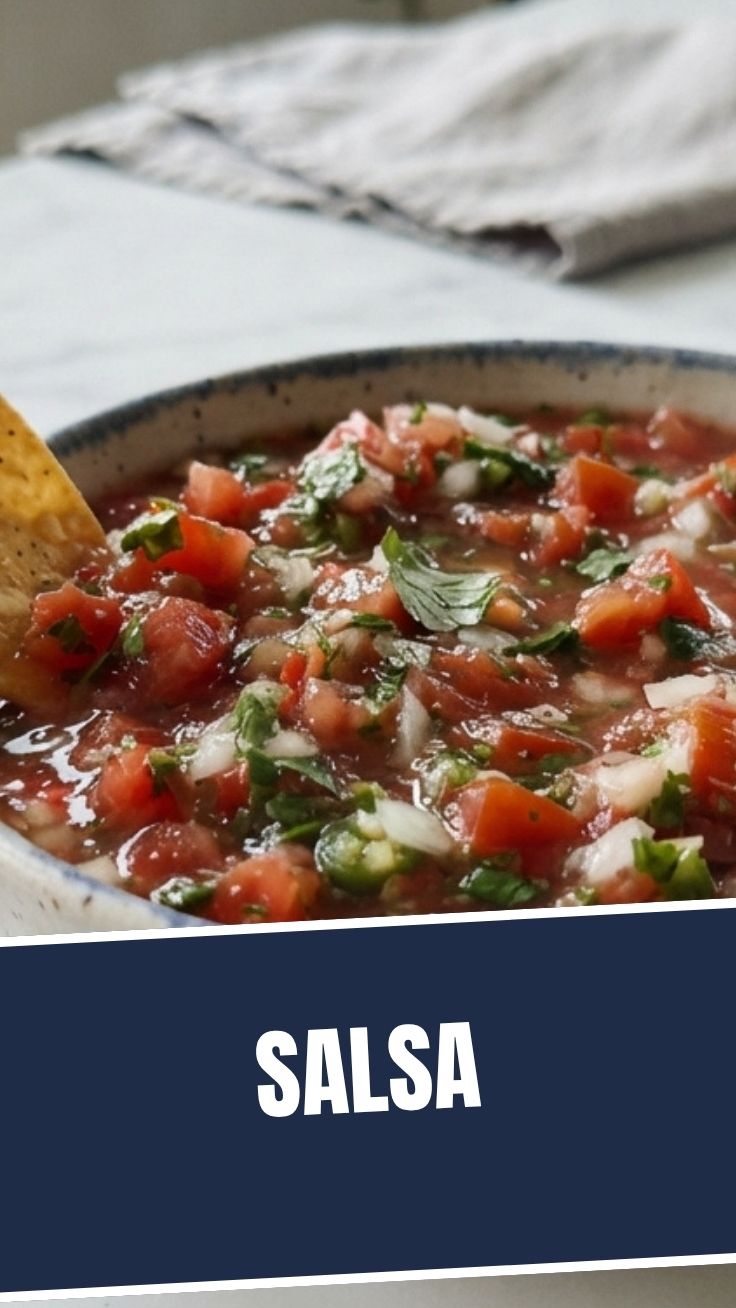
This recipe is wonderfully quick, making it perfect for last-minute gatherings or a spontaneous craving.
- Prep Time: 15-20 minutes (depending on your chopping speed).
- Cooking Time: 0 minutes (no cooking required!).
- Resting Time: 30 minutes (recommended for flavors to meld).
Context: The resting time is crucial! While you can enjoy your Salsa immediately, allowing it to sit for at least 30 minutes in the refrigerator truly lets the flavors marry and deepen. Plan this into your schedule – perhaps while you’re enjoying some energetic Salsa dancing or preparing other components of your meal.
Step-by-Step Instructions
1. Prepare the Vegetables:
* Wash and thoroughly dry all your produce.
* Dice the tomatoes into small, even pieces (about 1/4 inch). Place them in your large mixing bowl.
* Finely dice the red onion and add it to the bowl.
* Mince the garlic and add it to the bowl.
Carefully deseed and mince the jalapeño. Practical Tip: Wear gloves if you have sensitive skin to avoid irritation, and always wash your hands thoroughly after handling chilies.* Add it to the bowl.
* Roughly chop the fresh cilantro and add it in.
2. Combine and Season:
* Squeeze the juice from the entire lime over the vegetables.
* Add the salt, black pepper, and optional cumin and sugar.
Gently mix all the ingredients together with a spoon or spatula until well combined. Texture Cue: You want the ingredients to be evenly distributed, not mashed.*
3. Taste and Adjust:
* Taste a small spoonful of your homemade Salsa.
* Adjust seasonings as needed: add more salt, a pinch more lime juice for brightness, or extra jalapeño for more heat.
Seasoning Adjustments: Remember, you can always add more, but you can’t take it away! Err on the side of caution with salt and spice.*
4. Chill and Serve:
* Cover the bowl and refrigerate your fresh Salsa for at least 30 minutes to allow the flavors to meld. This step is critical for developing a truly exceptional taste profile.
* Serve chilled with tortilla chips, tacos, burritos, grilled meats, or as a vibrant accompaniment to almost any meal. You’ll be ready for some lively Salsa dancing in no time!
Nutritional Benefits & Advantages
Homemade Salsa is a powerhouse of nutrition! Tomatoes are rich in lycopene, a potent antioxidant, and Vitamin C. Onions provide prebiotics and antioxidants. Jalapeños contain capsaicin, which has anti-inflammatory properties. Cilantro offers vitamins K and A. All these fresh ingredients, combined with the lack of artificial additives and excessive sodium found in many commercial varieties, make this Salsa a healthy and flavorful addition to your diet. It’s naturally low in calories and fat, making it a guilt-free way to add a burst of flavor.
Tips Variations & Cooking Advice
- Roast Your Tomatoes: For a deeper, smoky flavor, halve your tomatoes and roast them in the oven at 400°F (200°C) for 20-25 minutes before dicing.
- Spicier Kick: Leave some seeds in the jalapeño, or add a pinch of cayenne pepper. For extreme heat, consider a serrano pepper.
- Fruity Twist: Add diced mango, pineapple, or corn for a sweeter, more complex flavor profile.
- Chunky vs. Smooth: For a smoother Salsa, briefly pulse the ingredients in a food processor, being careful not to over-process into a purée.
- Dietary Adaptations: This recipe is naturally gluten-free and vegan. To make it low-sodium, simply reduce the amount of salt to your preference.
Common Mistakes to Avoid
- Over-processing: If using a food processor, don’t blend too long! You’ll end up with soup instead of chunky Salsa. Pulse in short bursts.
- Not Resting: Rushing the resting time means missing out on the full flavor potential. Let those ingredients get to know each other!
- Dull Knife: A sharp knife makes dicing much easier and safer. Don’t underestimate its importance.
- Forgetting to Taste: Always taste and adjust seasonings. It’s the difference between good Salsa and great Salsa.
Storage & Meal Prep Tips
Store your homemade Salsa in an airtight container in the refrigerator. It will stay fresh for up to 5-7 days. The flavors will continue to develop and meld over time, often tasting even better the next day! Freezing is not recommended as it affects the texture of the fresh tomatoes, making them mushy upon thawing. For meal prep, consider making a larger batch at the beginning of the week to enjoy with various meals.
Conclusion
Crafting your own fresh Salsa is an incredibly rewarding culinary experience that elevates any dish it accompanies. With fresh ingredients, a little chopping, and a touch of patience, you can create a condiment that’s infinitely superior to anything you’ll find in a jar. So go ahead, whip up a batch, invite some friends over, and maybe even put on some Latin music – this vibrant Salsa might just inspire you to embrace the joy of Salsa dancing! Don’t forget to share your creations and experiences in the comments below!
FAQs
Q1: Can I use canned tomatoes for this recipe?
A1: While fresh tomatoes are highly recommended for the best flavor and texture, you can use good quality canned diced tomatoes (drained well) in a pinch. The flavor profile will be different, less vibrant and fresh.
Q2: How can I make my Salsa less watery?
A2: To reduce wateriness, you can deseed your tomatoes before dicing them. Also, a resting period in the fridge allows the flavors to meld and can sometimes firm up the texture slightly.
Q3: What if I don’t like cilantro?
A3: If cilantro isn’t your favorite, you can simply omit it from the recipe. Some people substitute a small amount of fresh parsley for a different herbaceous note, but it won’t be the same authentic Salsa flavor.
Q4: How long does homemade Salsa last?
A4: Stored in an airtight container in the refrigerator, fresh homemade Salsa typically lasts for 5-7 days. Always trust your senses – if it smells or looks off, it’s best to discard it.
Q5: Can I make this Salsa ahead of time for a party?
A5: Absolutely! Making it a few hours or even a day in advance is ideal as it allows the flavors to fully develop. Just give it a good stir before serving.