Beyond the Bakery: Craft Your Own Irresistible Cheesecake at Home
Ever wondered if you could replicate that luxurious, creamy Cheesecake you adore from your favorite patisserie, right in your own kitchen? The answer is a resounding yes! Not only is crafting your own homemade cheesecake incredibly rewarding, but it also allows for personalized touches that store-bought versions simply can’t offer. Imagine customizing every element, from the crust to the toppings, ensuring each bite is a perfect symphony of flavor and texture. This comprehensive guide will empower you to create a show-stopping dessert, impressing everyone who tastes it. We’ll delve into everything you need to know to transform simple ingredients into a culinary masterpiece, proving that homemade perfection is truly within reach.
Ingredients & Kitchen Tools
To embark on your Cheesecake journey, gather these essential ingredients and tools. Each item plays a crucial role in achieving that rich, smooth texture and delightful flavor.
- Cream Cheese (Philly Style, Full Fat): 3 blocks (8 oz each), softened. Crucial for the creamy base; full-fat ensures the best texture.
- Granulated Sugar: 1 ½ cups. Provides sweetness and balances the tang of the cream cheese.
- Sour Cream (Full Fat): 1 cup. Adds a subtle tang and helps create a super-smooth consistency.
- Heavy Cream (Cold): 1 cup. Whipped separately, it lightens the mixture, making the dessert airy.
- Vanilla Extract: 1 tablespoon. Enhances the overall flavor profile.
- Large Eggs: 3, plus 1 egg yolk. Binders that provide structure and richness.
- Graham Cracker Crumbs: 2 cups. Forms the classic, buttery crust.
- Unsalted Butter (Melted): ½ cup. Binds the graham cracker crumbs together.
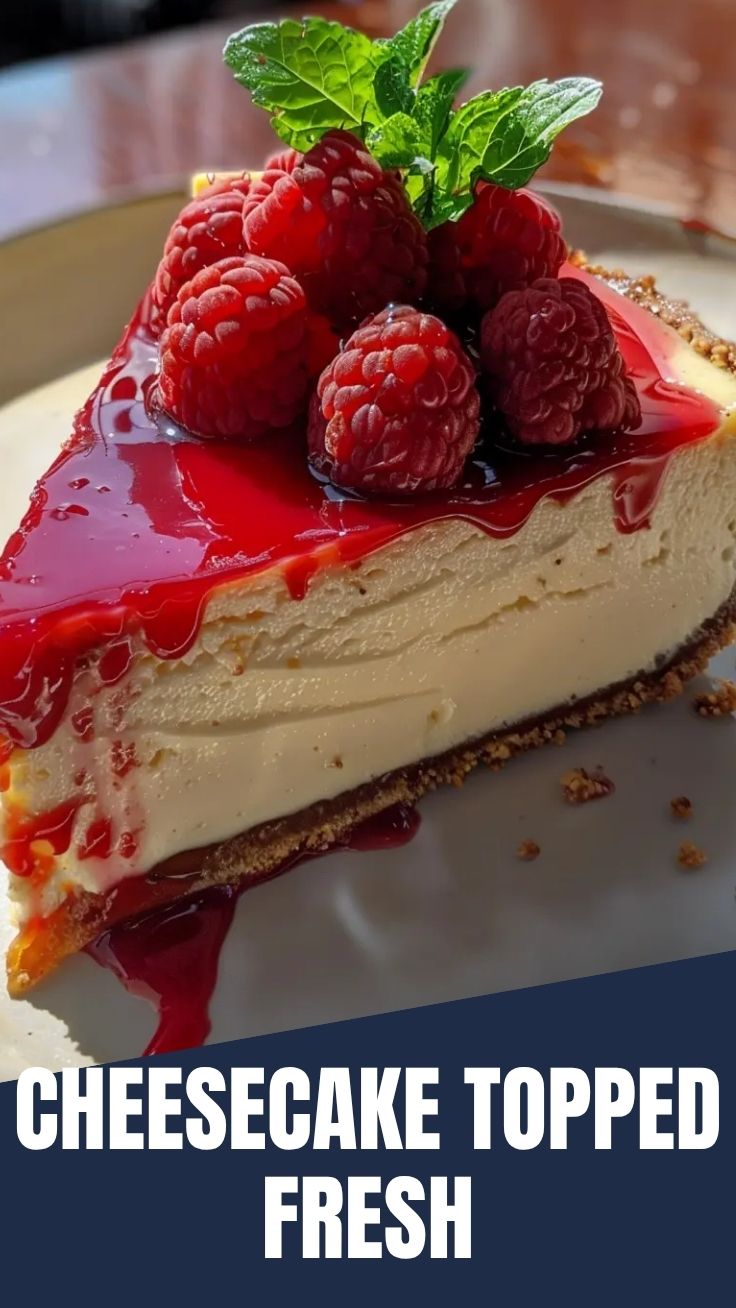
- Optional Toppings: Fresh berries, fruit compote, chocolate ganache, caramel sauce.
Kitchen Tools:
- 9-inch Springform Pan: Essential for easy removal of the finished Cheesecake.
- Electric Mixer (Stand or Handheld): For creaming the cheese and whipping cream.
- Mixing Bowls: Several for different components.
- Spatula: For scraping bowls and folding ingredients.
- Measuring Cups and Spoons: For precise ingredient measurements.
- Parchment Paper: To line the bottom of the springform pan, preventing sticking.
- Aluminum Foil: For creating a water bath barrier.
Prep Time & Cooking Schedule
Prep Time: 30 minutes
Bake Time: 60-70 minutes
Resting Time: 1 hour (in oven with door ajar)
Chilling Time: 6-8 hours (or overnight)
This Cheesecake demands patience! The long chilling time is crucial for the dessert to set properly, ensuring that perfect firm-yet-creamy texture. Begin your preparation a day before you plan to serve to allow ample chilling.
Step-by-Step Instructions
1. Prepare the Crust: Preheat your oven to 325°F (160°C). In a medium bowl, combine graham cracker crumbs and melted butter. Press firmly into the bottom of a 9-inch springform pan lined with parchment paper. Bake for 10 minutes, then remove and let cool. This initial bake gives the crust a sturdy, crisp base for your Cheesecake.
2. Make the Filling: In a large bowl, using an electric mixer, beat the softened cream cheese until smooth and free of lumps. Gradually add the granulated sugar, beating until well combined. Scrape down the sides of the bowl.
3. Incorporate Wet Ingredients: Beat in the sour cream and vanilla extract until just incorporated. Do not overmix. Add the eggs one at a time, beating on low speed until just combined after each addition. Be sure to avoid incorporating too much air, which can cause cracks. Stir in the extra egg yolk for added richness, ensuring this dessert has an unbelievably luxurious texture.
4. Whip the Heavy Cream: In a separate, chilled bowl, whip the cold heavy cream until soft peaks form. Gently fold the whipped cream into the cream cheese mixture using a spatula. This lightens the filling.
5. Assemble and Bake (Water Bath): Pour the filling over the cooled crust in the springform pan. Wrap the bottom of the springform pan tightly with several layers of aluminum foil to prevent water from seeping in. Place the springform pan in a larger roasting pan. Fill the roasting pan with hot water, reaching about halfway up the sides of the springform pan.
6. Bake: Carefully transfer the roasting pan with the Cheesecake to the preheated oven. Bake for 60-70 minutes, or until the edges are set but the center still jiggles slightly when gently shaken.
7. Cooling and Chilling: Turn off the oven, crack the oven door slightly, and let the Cheesecake cool in the oven for 1 hour. This slow cooling prevents cracking. Remove from the oven, remove the foil, and let it cool completely on a wire rack at room temperature. Once cool, cover loosely and refrigerate for at least 6-8 hours, preferably overnight, before serving.
Nutritional Benefits & Advantages
While a slice of Cheesecake is undoubtedly an indulgence, making it at home offers control over ingredient quality. Full-fat dairy products provide essential fats and fat-soluble vitamins (A, D, E, K). Eggs are a good source of protein and choline. Furthermore, homemade versions often contain fewer artificial additives and preservatives compared to store-bought options. Portion control also becomes easier when you’re the one slicing this delicious dessert.
Tips, Variations & Cooking Advice
- Preventing Cracks: The water bath is your best friend! Avoid overmixing the batter (especially after adding eggs) and ensure slow, gradual cooling.
- Flavor Variations:
* Chocolate: Melt ½ cup of semi-sweet chocolate and fold into the batter for a chocolate Cheesecake.
* Lemon: Add 2 tablespoons of fresh lemon zest and ¼ cup of lemon juice for a zesty twist.
* Berry Swirl: Swirl a reduction of mixed berries into the top of the batter before baking.
- Crust Alternatives: Use crushed shortbread cookies, Oreo cookies (with their cream filling), or even gluten-free cookies for a different base.
- Dairy-Free: Substitute dairy cream cheese with a high-quality plant-based cream cheese, and use coconut cream for heavy cream (ensure it’s chilled and only use the thick part).
Common Mistakes to Avoid
- Overmixing: This introduces too much air, leading to a cracked surface during baking and cooling. Mix just until ingredients are combined.
- Under-chilling: Rushing the chilling process results in a soft, unset, and messy Cheesecake. Patience is key!
- Opening the Oven Door Frequently: This causes sudden temperature drops, which can lead to cracks. Trust the process and open the door only when necessary.
- Forgetting the Water Bath: A water bath creates a moist environment, ensuring even baking and preventing cracks.
Storage & Meal Prep Tips
Your homemade Cheesecake will keep beautifully in the refrigerator for up to 5-7 days when covered tightly with plastic wrap. For longer storage, you can freeze individual slices (or the whole dessert) for up to 1 month. Wrap tightly in plastic wrap, then in foil. Thaw in the refrigerator overnight before serving. Do not refreeze after thawing.
Conclusion
Crafting your own creamy, dreamy Cheesecake is an incredibly satisfying culinary adventure. With this detailed guide, you now have all the tools and knowledge to create a truly unforgettable dessert that will have everyone asking for your secret. The rich texture and customizable flavors of a homemade Cheesecake truly elevate it beyond any store-bought equivalent. Don’t be afraid to experiment with toppings and variations to make it uniquely yours. We encourage you to try this recipe, share your delicious results with us in the comments, and explore the endless possibilities of homemade delights!
FAQs
Q1: Why did my Cheesecake crack?
A1: Cracks are usually caused by overmixing, opening the oven door too often, or too rapid cooling. The water bath and slow cooling methods outlined in the recipe help mitigate this.
Q2: Can I make this a no-bake Cheesecake?
A2: This specific recipe is for a baked Cheesecake. No-bake versions use different ingredients (often gelatin) to set.
Q3: How do I know when the Cheesecake is done baking?
A3: The edges should be set, but the center (about 2-3 inches in diameter) should still have a slight jiggle. It will continue to set as it cools.
Q4: Can I use low-fat cream cheese?
A4: While technically possible, low-fat cream cheese will result in a less rich and creamy texture. For the best Cheesecake, full-fat is highly recommended.
Q5: What’s the best way to slice a Cheesecake cleanly?
A5: Dip a sharp knife in hot water and wipe it clean between each slice. This will give you perfectly neat slices of this delightful dessert.