Crispy Homemade Garlic Parmesan Breadsticks: Your New Go-To Snack?
Ever dreamt of biting into a warm, perfectly crispy Breadstick that’s bursting with savory flavor, just like your favorite Italian restaurant? While store-bought options are convenient, creating your own homemade Garlic breadsticks offers an unparalleled experience in taste, freshness, and satisfaction. Imagine the aroma filling your kitchen, the simple joy of mixing and kneading, and the proud moment of serving these golden delights. This recipe isn’t just about baking; it’s about crafting a delightful snack or appetizer that will become a staple in your culinary repertoire. We’ll guide you through every step to ensure your homemade breadsticks are a resounding success.
Ingredients & Kitchen Tools
- All-purpose flour (3 cups): Provides the structure for our breadsticks. You can substitute with bread flour for a chewier texture.
- Active dry yeast (2 ¼ teaspoons or 1 packet): The leavening agent that makes our breadsticks light and airy.
- Warm water (1 cup, 105-115°F/40-46°C): Activates the yeast. Too hot will kill it, too cold won’t activate it.
- Granulated sugar (1 tablespoon): Feeds the yeast, enhancing flavor and rise.
- Salt (1 teaspoon): Balances flavor and controls yeast activity.
- Olive oil (2 tablespoons + 1 tablespoon for brushing): Adds flavor, tenderness, and helps with browning.
- Garlic powder (1 teaspoon): For that essential garlicky kick.
- Dried oregano (½ teaspoon): Adds an authentic Italian herb aroma.
- Grated Parmesan cheese (¼ cup + 2 tablespoons for topping): Contributes savory, umami notes and a golden crust.
- Melted butter (2 tablespoons): For brushing after baking, adding richness and helping the toppings stick.
- Large mixing bowl: For combining ingredients and rising dough.
- Measuring cups and spoons: For accurate ingredient portions.
- Baking sheets: For baking the breadsticks.
- Parchment paper: Prevents sticking and makes cleanup easy.
- Pastry brush: For applying oil and butter.
- Rolling pin (optional): For shaping the dough, though hands work well too.
Prep Time & Cooking Schedule
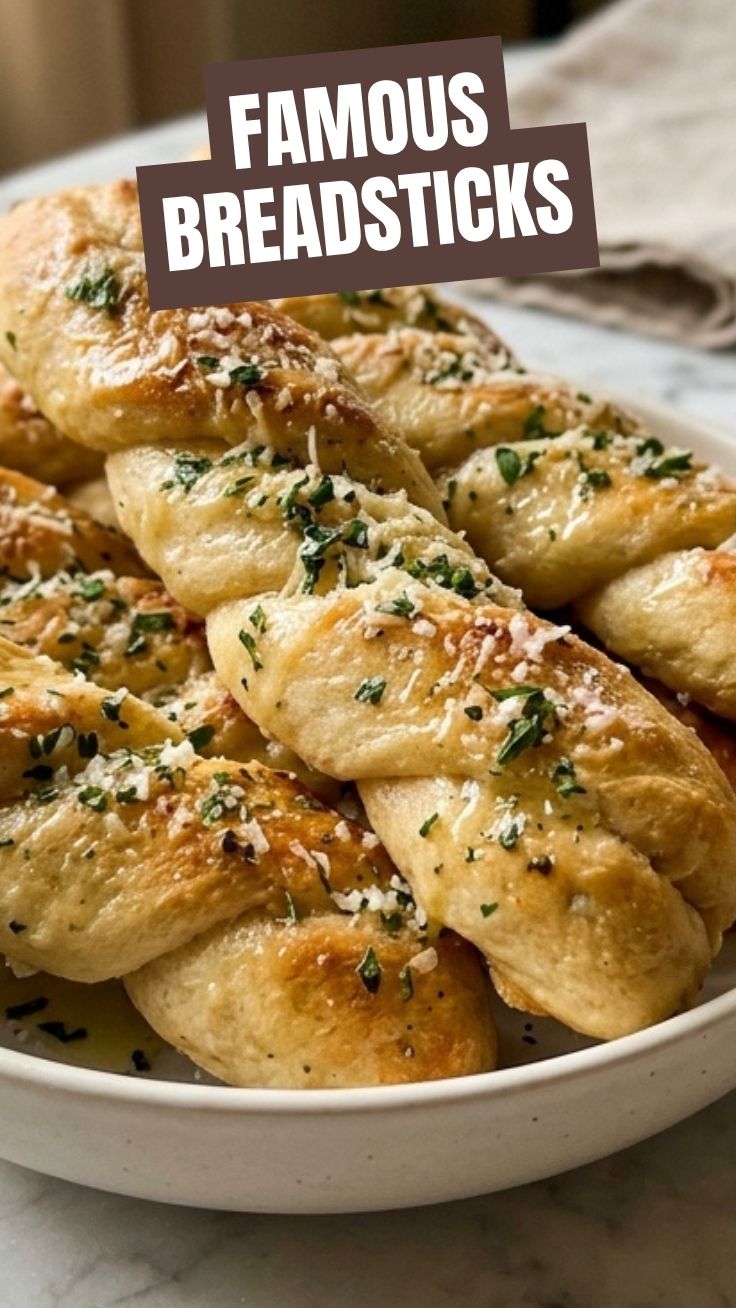
- Prep Time: 20 minutes (active)
- Rise Time: 1 hour (first rise), 20 minutes (second rise)
- Cook Time: 12-15 minutes
- Total Time: Approximately 1 hour 55 minutes
This recipe is designed for a leisurely weekend afternoon, allowing ample time for the dough to develop its full flavor and texture. The two rising periods are crucial, so don’t rush them! While the dough is rising, you can prepare the garlic-parmesan topping or even a delicious dip to go along with your freshly baked breadsticks.
Step-by-Step Instructions
1. Activate the Yeast: In a large mixing bowl, combine the warm water, sugar, and yeast. Stir gently and let sit for 5-10 minutes until foamy. This indicates the yeast is active.
2. Combine Dry Ingredients: In a separate small bowl, whisk together the flour and salt.
3. Form the Dough: Add two tablespoons of olive oil to the activated yeast mixture. Gradually add the dry ingredients to the wet ingredients, mixing with a wooden spoon or your hands until a shaggy dough forms.
4. Knead the Dough: Turn the dough out onto a lightly floured surface and knead for 5-7 minutes until it’s smooth and elastic. If it’s too sticky, add a sprinkle of flour; if too dry, a tiny bit of water.
5. First Rise: Lightly grease the mixing bowl with a little olive oil. Place the dough in the bowl, turning once to coat. Cover with plastic wrap or a damp kitchen towel and let rise in a warm place for 1 hour, or until doubled in size.
6. Shape the Breadsticks: Gently punch down the risen dough to release the air. Transfer it to a lightly floured surface. You can either roll the dough into a large rectangle (about 12×16 inches) and cut into 1-inch strips, or simply pull off small pieces of dough and roll them into 1-inch thick, 8-10 inch long ropes. Aim for consistent size for even baking. These Breadsticks are starting to take shape!
7. Second Rise: Arrange the shaped dough strips on baking sheets lined with parchment paper, leaving about an inch between each. Cover loosely and let rise for another 20 minutes. Preheat your oven to 400°F (200°C) during this time.
8. Prepare Topping & Bake: In a small bowl, whisk together the remaining tablespoon of olive oil, garlic powder, and dried oregano. Brush this mixture over the risen dough strips. Sprinkle generously with ¼ cup of grated Parmesan cheese. Bake for 12-15 minutes, or until golden brown and cooked through. Keep an eye on them; the exact time can vary by oven. That incredible aroma means your Garlic breadsticks are almost ready!
9. Finishing Touch: Once out of the oven, immediately brush the hot breadsticks with melted butter and sprinkle with the remaining 2 tablespoons of Parmesan cheese. Serve warm.
Nutritional Benefits & Advantages
These homemade Breadsticks offer more than just deliciousness. Made with simple, natural ingredients, they avoid the artificial additives often found in store-bought versions. Flour provides essential carbohydrates for energy, while olive oil contributes healthy monounsaturated fats. Parmesan cheese offers calcium and protein. By making them at home, you have complete control over the amount of salt and fat, allowing for a healthier option compared to commercially prepared alternatives.
Tips, Variations & Cooking Advice
- Cheesy Gooey Center: For extra cheesy breadsticks, sprinkle some mozzarella or cheddar cheese in the middle of each strip before rolling, or sprinkle generously during the second rise.
- Herb Variations: Experiment with different dried herbs like Italian seasoning, rosemary, or thyme for unique flavor profiles.
- Spicy Kick: Add a pinch of red pepper flakes to the garlic oil mixture for a subtle heat.
- Gluten-Free Option: While this recipe isn’t specifically gluten-free, you can experiment with gluten-free flour blends. Be aware that the texture and rising times may vary.
- Make Ahead: You can prepare the dough the day before and let it rise slowly in the refrigerator overnight. Just bring it to room temperature for about 30-60 minutes before shaping and baking.
Common Mistakes to Avoid
- Water Temperature: Using water that is too hot will kill the yeast, preventing the dough from rising. Too cold, and the yeast won’t activate properly. Stick to 105-115°F (40-46°C).
- Over-flouring: Adding too much flour during kneading or shaping will result in dry, tough breadsticks. Add flour gradually and only as needed.
- Not Enough Kneading: Undercooked dough won’t develop enough gluten, leading to dense breadsticks. Knead until smooth and elastic.
- Overcrowding the Baking Sheet: Give your breadsticks space to breathe and expand. Overcrowding can lead to uneven baking and soggy bottoms.
Storage & Meal Prep Tips
Leftover Breadsticks are best stored in an airtight container at room temperature for up to 2-3 days. To reheat and restore their crispiness, pop them in a preheated oven at 350°F (175°C) for 5-7 minutes, or briefly in a toaster oven. We don’t recommend freezing already baked breadsticks as they can become a bit dry upon thawing. However, you can freeze unbaked dough strips for up to a month. Thaw in the refrigerator overnight, then proceed with the second rise and baking instructions.
Conclusion
There’s truly nothing quite like the satisfaction of creating warm, savory Breadsticks from scratch. This recipe for Garlic breadsticks provides a versatile and delicious treat that’s perfect for dipping in marinara sauce, accompanying a pasta dish, or simply enjoying as a standalone snack. By following these clear instructions and embracing the simple joys of baking, you’ll be able to consistently produce golden, perfectly seasoned breadsticks that will impress everyone. Give it a try, share your delightful results, and elevate your home cooking experience!
FAQs
1. Can I use instant yeast instead of active dry yeast? Yes, you can use instant yeast. You can add it directly to the flour without activating it first, though some still prefer to activate it for peace of mind.
2. My dough isn’t rising. What went wrong? This typically indicates inactive or dead yeast. Ensure your water temperature is correct and your yeast isn’t expired. A warm environment also helps with rising.
3. How can I make these extra crispy? For maximum crispiness, bake them a few minutes longer, watching carefully to prevent burning. You can also lightly mist them with water before baking for an even crispier crust.
4. Can I prepare the dough in a stand mixer? Absolutely! Use the dough hook attachment and mix on low speed for 5-7 minutes until the dough is smooth and pulls away from the sides of the bowl.
5. What are some good dips for these breadsticks? Classic marinara, homemade clam dip, olive tapenade, or a simple garlic butter are all fantastic choices.