The Ultimate Guide to Crafting Irresistible Homemade Banana Bread
Ever wondered what makes a truly exceptional slice of Banana Bread? The aroma, the moist crumb, the perfectly caramelized edges – it’s a culinary hug in every bite. While store-bought options exist, there’s an unparalleled satisfaction and superior flavor that comes from preparing this classic treat in your own kitchen. Beyond the delightful taste, baking at home allows you to control the quality of your ingredients, ensuring a wholesome and truly delicious outcome. This comprehensive guide will walk you through every step, transforming simple ingredients into a masterpiece of baked goodness. Get ready to elevate your baking game and experience the pure joy of homemade goodness, with the star, of course, being the humble yet versatile Banana.
Ingredients & Kitchen Tools
To embark on your Banana Bread journey, gather these essential items:
- Ripe Bananas (3-4 medium): The riper, the better! Look for bananas with plenty of brown spots for maximum sweetness and moisture.
- All-Purpose Flour (1 ½ cups): Provides the structure for your loaf.
- Granulated Sugar (¾ cup): Sweetens the bread and aids in browning.
- Large Egg (1): Binds the ingredients together and adds richness.
- Unsalted Butter (½ cup, melted): Adds moisture and flavor. Using unsalted butter allows you to control the salt content.
- Baking Soda (1 teaspoon): A leavening agent that helps the bread rise and achieve a tender crumb.
- Salt (½ teaspoon): Enhances the overall flavor.
- Vanilla Extract (1 teaspoon): Adds a warm, aromatic depth.
- Optional add-ins: Chopped walnuts, chocolate chips, or pecans (½ cup).
- Mixing Bowls (2): One for wet ingredients, one for dry.
- Whisk: For combining dry ingredients and light mixing.
- Spatula: For folding and scraping bowls.
- Loaf Pan (8.5 x 4.5 inches or similar): The vessel for your delicious creation.
- Measuring Cups & Spoons: For accurate ingredient proportions.
Prep Time & Cooking Schedule
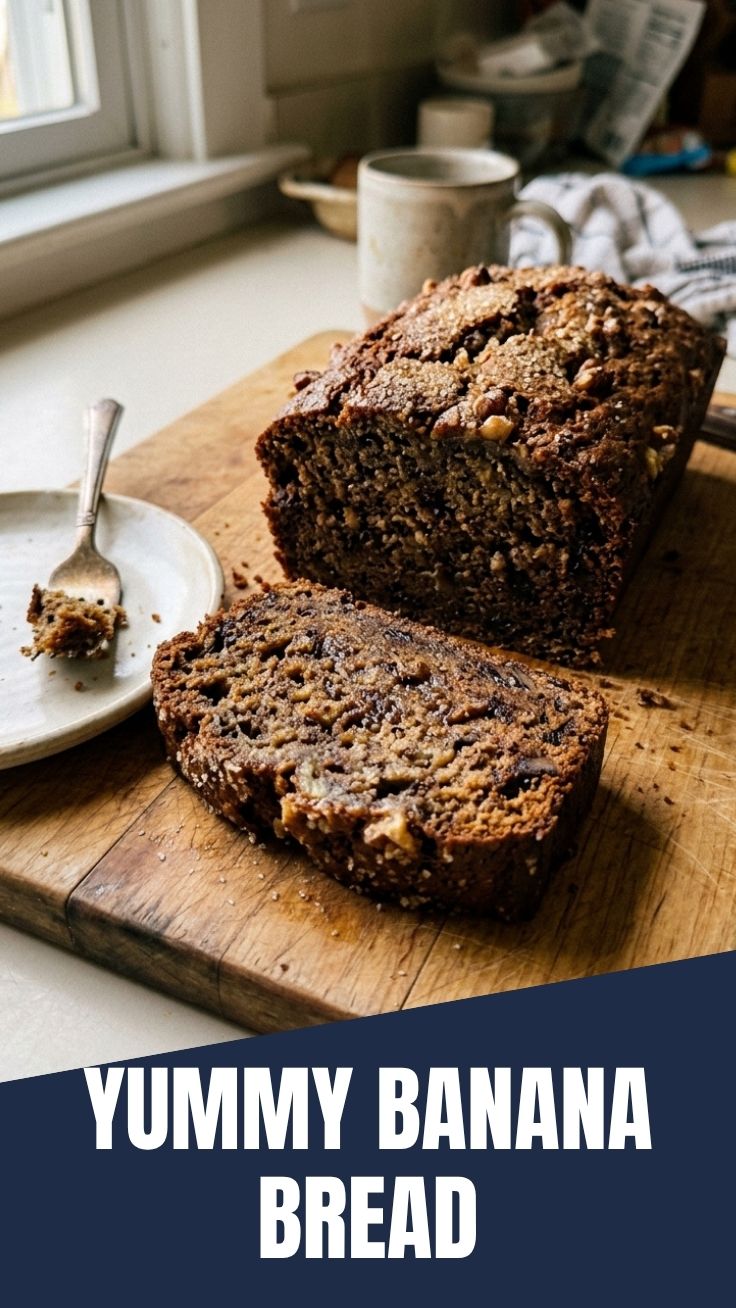
- Prep Time: 15 minutes
- Cook Time: 50-60 minutes
- Resting Time: 15-20 minutes
This recipe is perfect for a weekend baking project or a delightful midweek treat. The prep time is minimal, allowing you to whip up the batter quickly. The majority of the time is spent in the oven, filling your home with an irresistible aroma. Don’t rush the resting time; it allows the bread to set and makes for easier slicing.
Step-by-Step Instructions
1. Preheat & Prepare: Preheat your oven to 350°F (175°C). Grease and flour an 8.5 x 4.5-inch loaf pan or line with parchment paper for easy removal. This ensures your Banana Bread doesn’t stick.
2. Mash the Bananas: In a medium bowl, thoroughly mash the ripe Banana using a fork until mostly smooth but with a few small lumps for texture. Overripe bananas are key here for maximum sweetness.
3. Combine Wet Ingredients: In a separate large bowl, whisk together the melted butter and granulated sugar until well combined. Beat in the egg and vanilla extract until smooth.
4. Add Mashed Banana: Stir the mashed banana into the wet ingredient mixture until just combined.
5. Whisk Dry Ingredients: In another bowl, whisk together the all-purpose flour, baking soda, and salt. This ensures even distribution of the leavening agent.
6. Combine Wet and Dry: Gradually add the dry ingredients to the wet ingredients, mixing until just combined. Be careful not to overmix, as this can lead to a tough loaf. A few streaks of flour are acceptable. If using, fold in your optional add-ins like nuts or chocolate chips.
7. Bake: Pour the batter into the prepared loaf pan and spread evenly. Bake for 50-60 minutes, or until a wooden skewer inserted into the center comes out clean.
8. Cool: Let the bread cool in the pan on a wire rack for 10-15 minutes before carefully removing it. Allow it to cool completely on the rack before slicing for the best texture.
Nutritional Benefits & Advantages
Beyond its comforting appeal, classic Banana Bread offers several nutritional upsides. Bananas are a fantastic source of potassium, which is crucial for maintaining healthy blood pressure and muscle function. They also provide dietary fiber, aiding in digestion and promoting satiety. When made with whole wheat flour (a viable substitution), the fiber content increases even further. While it contains sugar, homemade versions allow you to control the amount, making it a more wholesome treat compared to many commercially produced baked goods. The inclusion of eggs and butter also contributes to a feeling of fullness.
Tips, Variations & Cooking Advice
- Fruity Twists:
* Blueberry Banana Bread: Fold in ½ cup of fresh or frozen blueberries (no need to thaw) for a burst of fruity flavor.
* Spiced Goodness: Add ½ teaspoon of cinnamon or nutmeg to the dry ingredients for a warm, aromatic touch.
- Healthier Swaps:
* Whole Wheat Flour: Substitute up to half of the all-purpose flour with whole wheat flour for added fiber and a nuttier flavor.
* Less Sugar: Reduce the sugar by ¼ cup if your bananas are very ripe.
* Greek Yogurt: Replace half of the melted butter with plain Greek yogurt for a moister, lower-fat option.
- Gluten-Free Option: Use a 1:1 gluten-free baking flour blend for an equally delicious result.
- Mini Loaves: Divide the batter into mini loaf pans and adjust baking time accordingly (around 30-40 minutes).
Common Mistakes to Avoid
- Under-ripe Bananas: Using firm, green bananas will result in less flavor and a drier loaf.
- Overmixing the Batter: This develops the gluten in the flour too much, leading to a tough and chewy Banana Bread. Mix until just combined.
- Opening the Oven Door Too Early: Resist the urge to check on your bread in the first 30 minutes to prevent it from sinking.
- Not Cooling Completely: Slicing warm bread can cause it to crumble. Allow it to cool for at least 15-20 minutes in the pan, then completely on a wire rack.
Storage & Meal Prep Tips
Your freshly baked Banana Bread, with its delightful Banana essence, will stay fresh at room temperature, wrapped tightly in plastic wrap or stored in an airtight container, for up to 3-4 days. For longer storage, slice the cooled bread and store individual slices in freezer-safe bags or containers for up to 3 months. To enjoy, simply thaw at room temperature or gently warm in the microwave or toaster oven. This makes it an ideal candidate for meal prepping; you can bake a loaf on the weekend and enjoy slices throughout the week as a quick breakfast or snack.
Conclusion
There’s an undeniable charm and unparalleled satisfaction in baking your own Banana Bread. From the simple act of mashing up that perfectly ripe Banana to the moment it emerges from the oven, this recipe truly embodies the joy of homemade cooking. We hope this comprehensive guide inspires you to create your own delicious loaf. Don’t be afraid to experiment with variations and make it your own! Share your creations with us in the comments below, and let us know your favorite ways to enjoy this beloved treat.
FAQs
1. Can I use frozen bananas?
Yes, absolutely! Thaw frozen bananas completely, drain any excess liquid, then mash as usual. The liquid can make the batter too wet.
2. How do I know if my Banana Bread is cooked through?
Insert a wooden skewer or toothpick into the center of the loaf. If it comes out clean with no wet batter, it’s done. A few moist crumbs are acceptable.
3. My Banana Bread is dense. What went wrong?
This often indicates overmixing the batter. Ensure you mix only until the ingredients are just combined. Also, check your leavening agent (baking soda) for freshness.
4. Can I replace butter with oil?
Yes, you can substitute an equal amount of a neutral-flavored oil (like vegetable oil or canola oil) for the melted butter for a slightly different texture and flavor profile.
5. How can I make my Banana Bread more moist?
Using very ripe bananas is key. You can also add a tablespoon of sour cream or plain yogurt to the batter, or slightly underbake it (while still ensuring it’s cooked through) to retain more moisture.