Indulge Your Sweet Tooth: The Ultimate Guide to Homemade Strawberry Cheesecake Bars
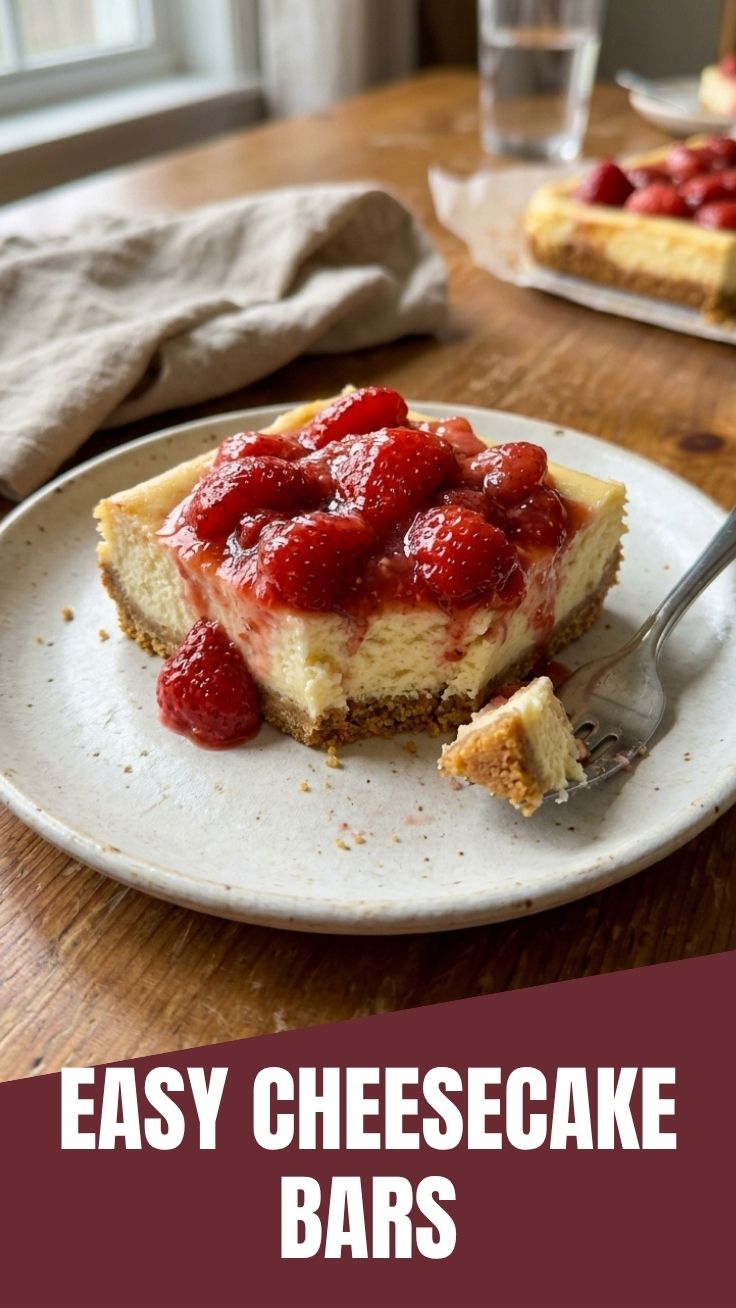
Tired of the same old dessert routine? Craving a treat that’s both elegant and effortlessly delicious? Look no further! This blog post will guide you through crafting the most exquisite Strawberry Cheesecake Bars you’ve ever tasted. Imagine a buttery, crumbly crust, a rich, velvety cream cheese filling, and a bright, fresh strawberry topping – all in one perfect bite. Preparing this delightful dessert at home isn’t just about saving money; it’s about the joy of creating something truly special, tailored to your preferences, and sharing it with loved ones. Once you master these homemade cheesecake bars, you’ll wonder why you ever bought them from a bakery.
Ingredients & Kitchen Tools
Here’s everything you’ll need to create these irresistible cheesecake bars:
For the Crust:
- 1 ½ cups graham cracker crumbs: Finely crushed graham crackers are essential for that classic buttery crust. You can achieve this with a food processor or by hand using a Ziploc bag and a rolling pin.
- ¼ cup granulated sugar: Adds a touch of sweetness to balance the richness.
- 6 tablespoons unsalted butter, melted: Binds the crumbs together, creating a firm and flavorful base.
For the Cheesecake Filling:
- 2 (8-ounce) packages cream cheese, softened: Full-fat cream cheese yields the creamiest, most decadent results. Ensure it’s at room temperature for a lump-free filling.
- ½ cup granulated sugar: Sweetens the rich cream cheese.
- 2 large eggs: Provide structure and richness to the filling. Make sure they are at room temperature.
- 1 teaspoon vanilla extract: Enhances the overall flavor profile.
- 1 tablespoon lemon juice (freshly squeezed): A touch of acidity brightens the flavors and prevents the cheesecake from being too heavy.
For the Strawberry Topping:
- 2 cups fresh strawberries, hulled and sliced: Choose ripe, vibrant strawberries for the best flavor and color.
- 2 tablespoons granulated sugar: Sweetens the strawberries and helps create a light syrup.
- 1 tablespoon cornstarch (mixed with 1 tablespoon cold water): Creates a shimmering glaze that thickens the strawberry topping.
- 1 teaspoon lemon juice: Enhances the fresh berry flavor.
Kitchen Tools:
- 9×13 inch baking pan: The ideal size for evenly baked bars.
- Aluminum foil or parchment paper: For lining the pan, making removal a breeze.
- Large mixing bowls: For combining ingredients.
- Electric mixer (stand or hand-held): For achieving a smooth and airy cheesecake filling.
- Spatula: For scraping down bowls and spreading fillings.
- Small saucepan: For preparing the strawberry topping.
- Measuring cups and spoons: For accurate ingredient proportions.
Prep Time & Cooking Schedule
Planning is key to baking success! Here’s a breakdown of the time needed:
- Prep time: 30 minutes (This includes preparing the crust, filling, and strawberry topping.)
- Bake time: 30-35 minutes (For the cheesecake layer to set perfectly.)
- Cooling time: 1 hour at room temperature, then at least 4 hours (or overnight) in the refrigerator. The chilling time is crucial for the bars to firm up and develop their full flavor and texture. Don’t rush this step!
Step-by-Step Instructions
Follow these detailed steps to create your perfect Strawberry Cheesecake Bars:
1. Preheat Oven & Prepare Pan: Preheat your oven to 350°F (175°C). Line a 9×13 inch baking pan with aluminum foil or parchment paper, leaving an overhang on the sides for easy lifting later.
2. Make the Crust: In a medium bowl, combine the graham cracker crumbs and ¼ cup granulated sugar. Pour in the melted butter and mix until all crumbs are moistened. Press the mixture evenly into the bottom of the prepared baking pan. Bake for 8-10 minutes, or until lightly golden. Remove from oven and let cool slightly while you prepare the filling.
3. Prepare the Cheesecake Filling: In a large mixing bowl, beat the softened cream cheese with the electric mixer on medium speed until smooth and creamy (about 2-3 minutes). Gradually add ½ cup granulated sugar and beat until well combined. Beat in the eggs one at a time, mixing just until incorporated after each addition. Stir in the vanilla extract and 1 tablespoon lemon juice. Be careful not to overmix, as this can introduce too much air, leading to cracks.
4. Bake the Cheesecake: Pour the cheesecake filling over the cooled crust. Spread evenly with a spatula. Bake for 30-35 minutes, or until the edges are set and the center still has a slight jiggle. Do not overbake.
5. Cool the Cheesecake: Remove from the oven and let cool completely on a wire rack at room temperature for at least 1 hour. Once cooled, transfer the pan to the refrigerator and chill for at least 4 hours, or preferably overnight, for the best texture. This chilling process is vital for creating perfect cheesecake bars.
6. Prepare the Strawberry Topping: In a small saucepan, combine the sliced strawberries, 2 tablespoons granulated sugar, and 1 teaspoon lemon juice. Cook over medium heat, stirring occasionally, until the strawberries start to soften and release their juices (about 5-7 minutes). In a small bowl, whisk together the cornstarch and cold water until smooth. Pour this mixture into the saucepan with the strawberries, stirring constantly, until the sauce thickens and becomes glossy (about 1-2 minutes). Remove from heat and let cool completely.
7. Assemble and Serve: Once the cheesecake is thoroughly chilled, lift it out of the pan using the foil/parchment overhang. Carefully spread the cooled strawberry topping evenly over the cheesecake. Cut into squares and serve immediately.
Nutritional Benefits & Advantages
These tasty Strawberry Cheesecake Bars aren’t just a delightful indulgence; they also offer surprising nutritional advantages. Strawberries are a powerhouse of Vitamin C, a strong antioxidant that supports immune health and skin vitality. They also provide dietary fiber, aiding in digestion. While cream cheese is rich, it’s also a good source of calcium and protein. By making these from scratch, you control the amount of sugar and can choose high-quality, fresh ingredients, avoiding artificial additives often found in store-bought desserts.
Tips, Variations & Cooking Advice
- For a Gluten-Free Option: Use gluten-free graham cracker crumbs, or substitute the crust with a mixture of almond flour, sugar, and melted butter.
- Dairy-Free Delight: While challenging to replicate the exact creaminess, you can use plant-based cream cheese alternatives and vegan butter for a dairy-free version.
- Flavor Swaps: Instead of strawberries, try raspberry, blueberry, or mixed berry toppings. A drizzle of chocolate ganache or a sprinkle of toasted nuts can also elevate the flavor profile.
- Mini Bars: For individual portions, bake in a muffin tin lined with paper liners. Adjust baking time accordingly.
- Prevent Cracks: The main culprits for cheesecake cracks are over-beating the filling (introduces too much air) and sudden temperature changes. Ensure your ingredients are at room temperature, beat just until combined, and let the cheesecake cool gradually.
- Zest it Up: Adding a teaspoon of lemon zest to the cheesecake filling can intensify the refreshing citrus note.
Common Mistakes to Avoid
- Using Cold Ingredients: Cold cream cheese and eggs will result in a lumpy filling. Always ensure they are at room temperature.
- Over-mixing the Filling: Over-mixing incorporates too much air, which expands during baking and then collapses, leading to cracks. Mix just until smooth.
- Overbaking: An overbaked cheesecake will be dry and rubbery. Remove it from the oven when the edges are set but the center still wiggles slightly. It will continue to set as it cools.
- Not Chilling Long Enough: Patience is key! Rushing the chilling process will result in unset, messy bars that are difficult to cut.
Storage & Meal Prep Tips
Leftover cheesecake bars should be stored in an airtight container in the refrigerator. They will stay fresh for up to 3-4 days. While you can freeze cheesecake, the texture of the strawberry topping might become a bit watery upon thawing. If freezing, it’s best to freeze the plain cheesecake bars without the topping, then add a fresh topping after thawing. Thaw frozen bars in the refrigerator overnight.
Conclusion
There you have it – a comprehensive guide to crafting the most delightful Strawberry Cheesecake Bars. From the perfectly crumbly crust to the luscious, creamy filling and vibrant strawberry topping, every element comes together to create a truly unforgettable dessert. We hope this recipe empowers you to create these amazing cheesecake bars with confidence and joy. Don’t hesitate to give them a try, and be sure to share your beautiful creations with us! What’s your favorite cheesecake flavor combination? Let us know in the comments below, or explore our other tempting dessert recipes!
FAQs
Q1: Can I use frozen strawberries for the topping?
A1: Yes, you can. Thaw them first and drain any excess liquid to prevent the topping from becoming too watery. The cook time might be slightly longer.
Q2: My cheesecake cracked. What went wrong?
A2: Common causes include over-mixing the filling, overbaking, or sudden temperature changes during cooling. Ensure ingredients are at room temperature, mix minimally, and allow for gradual cooling.
Q3: How can I make these bars less sweet?
A3: You can slightly reduce the sugar in both the crust (by 1-2 tablespoons) and the cheesecake filling (by ¼ cup). Adjust to your preference.
Q4: Can I prepare the topping ahead of time?
A4: Yes, you can prepare the strawberry topping up to 2-3 days in advance and store it in an airtight container in the refrigerator. Let it come to room temperature or gently warm before spreading.
Q5: What if I don’t have a 9×13 inch pan?
A5: You can use a 9×9 inch pan for thicker bars, but you will need to adjust the baking time, likely increasing it by 10-15 minutes, and keep an eye on the doneness. Alternatively, a 10×15 inch jelly roll pan will yield thinner bars with a shorter baking time.