Unlock the Secret to Creamy, Dreamy Homemade Hummus
Ever wondered if you could achieve that impossibly smooth, rich Hummus (Homemade) texture you find in your favorite Mediterranean restaurant right in your own kitchen? The answer is a resounding yes! Preparing your own hummus at home isn’t just about saving money; it’s about unlocking a world of unparalleled freshness, customizable flavors, and wholesome ingredients you control. Forget store-bought tubs packed with preservatives and questionable oils. Our detailed
Hummus Recipe will guide you through creating a dip so delectable, it will become a staple in your culinary repertoire. Let’s dive into the simple steps to create this incredibly versatile and nutritious spread.
Ingredients & Kitchen Tools
Crafting the perfect batch of hummus requires a few key ingredients and basic kitchen tools. Quality ingredients are crucial for superior flavor and texture.
Ingredients:
- 1 can (15 ounces/425g) chickpeas (garbanzo beans): Rinsed and drained, ideally with skins removed for extra creaminess.
- 1/4 cup (60ml) tahini: Sesame paste; use good quality for best flavor. Stir well before measuring.
- Juice of 1 large lemon: Freshly squeezed is essential for bright, zesty flavor.
- 1-2 cloves garlic: Minced; adjust to your preference for pungency.
- 1/2 teaspoon ground cumin: Adds an earthy, warm depth.
- 2-4 tablespoons ice water: Crucial for achieving that perfectly light and fluffy texture. Start with 2 and add more as needed.
- Salt to taste: Start with 1/2 teaspoon and adjust.
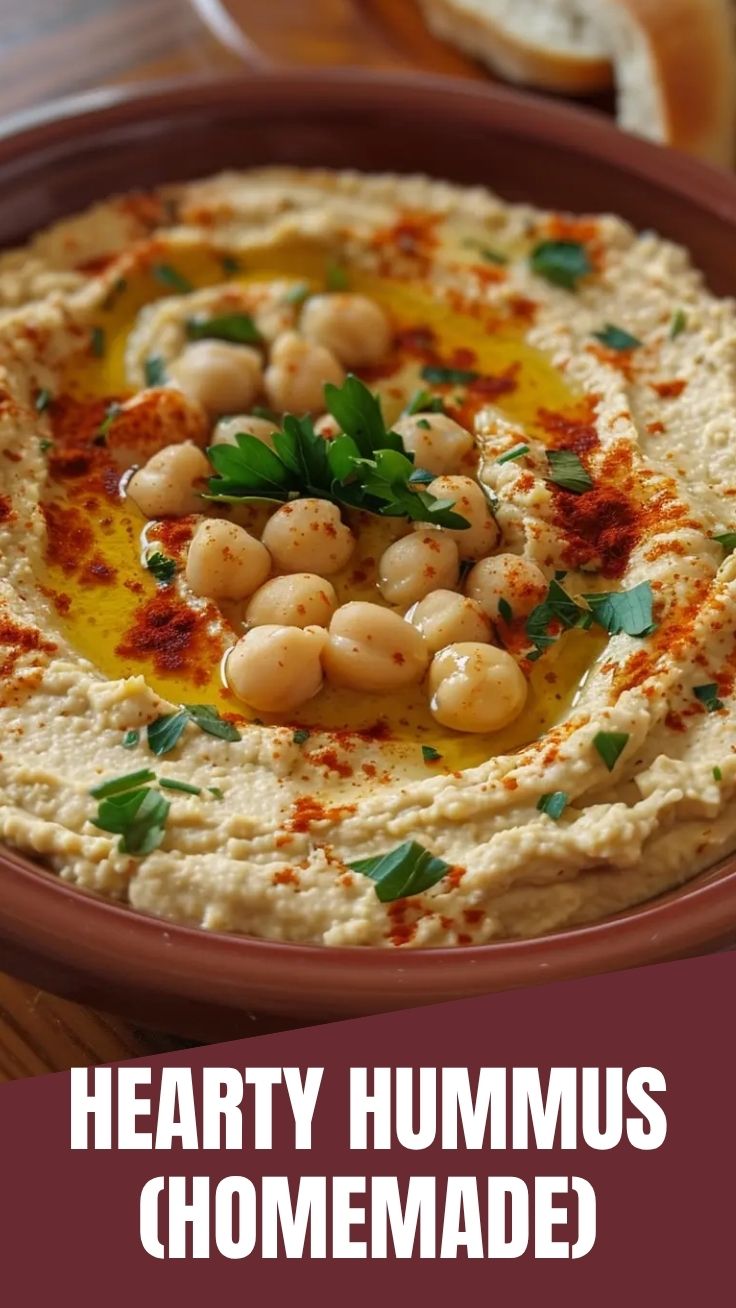
- Optional garnishes: Drizzle of extra virgin olive oil, paprika, chopped fresh parsley, pine nuts.
Kitchen Tools:
- Food processor (or high-speed blender): Essential for achieving a smooth, creamy consistency.
- Fine-mesh sieve: For rinsing chickpeas and optionally removing skins.
- Measuring cups and spoons: For accurate ingredient proportions.
- Citrus juicer: To efficiently extract lemon juice.
- Garlic press or sharp knife: For mincing garlic.
- Rubber spatula: For scraping down the sides of the food processor.
- Serving bowl: For presenting your delicious creation.
Prep Time & Cooking Schedule
This Hummus Recipe is incredibly quick to prepare, making it an ideal last-minute appetizer or snack component.
- Prep Time: 10-15 minutes (this includes rinsing chickpeas and gathering ingredients). Add an extra 5-10 minutes if you choose to remove chickpea skins.
- Cook Time: 0 minutes (no cooking required!).
- Processing Time: 5-7 minutes.
- Chilling Time (Optional but Recommended): 30 minutes for flavors to meld.
Plan to assemble this about 45 minutes to an hour before serving if you want chilled hummus. Otherwise, it’s ready almost instantly!
Step-by-Step Instructions
Follow these simple steps for a fool-proof, incredibly delicious batch of Hummus (Homemade):
1. Prepare Chickpeas: Drain and rinse the canned chickpeas thoroughly under cold water. For the silkiest hummus, gently rub the chickpeas between two towels or your hands in water to loosen and remove the outer skins. Discard the skins. While optional, this step significantly improves texture.
2. Combine Ingredients (Except Water): In your food processor, combine the rinsed chickpeas, tahini, lemon juice, minced garlic, ground cumin, and a pinch of salt.
3. Process to a Paste: Process the mixture for 1-2 minutes until a thick, crumbly paste forms. Scrape down the sides of the bowl with your spatula.
4. Add Ice Water for Creaminess: With the food processor running, gradually add the ice water, 1 tablespoon at a time. Continue processing for 3-5 minutes, scraping down the sides occasionally, until the hummus becomes incredibly smooth, light, and creamy. The ice water helps emulsify the mixture and creates a wonderfully airy texture.
5. Taste and Adjust: Taste your hummus and adjust seasonings. You might need more salt, lemon juice for brightness, or a tiny bit more cumin. Process again briefly to incorporate adjustments.
6. Serve & Garnish: Transfer the hummus to a serving bowl. Drizzle generously with good quality extra virgin olive oil, sprinkle with paprika, and garnish with fresh parsley or pine nuts if desired.
Nutritional Benefits & Advantages
This homemade Hummus Recipe isn’t just delicious; it’s a nutritional powerhouse! Chickpeas are an excellent source of plant-based protein and dietary fiber, promoting satiety and aiding digestion. Tahini provides healthy fats, iron, and calcium. Lemon juice adds a burst of vitamin C. This combination makes hummus a fantastic dip for maintaining energy levels, supporting heart health, and providing essential micronutrients. It’s naturally gluten-free and can easily be made oil-free for specific dietary needs.
Tips, Variations & Cooking Advice
- Roasted Garlic Hummus: For a milder, sweeter garlic flavor, roast a head of garlic until soft, then squeeze the cloves into the food processor.
- Spicy Hummus: Add a pinch of cayenne pepper, a dash of hot sauce, or a roasted jalapeño to the mix.
- Red Pepper Hummus: Roast a red bell pepper, peel it, and blend it in with the other ingredients.
- Herbaceous Hummus: Incorporate fresh herbs like cilantro, basil, or mint for a fresh twist.
- Texture Control: If your hummus is too thick, add a tiny bit more ice water. If it’s too thin, you might have added too much liquid, but sometimes processing for longer can firm it up slightly.
- Soaking Dried Chickpeas: For an even more authentic flavor, consider soaking and cooking dried chickpeas from scratch instead of using canned. This requires pre-planning but yields superior taste.
Common Mistakes to Avoid
- Not Enough Tahini: Skipping tahini or using too little will result in a bland, pasty hummus. Tahini is essential for the characteristic flavor and creamy texture.
- Not Enough Processing: A common mistake is stopping the food processor too early. Hummus needs several minutes of continuous processing to become incredibly smooth and airy. Don’t be afraid to let it run!
Warm Water: Always use ice* water. The cold temperature helps create a lighter, fluffier texture.
- Ignoring Seasoning: Always taste and adjust! Lemon, salt, and cumin levels are crucial for a balanced flavor profile.
- Old or Rancid Tahini: Tahini can go rancid over time. Always check the expiry date and smell before using it.
Storage & Meal Prep Tips
Homemade Hummus (Homemade) stores wonderfully, making it perfect for meal prepping.
- Refrigeration: Store leftover hummus in an airtight container in the refrigerator for up to 5-7 days.
- Preventing Dryness: To keep the surface from drying out, smooth the top and pour a thin layer of extra virgin olive oil over it before sealing the container.
- Freezing: Hummus freezes surprisingly well! Place it in an airtight, freezer-safe container, leaving about an inch of headspace. It can be frozen for up to 3-4 months. Thaw in the refrigerator overnight and stir well before serving. You may need to add a splash of lemon juice or water to restore its creamy texture.
- Serving Ideas: Enjoy with pita bread, fresh vegetables, crackers, as a spread in sandwiches or wraps, or as a base for grain bowls.
Conclusion
Mastering this Hummus Recipe is a culinary game-changer. The simple combination of chickpeas, tahini, lemon, and garlic transforms into a velvety smooth, incredibly flavorful spread that far surpasses any store-bought version. We hope this comprehensive guide inspires you to create your own delightful Hummus (Homemade) and experience the satisfaction of truly fresh, wholesome food. Give it a try, experiment with variations, and share your delicious creations in the comments below! Your taste buds (and your health) will thank you.
FAQs
Q1: Do I really need to remove the chickpea skins?
A1: While optional, removing the skins will significantly improve the texture, resulting in a much smoother, silkier hummus. For a grittier, more rustic hummus, you can skip this step.
Q2: My hummus isn’t as smooth as I’d like. What did I do wrong?
A2: The most common reasons are not enough processing time or not using ice water. Let your food processor run for a full 3-5 minutes, continuously scraping down the sides, and ensure you’re adding ice-cold water gradually.
Q3: Can I make hummus without tahini?
A3: You can, but it won’t be authentic hummus. Tahini is a core ingredient that provides essential flavor, body, and creaminess. Without it, you’ll have a chickpea dip, which can still be tasty but isn’t traditional hummus.
Q4: How can I make my hummus less bitter?
A4: Bitterness often comes from old or poor-quality tahini. Ensure your tahini is fresh and well-stirred. You can also counteract bitterness with a bit more lemon juice or a pinch of sugar, though the latter is less traditional.
Q5: What’s the best way to serve hummus?
A5: The classic way is with warm pita bread. It’s also fantastic with fresh vegetable sticks (carrots, cucumber, bell peppers), as a spread on sandwiches/wraps, or as a dollop in salads and grain bowls.