Craving the Perfect Crust? Unlock the Secrets to Irresistible Pizza Dough!
Have you ever wondered what truly elevates a homemade pizza from good to absolutely unforgettable? It all starts with the foundation: the Pizza Dough. Crafting your own at home isn’t just about saving money; it’s about unlocking a level of freshness, flavor, and customization that store-bought options simply can’t match. Imagine biting into a slice with a perfectly crisp exterior, a tender, airy interior, and that delightful yeasty aroma – a culinary masterpiece made right in your kitchen. Mastering your own homemade pizza dough is a deeply rewarding experience, allowing you to control every aspect, from the type of flour to the fermentation process, resulting in a pizza tailored precisely to your taste.
Ingredients & Kitchen Tools
Gathering the right ingredients and tools is the first step to successful Pizza Dough production.
- All-Purpose Flour (or Bread Flour): 3 cups (400g) – Provides structure and chew. Bread flour offers a chewier crust due to higher protein content.
- Warm Water: 1 cup (240ml), 105-115°F (40-46°C) – Activates the yeast. Too hot will kill it; too cold won’t activate it.
- Active Dry Yeast: 2 ¼ teaspoons (1 packet) – The leavening agent that makes your dough rise.
- Granulated Sugar (or Honey): 1 tablespoon – Feeds the yeast, enhancing flavor and crust browning.
- Olive Oil: 2 tablespoons, plus more for greasing – Adds flavor, tenderness, and helps prevent sticking.
- Salt: 1 teaspoon – Essential for flavor and controls yeast activity.
- Large Mixing Bowl: For combining ingredients and rising.
- Stand Mixer with Dough Hook (Optional): Makes kneading much easier, but hand kneading is perfectly fine.
- Measuring Cups and Spoons: For accurate ingredient proportions.
- Kitchen Scale (Optional but Recommended): For precise flour and water measurements, leading to consistent results.
- Plastic Wrap or Clean Kitchen Towel: To cover the dough during rising.
Prep Time & Cooking Schedule
- Prep Time: 15 minutes (active working time)
- First Rise (Proofing): 60-90 minutes (until doubled in size)
- Second Rise (Optional, for extra flavor): 30 minutes (after shaping)
- Cook Time: Varies, typically 8-15 minutes at high heat (450-500°F / 230-260°C), depending on toppings and oven.
This schedule allows for a rich flavor development and a perfectly airy crust. Plan to start your dough a few hours before you intend to bake your pizza.
Step-by-Step Instructions
1. Activate the Yeast: In your large mixing bowl, combine the warm water, sugar, and yeast. Whisk gently and let it sit for 5-10 minutes until foamy. This bubbling indicates your yeast is active and ready to work its magic on your Pizza Dough.
2. Combine Wet and Dry: Add the olive oil to the yeast mixture. In a separate bowl, whisk together the flour and salt. Gradually add half of the flour mixture to the wet ingredients, mixing with a wooden spoon until just combined.
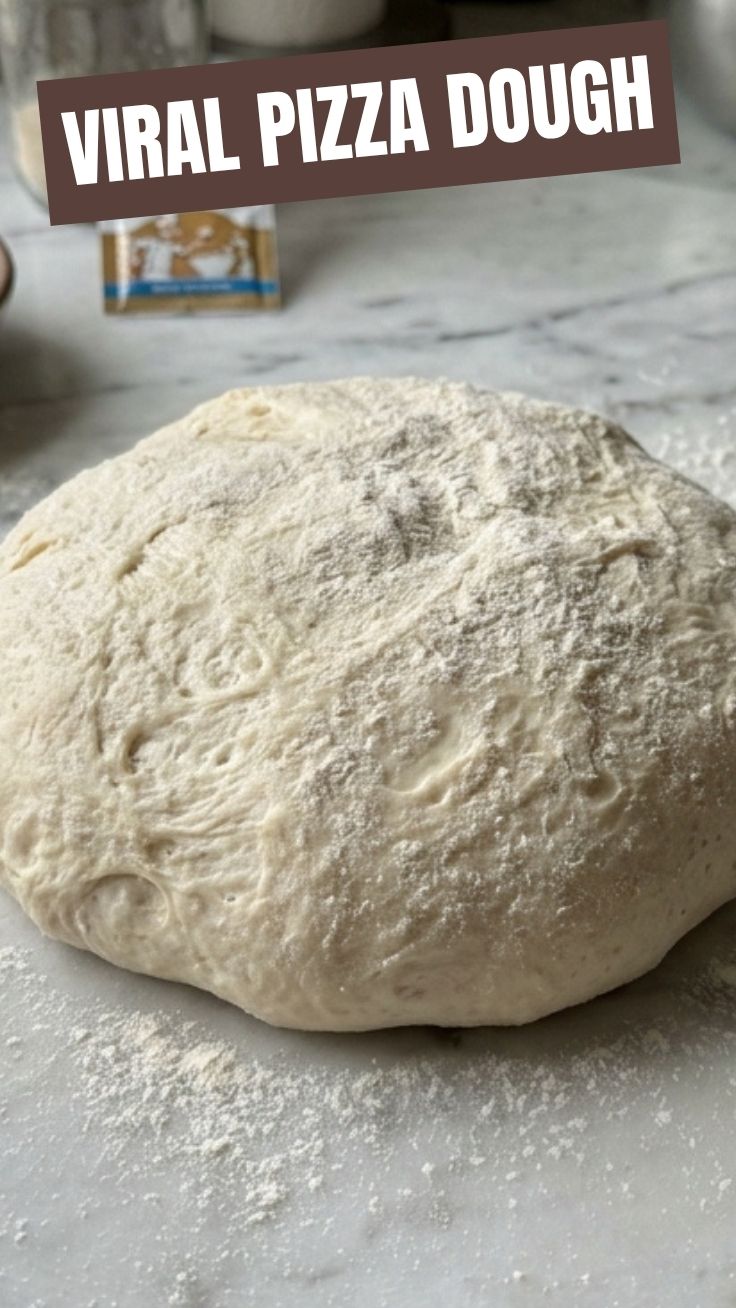
3. Knead the Dough: Add the remaining flour and mix until a shaggy dough forms. Turn the dough out onto a lightly floured surface (or use a stand mixer with a dough hook). Knead for 8-10 minutes by hand (or 6-8 minutes with a mixer) until the dough is smooth, elastic, and no longer sticky. You’ll know it’s ready when it springs back slightly when poked. This crucial step develops the gluten, giving your homemade pizza dough its signature chewiness.
4. First Rise: Lightly oil the mixing bowl (the one you used initially). Place the kneaded dough in the bowl, turning it once to coat with oil. Cover the bowl tightly with plastic wrap or a clean kitchen towel and let it rise in a warm, draft-free place for 60-90 minutes, or until it has doubled in size.
5. Punch Down & Shape: Gently punch down the risen dough to release the air. Turn it out onto a lightly floured surface and divide it into two equal portions for two medium pizzas, or one larger if preferred. Carefully stretch or roll each portion into your desired pizza shape and thickness.
6. Second Rise (Optional): For an even airier crust, you can let the shaped dough rest for another 15-30 minutes before adding toppings.
Nutritional Benefits & Advantages
Crafting your own Pizza Dough offers several nutritional advantages. You control the quality of ingredients, opting for whole wheat flour for increased fiber, or reducing salt if needed. Homemade dough often contains fewer preservatives and artificial additives found in pre-made crusts. Olive oil provides healthy monounsaturated fats, and the yeast fermentation process can contribute to better digestibility.
Tips, Variations & Cooking Advice
- Whole Wheat Power: Substitute up to half of the all-purpose flour with whole wheat flour for a nuttier flavor and increased fiber.
- Herbaceous Infusion: Add 1-2 teaspoons of dried Italian herbs (oregano, basil) or garlic powder to the flour for an extra layer of flavor in your dough.
- Overnight Cold Ferment: For a more complex, sourdough-like flavor and easier digestion, after the first rise, place the dough in an oiled bowl, cover tightly, and refrigerate for 12-48 hours. Let it come to room temperature for about an hour before shaping.
- High Heat is Key: For a truly crispy crust, preheat your oven with a pizza stone or steel for at least 30-60 minutes before baking your pizza at the highest possible temperature your oven allows.
- Don’t Over-Flour: Use just enough flour when kneading and shaping to prevent sticking. Too much flour can make your dough tough.
Common Mistakes to Avoid
- Dough Not Rising: This usually means your water was too hot (killed the yeast) or too cold (didn’t activate it), or your yeast is old. Always check the expiry date.
- Tough Crust: Over-kneading can result in a tough crust. Aim for elastic, not stiff. Also, too much flour during shaping can contribute to this.
- Crust is Too Dense: Not enough proofing time or a cold environment can hinder the dough from rising properly, leading to a dense texture. Ensure a warm, draft-free spot for rising.
- Sticking Dough: Always ensure your surface and hands are lightly floured, and your bowl is oiled during the first rise.
Storage & Meal Prep Tips
Leftover Pizza Dough can be stored in the refrigerator for up to 3 days. Lightly oil the dough, place it in an airtight container or a Ziploc bag (allowing for expansion), and refrigerate. Before using, let it come to room temperature for about an hour. For longer storage, freeze the dough. After the first rise, punch down the dough, form it into a ball, and wrap it tightly in plastic wrap, then aluminum foil. Freeze for up to 3 months. Thaw overnight in the refrigerator, then let it come to room temperature before shaping.
Conclusion
Crafting your own Pizza Dough is a fulfilling culinary journey that pays off with unparalleled flavor and texture. By following these detailed steps, you can achieve a perfectly crisp, chewy crust every time, transforming your homemade pizzas into pizzeria-quality masterpieces. Don’t be intimidated; with a little practice, your homemade pizza dough will become your go-to recipe. Experiment with different flour types, cold fermentation, and your favorite toppings to find your ultimate pizza bliss. We’d love to hear about your pizza-making adventures – share your results in the comments below!
FAQs
Q1: Can I make this dough without a stand mixer?
A1: Absolutely! Hand kneading is a fantastic way to develop the dough. Just expect to knead for a little longer (around 10-12 minutes) until it’s smooth and elastic.
Q2: What if my dough isn’t rising?
A2: First, check the expiration date on your yeast. If it’s fresh, your water might have been too hot or too cold. Ensure your rising environment is warm and draft-free. If still no rise after 30 minutes, you might need to start over with fresh yeast.
Q3: How do I get a super crispy crust like a professional pizza?
A3: High heat is crucial! Preheat your oven with a pizza stone or steel for at least 45 minutes to an hour at its highest setting (around 500°F/260°C). This creates a super-hot surface that crisps the crust almost instantly.
Q4: Can I use gluten-free flour for this recipe?
A4: While you can use some gluten-free flour blends, this particular recipe is optimized for wheat-based flour. Gluten-free doughs require different ratios and binders (like xanthan gum) and will have a different texture. It’s best to seek out a dedicated gluten-free pizza dough recipe.