Unlock the Magic of Homemade Ice Cream Sandwiches: A Sweet Journey to Culinary Bliss
Ever wondered if you could recreate those nostalgic, utterly satisfying Ice Cream Sandwiches (Homemade) from your childhood right in your own kitchen? The answer is a resounding yes! There’s an unparalleled joy in crafting your own sweet treats, especially when they involve the perfect marriage of chewy cookies and creamy, decadent ice cream. This comprehensive guide will walk you through every step, ensuring your homemade ice cream sandwiches are not just good, but absolutely legendary. Forget store-bought versions; we’re about to elevate your dessert game, potentially even incorporating a delightful Cookie Dough Recipe for an extra layer of indulgence.
Ingredients & Kitchen Tools
Crafting the perfect homemade ice cream sandwich requires a few essential items. Here’s what you’ll need, along with some helpful notes:
- For the Cookies (the backbone of your sandwich):
* 1 ½ cups (3 sticks) unsalted butter, softened: For richness and spread.
* 1 ½ cups granulated sugar: Sweetness and helps with browning.
* 1 ½ cups packed light brown sugar: Adds moisture and a caramel note.
* 4 large eggs: Binds the dough and adds structure.
* 2 teaspoons vanilla extract: A must-have for classic flavor.
* 4 cups all-purpose flour: The structural foundation of the cookie.
* 1 teaspoon baking soda: For leavening and tender crumb.
* ½ teaspoon salt: Balances sweetness and enhances flavor.
* 3 cups chocolate chips (or your favorite mix-ins): The classic choice for a reason!
- For the Ice Cream (the creamy core):
* 2 quarts your favorite ice cream, slightly softened: Allows for easy spreading. Vanilla, chocolate, or even a robust Cookie Dough Recipe ice cream would be fantastic.
- Essential Kitchen Tools:
* Large mixing bowls: For combining ingredients.
* Electric mixer (stand or hand-held): Makes creaming butter and sugar a breeze.
* Rubber spatula: For scraping down bowls and folding.
* Baking sheets: For baking the cookies.
* Parchment paper or silicone baking mats: Prevents sticking and ensures even baking.
* Offset spatula or knife: For spreading ice cream.
* 9×13 inch baking pan or similar freezer-safe dish: To assemble and freeze the sandwiches.
Prep Time & Cooking Schedule
This recipe requires a bit of planning, primarily due to chilling and freezing times, but the hands-on work is straightforward.
- Prep Time: 30 minutes (for cookie dough)
- Baking Time: 10-12 minutes per batch of cookies
- Cooling Time: 30 minutes (for cookies)
- Assembly Time: 15-20 minutes
- Freezing Time: Minimum 4 hours, preferably overnight
To plan your perfect dessert, consider making the cookie dough the day before, baking the cookies in the morning, and assembling the Ice Cream Sandwiches (Homemade) in the afternoon for an evening treat.
Step-by-Step Instructions
Follow these detailed steps to create your delightful homemade ice cream sandwiches:
1. Prepare the Cookie Dough: In a large bowl, cream together the softened butter, granulated sugar, and brown sugar with an electric mixer until light and fluffy. Beat in the eggs one at a time, then stir in the vanilla extract. In a separate bowl, whisk together the flour, baking soda, and salt. Gradually add the dry ingredients to the wet ingredients, mixing until just combined. Fold in the chocolate chips.
2. Bake the Cookies: Preheat your oven to 375°F (190°C). Line baking sheets with parchment paper. Drop spoonfuls of dough (about 2 tablespoons per cookie) onto the prepared sheets, leaving ample space between them. Bake for 10-12 minutes, or until the edges are golden brown and the centers are just set. Allow cookies to cool on the baking sheets for a few minutes before transferring them to a wire rack to cool completely. Ensure they are fully cool before assembly to prevent melting.
3. Prepare for Assembly: Line a 9×13 inch baking pan or a similar freezer-safe dish with parchment paper, leaving an overhang on the sides for easy lifting. If your ice cream is very hard, let it soften on the counter for about 10-15 minutes until it’s spreadable but not melted.
4. Assemble the First Layer: Arrange half of your cooled cookies in a single layer on the bottom of the prepared pan, fitting them snugly together. You may need to trim some cookies slightly to create a uniform layer.
5. Spread the Ice Cream: Evenly spread the softened ice cream over the layer of cookies. This is where your chosen ice cream, perhaps even a rich Cookie Dough Recipe based one, will shine. Use an offset spatula or the back of a spoon to create a smooth, even layer.
6. Add the Top Layer: Place the remaining cookies on top of the ice cream layer, pressing down gently to secure.
7. Freeze: Cover the pan tightly with plastic wrap and freeze for at least 4 hours, or preferably overnight, until the sandwiches are firm.
8. Cut and Serve: Once thoroughly frozen, use the parchment paper overhang to lift the block of ice cream sandwiches out of the pan. Place on a cutting board and use a sharp, warm knife (run under hot water and wipe dry) to cut into individual sandwiches. Enjoy immediately!
Nutritional Benefits & Advantages
Homemade ice cream sandwiches, while certainly a treat, offer a few advantages. You control the quality of ingredients, opting for organic, non-GMO, or fair-trade options if desired. Whole-wheat flour can be substituted for some of the all-purpose flour for a fiber boost. Furthermore, making them at home allows you to manage sugar content and avoid artificial flavors, colors, and preservatives often found in commercial products. Choosing a high-quality ice cream also means better ingredients and a more satisfying flavor.
Tips Variations & Cooking Advice
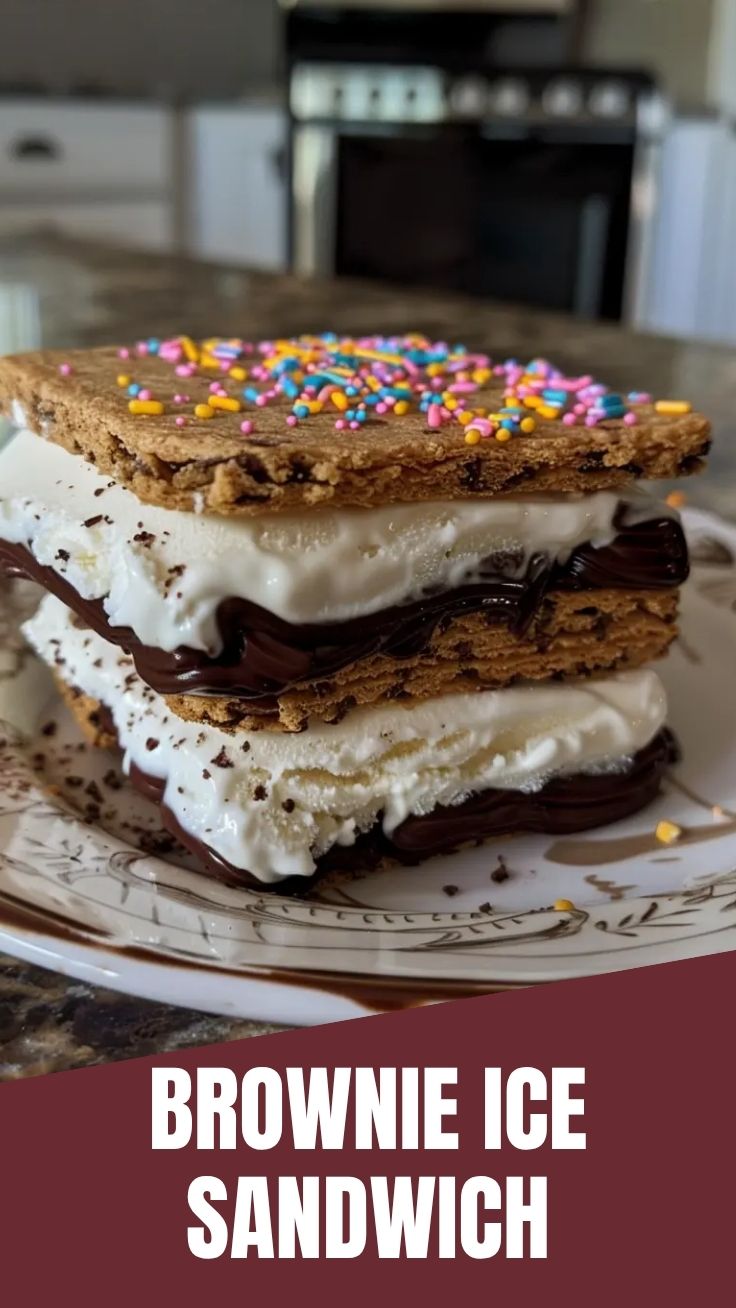
- Cookie Variations: Experiment with different cookie types! Oatmeal cookies, peanut butter cookies, or even brownie layers can make incredible ice cream sandwiches.
- Ice Cream Flavors: The possibilities are endless! Mint chocolate chip, strawberry, coffee, or even a spicy chili chocolate ice cream can create unique flavor profiles.
- Add-ins: Roll the sides of the finished sandwiches in sprinkles, mini chocolate chips, chopped nuts, or toasted coconut for extra texture and flair.
- Dairy-Free/Gluten-Free: Use your favorite gluten-free flour blend for the cookies and dairy-free ice cream for a delicious alternative that accommodates dietary needs.
- Portion Control: Make smaller cookies for mini ice cream sandwich bites, perfect for parties.
Common Mistakes to Avoid
- Warm Cookies: Never assemble the sandwiches with warm cookies; they will melt the ice cream immediately. Ensure cookies are completely cooled.
- Over-softened Ice Cream: If the ice cream is too soft, it will be hard to spread evenly and will create a messy sandwich. Aim for a slightly yielding, spreadable consistency.
- Not Freezing Long Enough: Patience is key! Inadequate freezing time will result in a soft, difficult-to-eat sandwich.
Storage & Meal Prep Tips
Once cut, individual Ice Cream Sandwiches (Homemade) can be wrapped tightly in plastic wrap or parchment paper and then stored in an airtight freezer bag or container. This prevents freezer burn and keeps them fresh. They will stay delicious in the freezer for up to 2-3 months. This makes them an excellent meal prep candidate – make a large batch and enjoy them over several weeks!
Conclusion
There’s nothing quite like the satisfaction of biting into a perfectly crafted homemade ice cream sandwich. From the chewy cookie to the creamy, luscious filling – perhaps even featuring a delightful Cookie Dough Recipe – this dessert is a true labor of love that rewards you with unforgettable flavor. We encourage you to try this recipe, experiment with your favorite flavors, and share your delicious creations. What combination of cookies and ice cream will you create? Tell us in the comments below!
FAQs
- Can I use store-bought cookies? Absolutely! While homemade cookies are recommended for the best texture, quality store-bought cookies (like oversized chocolate chip) can work in a pinch.
- How do I prevent the cookies from getting too hard in the freezer? Using a recipe with softened butter and brown sugar helps keep cookies tender. Also, ensuring they are slightly underbaked initially can help maintain chewiness once frozen.
- What’s the best way to cut clean sandwiches? A long, sharp knife heated under hot water and wiped dry before each cut will give you the cleanest edges.
- Can I make these ahead for a party? Yes, they are perfect for making ahead! Store them individually wrapped in the freezer, and pull them out just before serving.
- Can I make smaller portions? Yes, use a smaller cookie cutter or simply bake smaller cookies, then assemble in a loaf pan or an 8×8 inch pan for mini sandwiches.