Elevate Your Holiday Table: The Ultimate Homemade Turkey Gravy
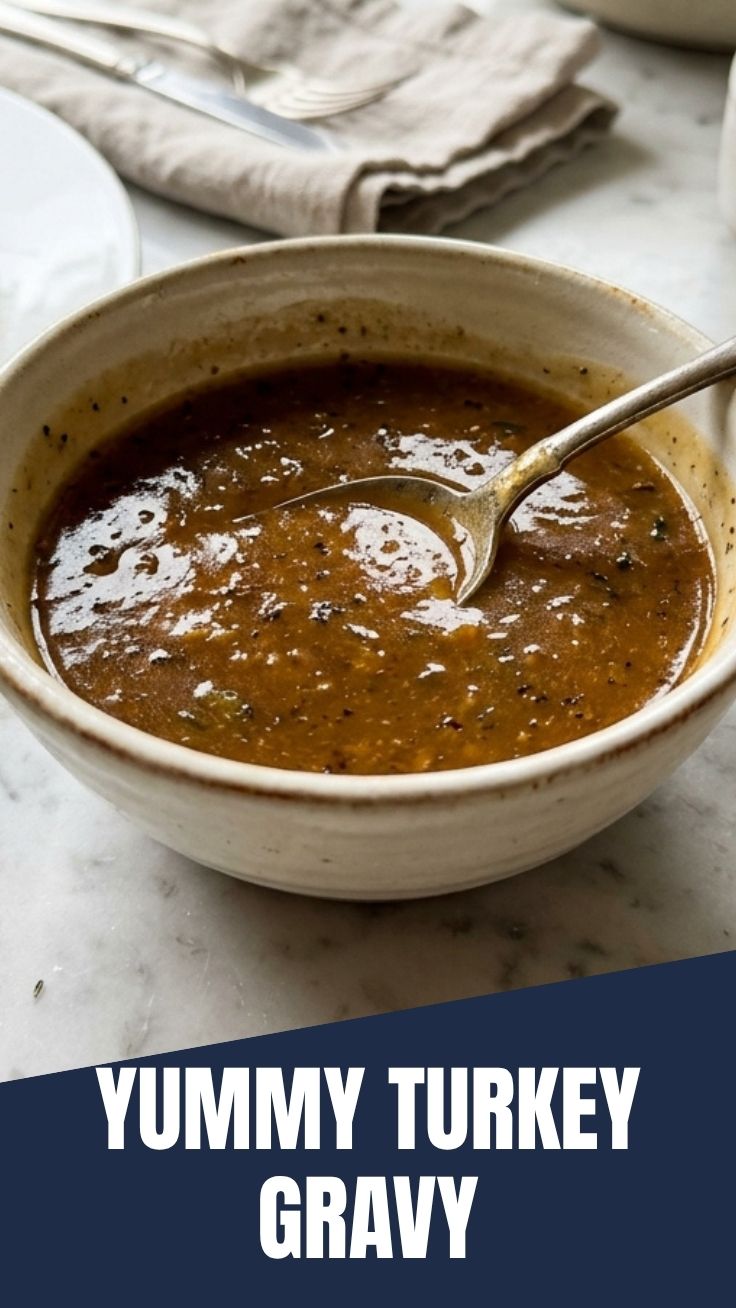
Ever wondered how to transform your holiday meal from good to absolutely unforgettable? The secret often lies in the seemingly simple details, and none is more important than a rich, flavorful Turkey Gravy. Forget the powdered packets; crafting homemade gravy not only elevates your entire Thanksgiving dinner but also adds a personalized touch that store-bought versions simply can’t replicate. This guide will walk you through creating a decadent, silky gravy that will have everyone asking for your recipe.
Ingredients & Kitchen Tools
- Pan Drippings (2-3 cups): The cornerstone of incredible gravy. These are the flavorful juices left in the roasting pan after cooking your turkey. If you have less, supplement with chicken or turkey broth.
- Butter (4 tablespoons, unsalted): Provides richness and helps create a roux.
- All-Purpose Flour (1/4 cup): The thickening agent. A gluten-free flour blend can be substituted for a gluten-free option.
- Chicken or Turkey Broth (2-3 cups, low sodium): Adds liquid and depth of flavor. Adjust amount based on desired consistency.
- Heavy Cream (1/4 cup, optional): For an extra creamy, luxurious texture.
- Fresh Herbs (e.g., thyme, rosemary, sage, 1 teaspoon finely chopped total, optional): Enhances aromatic complexity.
- Salt and Freshly Ground Black Pepper: To taste. Start with a pinch and adjust as needed.
- Whisk: Essential for smooth, lump-free gravy.
- Fat Separator: Highly recommended for easily removing excess fat from pan drippings. Alternatively, use a spoon.
- Saucepan (medium-sized): For cooking the gravy.
- Fine-Mesh Sieve (optional): For an extra smooth gravy, especially if you have browned bits in your drippings.
Prep Time & Cooking Schedule
- Prep Time: 10 minutes (mostly involves separating fat from drippings and gathering ingredients).
- Cook Time: 15-20 minutes (active simmering).
- Resting Time: None required, serve immediately.
This gravy is best made once your turkey has finished roasting and is resting, allowing you to use the fresh, hot pan drippings. This timing helps integrate it seamlessly into your holiday meal preparations.
Step-by-Step Instructions
1. Prepare the Pan Drippings: Carefully pour the pan drippings from your roasted turkey into a fat separator or a heatproof pitcher. Allow the fat to separate and rise to the top (this usually takes a few minutes). Skim off as much fat as possible, reserving about 2 tablespoons of the fat to use with the butter, if desired, for extra flavor. Measure out 2-3 cups of the defatted drippings. If you have less, supplement with chicken or turkey broth.
2. Make the Roux: In a medium saucepan over medium heat, melt the 4 tablespoons of butter (and 2 tablespoons of reserved turkey fat, if using). Once melted and shimmering, whisk in the 1/4 cup all-purpose flour. Cook, whisking continuously, for 2-3 minutes until the mixture forms a smooth, pale golden paste (this is your roux). Cooking the roux adequately removes the raw flour taste.
3. Gradually Add Liquids: Slowly pour in the reserved turkey pan drippings, whisking constantly to prevent lumps from forming. Gradually add the chicken or turkey broth as well, maintaining a steady whisking motion.
4. Simmer and Thicken: Bring the mixture to a gentle simmer, continuing to whisk until the gravy thickens to your desired consistency, usually 5-7 minutes. If it becomes too thick, adding a splash more broth will thin it out. If it’s too thin, simmer a bit longer, or make a quick slurry of 1 tablespoon flour mixed with 2 tablespoons cold water and whisk it in gradually.
5. Finish and Season: Stir in the optional heavy cream and fresh herbs, if using. Season generously with salt and freshly ground black pepper. Taste and adjust seasonings as needed. Remember, a fantastic Turkey Gravy should complement the natural flavors of your roast, enhancing your entire Thanksgiving dinner.
6. Strain (Optional): For an exceptionally smooth gravy, pour it through a fine-mesh sieve into a serving vessel. This removes any small lumps or herb pieces. Serve hot!
Nutritional Benefits & Advantages
Homemade turkey gravy, especially when made with defatted drippings, can be a flavorful addition without excessive saturated fat. Using fresh herbs like thyme and rosemary adds antioxidants and depth of flavor without relying on artificial ingredients. When paired with lean turkey, this savory sauce enhances the meal with natural umami, making vegetables and starches more appealing. The use of a clear, low-sodium broth contributes to a healthier profile compared to high-sodium store-bought alternatives.
Tips Variations & Cooking Advice
- Gluten-Free: Substitute the all-purpose flour with a 1:1 gluten-free baking flour blend or use cornstarch. For a cornstarch slurry, mix 1 tablespoon cornstarch with 2 tablespoons cold water, then gradually whisk into simmering gravy until thickened.
- Dairy-Free: Omit the butter and use olive oil or a dairy-free margarine for the roux. Skip the heavy cream or use a dairy-free creamer alternative.
- Herb Infusion: For a deeper herb flavor, simmer a sprig of fresh rosemary or thyme in the gravy for 5-10 minutes, then remove before serving.
- Mushroom Gravy: Sauté finely diced mushrooms with the butter before adding flour for an earthy variation.
- Whiskey/Wine Boost: Deglaze your roasting pan with a splash of dry white wine or whiskey before adding broth for an extra layer of complexity.
Common Mistakes to Avoid
- Not Separating Fat: Too much fat makes gravy greasy. Always separate your drippings.
- Lumpy Gravy: This usually happens when cold liquid is added too quickly to a hot roux without constant whisking. Add liquid slowly and whisk continuously.
- Undercooked Flour: Not cooking the roux long enough results in a raw, pasty flour taste. Cook the roux until it’s a pale golden color, at least 2-3 minutes.
- Under-Seasoning: Gravy needs proper seasoning. Taste as you go and adjust with salt and pepper. A dash of Worcestershire sauce or a squeeze of lemon juice can also brighten the flavors.
- Over-Thickening: If your gravy becomes too thick, simply whisk in a bit more broth until it reaches your desired consistency.
Storage & Meal Prep Tips
Leftover turkey gravy can be stored in an airtight container in the refrigerator for up to 3-4 days. For longer storage, it can be frozen for up to 2-3 months. Thaw frozen gravy in the refrigerator overnight. When reheating, do so gently on the stovetop over low heat, whisking frequently. You may need to add a splash of broth or water to thin it out to its original consistency as it tends to thicken upon cooling.
Conclusion
Crafting your own delightful Turkey Gravy is a straightforward process that yields incredibly rewarding results, transforming your holiday spread and making your Thanksgiving dinner truly special. With this detailed guide, you’re equipped to create a smooth, flavorful, and perfectly seasoned gravy that will become a staple at your family gatherings. Don’t be afraid to experiment and personalize it to your taste. Try this recipe and share your culinary successes with us!
FAQs
Q1: Can I make gravy without pan drippings?
A1: Yes! You can use entirely chicken or turkey broth. For extra flavor, sauté chopped onions or mushrooms in butter before making the roux, or add a few chicken or turkey bouillon cubes to the broth.
Q2: My gravy is too thin. How can I thicken it?
A2: Create a slurry by whisking 1 tablespoon of flour or cornstarch with 2 tablespoons of cold water. Gradually whisk this mixture into your simmering gravy until it reaches the desired thickness. Cook for another minute or two to ensure the thickener is fully incorporated and cooked through.
Q3: How do I get rid of lumps in my gravy?
A3: The best way to avoid lumps is to whisk constantly while gradually adding liquid to the roux. If you still end up with lumps, pour the gravy through a fine-mesh sieve or use an immersion blender to smooth it out.
Q4: Can I make this gravy ahead of time?
A4: You can make the gravy 1-2 days in advance and store it in the refrigerator. Reheat gently on the stovetop over low heat, whisking frequently and adding a splash of broth or water to adjust consistency.
Q5: What if I don’t have a fat separator?
A5: You can pour the drippings into a clear glass bowl or jar and let the fat rise to the top. Carefully spoon off the fat, or use a turkey baster to suck the defatted liquid from the bottom. Another trick is to chill the drippings, which will solidify the fat, making it easier to scrape off.