Mastering the Art of Perfect Deviled Eggs: A Culinary Journey
Have you ever wondered how to transform a simple egg into a captivating culinary delight that disappears from the appetizer tray in mere minutes? For many, the humble egg is a breakfast staple, but with a little finesse, it can become the star of any gathering. Preparing Deviled Eggs at home isn’t just about saving money; it’s about crafting a personalized, creamy, and flavorful experience that store-bought versions simply can’t match. This guide will walk you through creating the perfect batch, a quintessential Egg appetizers that consistently wows.
Ingredients & Kitchen Tools
Crafting the perfect deviled eggs requires a selection of fresh ingredients and basic kitchen tools. This list provides clarity on what you’ll need, along with useful substitutions.
Ingredients:
- 12 large eggs: Fresh eggs are key for easy peeling.
- 1/2 cup mayonnaise: Full-fat for creaminess, or light mayo for a healthier twist.
- 1 tablespoon Dijon mustard: Adds a tangy kick; yellow mustard can be substituted for a milder flavor.
- 1 tablespoon white vinegar (or apple cider vinegar): Brightens the flavor profile.
- 1/4 teaspoon salt: To enhance all the flavors.
- 1/8 teaspoon black pepper: Freshly ground preferred for better aroma.
- Paprika (for garnish): Sweet or smoked paprika, adds color and a subtle smoky note.
- Fresh chives or dill (for optional garnish): Fresh herbs elevate presentation and taste.
Kitchen Tools:
- Large saucepan: For boiling eggs.
- Slotted spoon: To carefully transfer boiled eggs.
- Large bowl (for ice bath): Essential for stopping the cooking process and easier peeling.
- Small mixing bowl: For the yolk filling.
- Fork or potato masher: For mashing egg yolks smoothly.
- Rubber spatula: For mixing and scraping.
- Piping bag with a star tip (optional): For beautifully piped fillings; a Ziploc bag with a corner snipped works too.
- Serving platter: For an elegant presentation.
Prep Time & Cooking Schedule
Planning is key for stress-free cooking. Here’s a breakdown to ensure your deviled eggs are ready when you are.
- Prep Time: 20 minutes (includes peeling and separating yolks)
- Cook Time: 10-12 minutes (for boiling eggs)
- Cooling Time: 15 minutes (ice bath) + 10 minutes (refrigeration for filling)
- Total Time: Approximately 55-60 minutes
Begin by boiling your eggs, then immediately transfer them to an ice bath. This crucial step prevents the sulfurous green ring around the yolk and makes peeling significantly easier. While the eggs cool, you can gather and measure your other ingredients, ensuring a smooth workflow.
Step-by-Step Instructions
Follow these clear, step-by-step directions to create delectable Deviled Eggs that will impress anyone.
1. Boil the Eggs: Place eggs in a large saucepan and cover with cold water by about an inch. Bring to a rolling boil over high heat. Once boiling, remove from heat, cover, and let stand for precisely 10-12 minutes for perfectly firm yolks.
2. Ice Bath: Immediately transfer the cooked eggs to an ice bath using a slotted spoon. Let them cool for at least 15 minutes. This stops the cooking process and helps with peeling.
3. Peel and Halve: Gently tap each egg to crack the shell, then carefully peel under cool running water. Halve each egg lengthwise and gently scoop out the golden yolks into a small mixing bowl.
4. Create the Filling: Mash the egg yolks thoroughly with a fork or potato masher until smooth. Add the mayonnaise, Dijon mustard, white vinegar, salt, and black pepper. Mix well until the filling is creamy and uniform, ensuring there are no lumps. Taste and adjust seasonings as needed. This creamy mixture is what distinguishes great Egg appetizers.
5. Fill the Egg Whites: You can either spoon the filling back into the egg white halves, or for a more elegant presentation, transfer the mixture to a piping bag fitted with a star tip. Pipe the filling neatly into each egg white cavity.
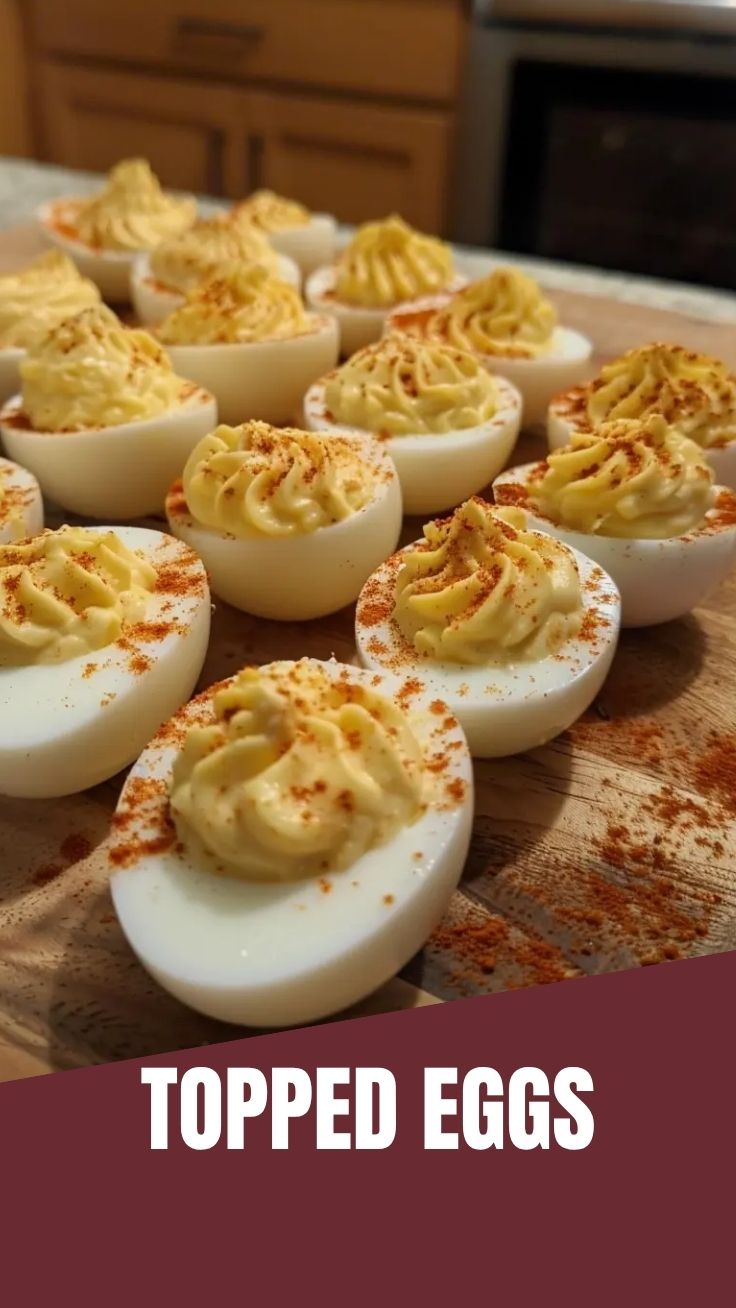
6. Garnish and Serve: Arrange the filled deviled eggs on a serving platter. Lightly dust with paprika for color, and sprinkle with fresh chives or dill if desired.
Nutritional Benefits & Advantages
Eggs are a powerhouse of nutrition, and deviled eggs, when prepared mindfully, can be a healthy addition to your diet. They are an excellent source of high-quality protein, providing all nine essential amino acids needed for muscle repair and growth. Eggs also contain significant amounts of Vitamin D, crucial for bone health and immune function, and choline, vital for brain development and memory. While mayonnaise adds fat, using a moderate amount or opting for a lighter version keeps the dish balanced.
Tips Variations & Cooking Advice
- Spice it Up: Add a pinch of cayenne pepper or a dash of hot sauce to the yolk mixture for a spicy kick.
- Herbaceous Delight: Experiment with different fresh herbs like tarragon, parsley, or chervil for varied flavor profiles.
- Smoky Flavor: A tiny amount of liquid smoke or smoked paprika can add depth.
- Gourmet Touch: Garnish with flaky sea salt, capers, or even a tiny piece of crispy bacon for an elevated experience.
- Dietary Adaptations: For a dairy-free version, ensure your mayonnaise is dairy-free. This recipe is naturally gluten-free.
- Avocado Swap: Replace half the mayonnaise with mashed avocado for a creamier, healthier twist with added good fats.
Common Mistakes to Avoid
- Overcooking Eggs: Leads to a rubbery texture and the dreaded green/grey ring around the yolk. Stick to the 10-12 minute mark.
- Not Using an Ice Bath: Essential for easy peeling and preventing overcooking.
- Lumpy Filling: Mash yolks thoroughly. A smooth filling is key to a pleasant texture.
- Over-seasoning: Start with smaller amounts of salt and pepper, then taste and adjust. You can always add more, but you can’t take it away.
- Making Them Too Far in Advance: While you can make the filling ahead, assemble them closer to serving time to prevent the whites from drying out.
Storage & Meal Prep Tips
Deviled Eggs are best enjoyed fresh, but leftovers can be stored. Place them in an airtight container in the refrigerator for up to 2-3 days. To maintain freshness, you can store the filling and egg white halves separately and assemble them just before serving. Freezing is not recommended as it significantly alters the texture of the egg whites.
Conclusion
Mastering Deviled Eggs is a culinary triumph that’s well within reach for any home cook. With this comprehensive guide, you now have the tools and techniques to create a batch of creamy, flavorful Egg appetizers that consistently delights. Don’t hesitate to experiment with the suggested variations to find your personal favorite twist. Try this recipe for your next gathering and share your deliciously deviled creations!
FAQs
Q1: Why do my deviled eggs have a green ring around the yolk?
A1: A green ring indicates the eggs were overcooked. The sulfur in the egg whites reacts with iron in the yolk, creating ferrous sulfide. An ice bath immediately after cooking helps prevent this.
Q2: Can I make the deviled egg filling ahead of time?
A2: Yes, you can prepare the filling up to 24 hours in advance and store it in an airtight container in the refrigerator. Assemble the eggs closer to serving time for the best texture.
Q3: What’s the best way to peel hard-boiled eggs easily?
A3: Using slightly older eggs (not fresh from the farm) and placing them immediately into an ice bath after cooking are the two most effective ways to ensure easy peeling.
Q4: Can I use different types of mustard?
A4: Absolutely! Dijon mustard offers a sharp tang, while yellow mustard provides a milder flavor. You can also experiment with spicy brown mustard for a different kick.
Q5: How can I make my deviled eggs healthier?
A5: Use a light mayonnaise or substitute some of the mayo with Greek yogurt or mashed avocado. You can also increase the amount of fresh herbs for added flavor without extra calories.