Unlock the Secret to the Perfect Roasted Chicken: Your Kitchen, Your Culinary Canvas!
Ever wondered if you could achieve that restaurant-quality, succulent Roasted Chicken right in your own kitchen? The answer, unequivocally, is yes! Mastering the art of a perfectly browned, incredibly juicy Roasted Chicken is not just about a meal; it’s about transforming your home cooking into an experience. Forget bland, dry poultry; this guide will empower you to create a show-stopping centerpiece that’s both deeply flavorful and deceptively simple. We’re not just sharing a recipe; we’re providing the foundational knowledge for countless Easy Chicken Recipes, unlocking a world of culinary confidence and satisfaction. When you prepare this classic at home, you gain control over ingredients, freshness, and, most importantly, taste, making every bite a testament to your culinary prowess.
Ingredients & Kitchen Tools
- Whole Chicken (3-4 lbs): Opt for a free-range or organic chicken for superior flavor and texture. This is our star ingredient!
- Lemons (2 large): Zest and juice from one, and the other halved for stuffing inside the cavity. Provides bright, acidic notes.
- Fresh Rosemary (3 sprigs): Woody, aromatic herb that pairs exquisitely with chicken and lemon.
- Fresh Thyme (6 sprigs): Delicate, earthy herb that complements the rosemary.
- Garlic (1 head): Cut in half horizontally; some cloves minced for the rub, the rest for stuffing. Adds depth and aroma.
- Olive Oil (3 tbsp): Helps achieve crispy skin and keeps the meat moist.
- Butter (2 tbsp, unsalted, melted): Basted over the skin for extra richness and browning.
- Salt (1.5 tsp, kosher or sea salt): Essential for seasoning throughout the meat.
- Black Pepper (1 tsp, freshly ground): Adds a subtle kick.
- Optional Substitutions: Feel free to swap rosemary and thyme for other fresh herbs like sage or oregano. For intensity, consider smoked paprika in the rub.
Kitchen Tools:
- Roasting Pan with Rack: Allows air circulation for even cooking and crispy skin.
- Meat Thermometer: Crucial for ensuring the chicken is cooked to a safe internal temperature (165°F / 74°C).
- Basting Brush: For applying butter and pan juices.
- Sharp Knife & Cutting Board: For prepping ingredients.
- Twine (optional): For trussing the chicken, which promotes even cooking and a neater presentation.
Prep Time & Cooking Schedule
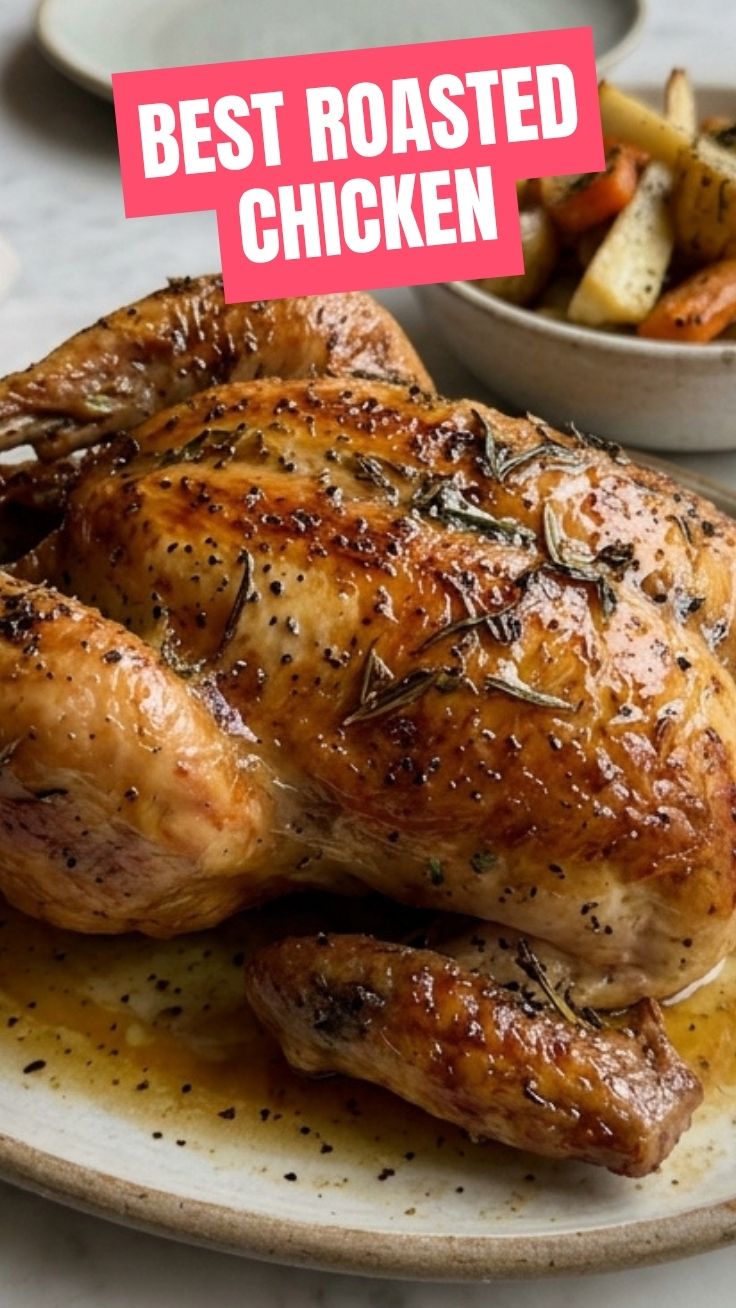
- Prep Time: 20-25 minutes
- Marinating Time (Optional): At least 1 hour, or ideally overnight in the refrigerator. This step significantly enhances flavor and juiciness.
- Cook Time: 60-75 minutes (for a 3-4 lb chicken)
- Resting Time: 10-15 minutes
To plan your perfect meal, consider marinating the chicken the night before. This allows the flavors to truly penetrate the meat. On the day of, remove the chicken from the fridge 30 minutes before roasting to bring it closer to room temperature, ensuring more even cooking.
Step-by-Step Instructions
1. Preheat & Prep: Preheat your oven to 425°F (220°C). Pat the entire chicken dry with paper towels – this is key for crispy skin.
2. Flavor Infusion: In a small bowl, combine minced garlic, lemon zest, salt, and pepper. Gently separate the skin from the breast meat using your fingers and rub about one-third of this mixture directly onto the meat under the skin.
3. Herb & Citrus Stuffing: Halve the remaining lemon, garlic, and fresh herbs. Stuff these into the chicken cavity. If desired, truss the chicken legs together with kitchen twine.
4. Outer Rub & Roast: Rub the remaining seasoning mixture over the exterior of the chicken along with the olive oil. Place the chicken on a rack in your roasting pan, breast-side up.
5. Initial Roast & Temperature Adjustment: Roast for 20 minutes at 425°F (220°C) to get a good sear. Reduce the oven temperature to 375°F (190°C) and continue roasting.
6. Basting for Perfection: Every 15-20 minutes, baste the Roasted Chicken with the melted butter and pan juices. This promotes a golden-brown, crispy skin.
7. Check for Doneness: Continue roasting until a meat thermometer inserted into the thickest part of the thigh (without touching bone) registers 165°F (74°C). This usually takes another 40-55 minutes. This careful temperature monitoring is a fundamental principle for all Easy Chicken Recipes.
8. Rest & Carve: Transfer the perfectly cooked chicken to a cutting board, tent loosely with foil, and let it rest for 10-15 minutes. This allows the juices to redistribute, ensuring a tender, moist result. Carve and serve immediately.
Nutritional Benefits & Advantages
Chicken is a lean protein source, essential for muscle repair and growth. This method of roasting, particularly with herbs and fresh lemon, keeps it relatively healthy compared to fried alternatives. Lemon adds a boost of Vitamin C and antioxidants, while herbs like rosemary and thyme provide anti-inflammatory compounds. By making this at home, you control the amount of salt and fat, avoiding unnecessary additives often found in store-bought options.
Tips, Variations & Cooking Advice
- Spicy Kick: Add a pinch of cayenne pepper or red pepper flakes to your rub for a subtle heat.
- Herb Garden: Experiment with different fresh herbs like sage or marjoram for distinct flavor profiles.
- Root Vegetables: Roast potatoes, carrots, and onions alongside the chicken by tossing them with olive oil, salt, and pepper in the roasting pan for a complete meal.
- Butterfly (Spatchcock) Chicken: For faster, more even cooking and even crispier skin, try spatchcocking your chicken. This involves removing the backbone.
- Brining: Consider brining your chicken overnight in a salt water solution for ultimate juiciness and tenderness.
Common Mistakes to Avoid
- Not Patting Dry: A damp skin will steam instead of crisp, resulting in rubbery skin. Always pat the chicken thoroughly dry.
- Overcrowding the Pan: If roasting vegetables alongside, ensure not to overcrowd the pan. This will steam the vegetables instead of roasting them, leading to a soggy result.
- Not Resting the Chicken: Skipping the resting period will result in dry meat as all the juices will run out when sliced. Patience is key!
- Forgetting a Meat Thermometer: Guessing doneness is a recipe for disaster (either undercooked or overcooked). A meat thermometer is your best friend for consistently perfect results.
- Basting Too Early/Often: While basting is good, don’t open the oven door too frequently, as it causes temperature fluctuations that prolong cooking time and can affect crispiness.
Storage & Meal Prep Tips
Leftover Roasted Chicken can be stored in an airtight container in the refrigerator for up to 3-4 days. For longer storage, you can freeze carved chicken meat for up to 3 months. To reheat, gently warm in the oven at 300°F (150°C) with a splash of broth to prevent drying out, or microwave in shorter bursts. Leftovers are fantastic in salads, sandwiches, tacos, or even added to soups.
Conclusion
Mastering a perfect Roasted Chicken is a rewarding culinary achievement that brings immense flavor and satisfaction to your table. With these step-by-step instructions, practical tips, and a focus on simple, quality ingredients, you’re now equipped to create a moist, succulent, and utterly delicious chicken dish every time. This recipe is more than just dinner; it’s a gateway to confidently tackling more Easy Chicken Recipes. We encourage you to try this recipe, experiment with the variations, and share your culinary successes! What was your favorite part of preparing this dish? Let us know in the comments below!
FAQs
Q1: My chicken skin isn’t crispy. What went wrong?
A1: Ensure your chicken was patted completely dry before roasting. Also, make sure your initial oven temperature was high enough (425°F/220°C) and you didn’t overcrowd the pan.
Q2: Can I use dried herbs instead of fresh?
A2: Yes, but use about one-third of the amount of fresh herbs, as dried herbs are more potent.
Q3: How do I prevent the breast meat from drying out?
A3: Stuffing the cavity, rubbing seasoning under the skin, and basting regularly all help. Using a meat thermometer to pull the chicken at 165°F (74°C) is crucial, as is adequate resting time.
Q4: What are good side dishes for roasted chicken?
A4: Roasted root vegetables, mashed potatoes, green beans, a fresh garden salad, or fluffy rice are all excellent choices.
Q5: Can I prepare the chicken ahead of time?
A5: You can prepare the rub and stuff the chicken up to 24 hours in advance and store it in the refrigerator. Bring to room temperature for 30 minutes before roasting.