The Unbeatable Nostalgia of Homemade Chewy Treats: Your Guide to Perfect Rice Krispie Creations
Ever wondered what makes a simple snack evoke such powerful childhood memories? It’s the delightful chewiness, the satisfying crunch, and the sheer joy of a perfectly crafted treat. While store-bought options exist, there’s an undeniable magic in creating your own classic Rice Krispie Treats right in your kitchen. Not only do you control the ingredients, ensuring the freshest flavors and textures, but you also get to experience the simple pleasure of an easy-to-make dessert that consistently brings smiles. This guide will walk you through crafting the ultimate chewy, gooey Rice Krispie Treat, a delightful confection that’s as fun to make as it is to eat. And for those looking for a slightly different form factor, the principles apply equally to making irresistible Rice Krispie squares. Let’s unlock the secrets to these beloved crispy confections!
Ingredients & Kitchen Tools
- Unsalted Butter (4 tablespoons): We prefer unsalted for better control over the final sweetness. It provides richness and helps with the texture.
- Mini Marshmallows (10 ounces, about 40 large): The star of the show. Mini marshmallows melt more evenly and quickly.
- Crispy Rice Cereal (6 cups): The “Krispie” in Rice Krispie. Ensures that iconic crunch.
- Vanilla Extract (1 teaspoon, optional): Enhances the flavor profile, adds a warm, comforting note.
- Pinch of Salt (optional): Balances the sweetness and brings out other flavors.
- Large Saucepan: For melting butter and marshmallows.
- Large Mixing Bowl: For combining marshamllow mixture and cereal.
- 9×13 inch Baking Pan: For shaping and cooling the treats.
- Parchment Paper or Wax Paper: For easy removal and cleanup.
- Spatula (rubber or silicone): Essential for mixing and pressing.
- Cooking Spray or Extra Butter: For greasing the pan and spatula.
Prep Time & Cooking Schedule
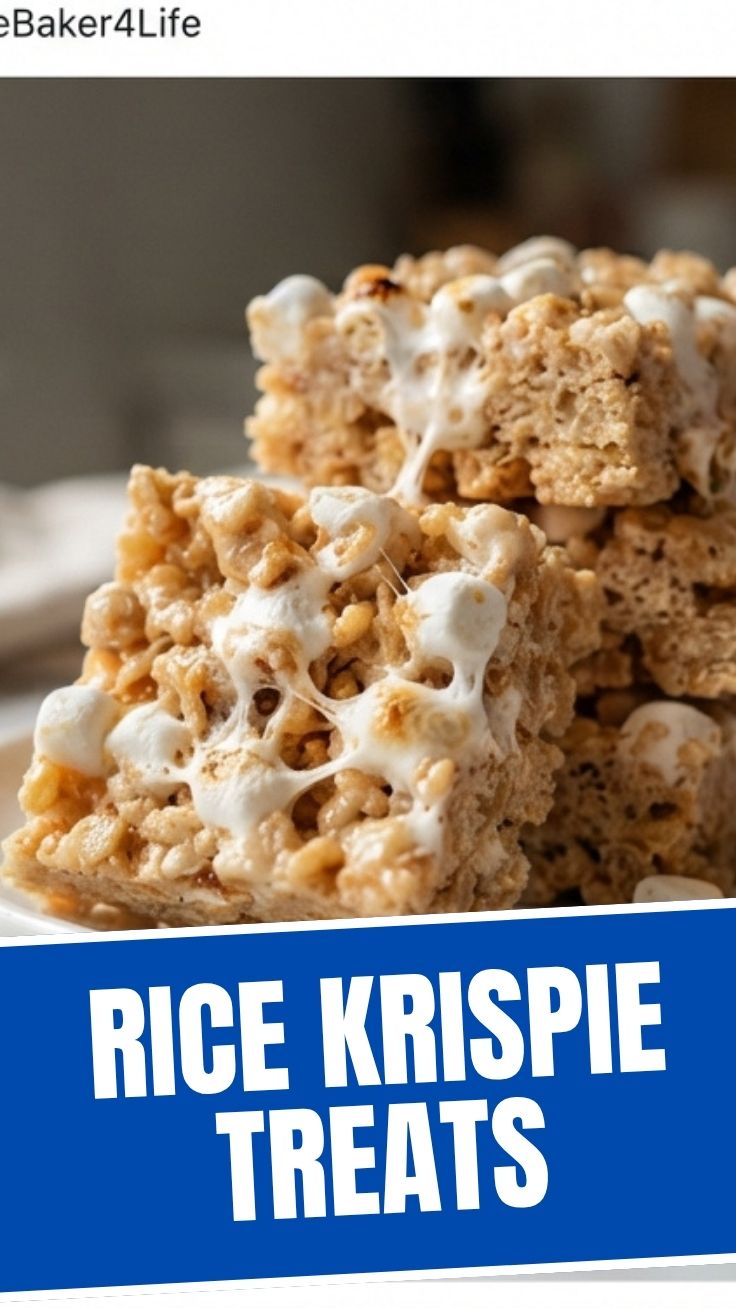
This delightful recipe is renowned for its speed and simplicity! Your total hands-on prep time is a mere 10 minutes, as ingredients come together quickly. Cook time is almost negligible, just 5-7 minutes for melting the butter and marshmallows. The most crucial part is the resting time: allow at least 30 minutes for the treats to set at room temperature before cutting. This ensures firm, well-formed squares that hold their shape. For those eager for a quicker set, refrigerating for 15-20 minutes can speed up the process, though room temperature setting often yields a chewier texture. This makes them a perfect last-minute dessert or a fun activity with children.
Step-by-Step Instructions
1. Prepare Your Pan: Lightly grease a 9×13 inch baking pan with cooking spray or butter. Line it with parchment paper, leaving an overhang on the sides – this will make lifting the finished treats much easier. Set aside.
2. Melt the Butter: In a large saucepan, melt 4 tablespoons of unsalted butter over low heat. Be careful not to let it brown too much, as this can affect the final flavor and texture.
3. Add Marshmallows: Once the butter is fully melted, add the entire 10-ounce bag of mini marshmallows. Continue to cook over low heat, stirring constantly with a rubber spatula, until the marshmallows are completely melted and smooth. This low and slow method is key to achieving perfectly gooey Rice Krispie Treats.
4. Flavor (Optional): Remove the saucepan from heat. Stir in 1 teaspoon of vanilla extract and a pinch of salt (if using). Mix well until fully incorporated.
5. Combine with Cereal: Gently pour the 6 cups of crispy rice cereal into the marshmallow mixture. Using your greased spatula (grease it again if it feels sticky!), fold the cereal into the marshmallow mixture until it is evenly coated. Work quickly but gently to avoid crushing the cereal.
6. Press into Pan: Transfer the mixture into your prepared 9×13 inch baking pan. Using your greased spatula or buttered hands (this prevents sticking!), gently and evenly press the mixture into the pan. Do not press too firmly, as over-compressing can lead to hard, rather than chewy, Rice Krispie squares.
7. Cool and Cut: Allow the treats to cool completely at room temperature for at least 30 minutes, or refrigerate for 15-20 minutes. Once set, use the parchment paper overhangs to lift the slab from the pan. Place on a cutting board and cut into desired square or rectangular shapes.
Nutritional Benefits & Advantages
While these treats are undeniably a indulgence, they offer a few surprising advantages. Crispy rice cereal is typically low in fat and a good source of carbohydrates, providing quick energy. Marshmallows, while sugary, are fat-free. When made at home, you avoid many of the artificial preservatives and high-fructose corn syrup found in commercial versions. This recipe is naturally gluten-free (ensure your cereal is certified for those with sensitivities) and can be made dairy-free with plant-based butter, making them accessible for various dietary needs. They also offer a simple, satisfying sweet ending to a meal without being overly heavy.
Tips, Variations & Cooking Advice
- Brown Butter: For a sophisticated flavor, brown the butter slightly before adding marshmallows. This adds a nutty, deeper flavor.
- Chocolate Drizzle: Melt chocolate chips and drizzle over the cooled treats.
- Mix-ins: Add sprinkles, mini chocolate chips, crushed candies, or even finely chopped nuts to the cereal mixture before pressing.
- Dairy-Free/Vegan: Use a plant-based butter substitute (like Earth Balance) and vegan marshmallows (some brands are gelatin-free).
- Fruit Zest: A little orange or lemon zest folded in at the end can add a bright, fresh counterpoint.
- Don’t Overcook: The key to soft, chewy treats is not to overcook the marshmallows. Remove from heat as soon as they are melted and smooth.
- Gentle Pressing: Pressing too hard will compact the treats, making them dense and difficult to chew. Aim for light, even pressure.
Common Mistakes to Avoid
- High Heat: Cooking marshmallows over high heat will make them seize up and become tough, leading to rock-hard treats. Always use low heat.
- Skipping Grease: Not greasing your pan, parchment paper, or spatula leads to sticky struggles and messy treats.
- Old Marshmallows: Stale marshmallows won’t melt smoothly and can result in grainy or tough treats. Use fresh ones for the best results.
- Over-mixing Cereal: Excessive mixing can crush the cereal, eliminating the satisfying crunch. Fold just until combined.
- Cutting Too Soon: Patience is key! Cutting before the treats are fully set will result in a sticky, shapeless mess.
Storage & Meal Prep Tips
Homemade Rice Krispie Treats are best enjoyed within 2-3 days for optimal freshness and texture. Store them in an airtight container at room temperature. Layer parchment paper between squares if stacking to prevent sticking. Avoid refrigerating, as this tends to make them hard and less chewy. Freezing is not recommended as it significantly alters the texture. These treats are ideal for meal prep as they require no reheating and can be easily portioned, making them a convenient grab-and-go snack or dessert throughout the week.
Conclusion
Crafting your own batch of Rice Krispie Treats is more than just making a dessert; it’s an exercise in delightful simplicity and a guaranteed crowd-pleaser. From their satisfying crunch to their signature chewiness, these homemade confections capture a timeless appeal. By following these straightforward steps, you can easily replicate that beloved texture and flavor, whether you’re aiming for classic squares or personalized versions. So, go ahead, gather your ingredients, and enjoy the process of creating perfect Rice Krispie Treats and equally delightful Rice Krispie squares. Share your creations and bask in the joy they bring!
FAQs
Q1: Can I use different types of cereal?
A1: Absolutely! While crispy rice cereal is traditional, you can experiment with corn flakes, Cheerios, or even chocolate cereals for different textures and flavors. Adjust butter and marshmallow quantities slightly if the cereal is very dense.
Q2: My treats are too hard. What went wrong?
A2: This usually happens from overcooking the marshmallows (high heat or too long) or pressing the mixture too firmly into the pan. Remember low heat and gentle pressing for ultimate chewiness.
Q3: How do I prevent them from sticking to my hands or spatula?
A3: Lightly grease your spatula or hands with butter or cooking spray. Reapply as needed throughout the pressing process for a smooth experience.
Q4: Can I add food coloring?
A4: Yes! Add a few drops of gel food coloring to the melted marshmallow mixture before combining with the cereal for vibrant, fun treats, perfect for holidays or themed parties.
Q5: How long do homemade Rice Krispie Treats last?
A5: Stored in an airtight container at room temperature, they are best enjoyed within 2-3 days for optimal freshness and chewiness. After that, they tend to harden.