Master the Art of Homemade Sweet Treats: The Ultimate Guide to Perfect Candy Apples
Ever wondered how to create those show-stopping, glossy red treats you see at fairs, but thought it was too complicated to make at home? Think again! Crafting your own Candy Apples is not just satisfying, it’s an incredibly rewarding culinary adventure that allows you to control the quality of ingredients and personalize your sweet creations. This comprehensive guide will walk you through every step, ensuring your homemade confections, whether they’re classic Candy Apples or decadent caramel apples, turn out picture-perfect every time. Get ready to impress your friends and family with these nostalgic and delicious delights.
Ingredients & Kitchen Tools
To embark on your sweet treat journey, gather these essentials:
- Apples: 6-8 medium-sized, firm apples (e.g., Granny Smith, Fuji, Honeycrisp). These varieties hold their shape well and provide a good tart contrast to the sweetness.
- Granulated Sugar: 2 cups. The foundation of our sweet coating.
- Light Corn Syrup: 1 cup. Essential for preventing crystallization and achieving that signature glossy shine and smooth texture.
- Water: 1/2 cup. Helps dissolve the sugar and corn syrup.
- Red Food Coloring: 1 teaspoon (liquid or gel). For the classic vibrant red hue. Adjust to your desired intensity.
- Vanilla Extract: 1 teaspoon. Adds a hint of warmth and depth to the flavor profile.
- Wooden Skewers or Lollipop Sticks: 6-8. For easy handling and dipping.
- Heavy-Bottomed Saucepan: Large enough to accommodate the candy mixture and dipping apples safely.
- Candy Thermometer: Crucial for accurately monitoring the syrup temperature. A must-have for success!
- Baking Sheet: Lined with parchment paper or a silicone mat. For setting the finished apples.
- Pastry Brush: Optional, for brushing down sugar crystals from the sides of the pan.
Prep Time & Cooking Schedule
- Prep Time: 20 minutes (washing apples, inserting sticks, gathering ingredients)
- Cook Time: 15-20 minutes (boiling syrup to desired temperature)
- Resting Time: 30-60 minutes (for the candy coating to set)
Plan your cooking session carefully. The syrup needs consistent attention, and once it reaches the correct temperature, you’ll need to work quickly to dip the apples. Ensure all your tools are ready before you begin heating the syrup.
Step-by-Step Instructions
1. Prepare the Apples: Wash and thoroughly dry your apples. This is crucial! Any moisture will prevent the candy from adhering. Insert a wooden skewer or lollipop stick firmly into the stem end of each apple, pushing about halfway through.
2. Combine Ingredients: In your heavy-bottomed saucepan, combine the granulated sugar, light corn syrup, and water. Stir gently over medium heat until the sugar dissolves completely.
3. Boil the Syrup: Insert your candy thermometer. Bring the mixture to a boil without stirring. If sugar crystals form on the sides of the pan, use a wet pastry brush to gently brush them down. This prevents a gritty coating.
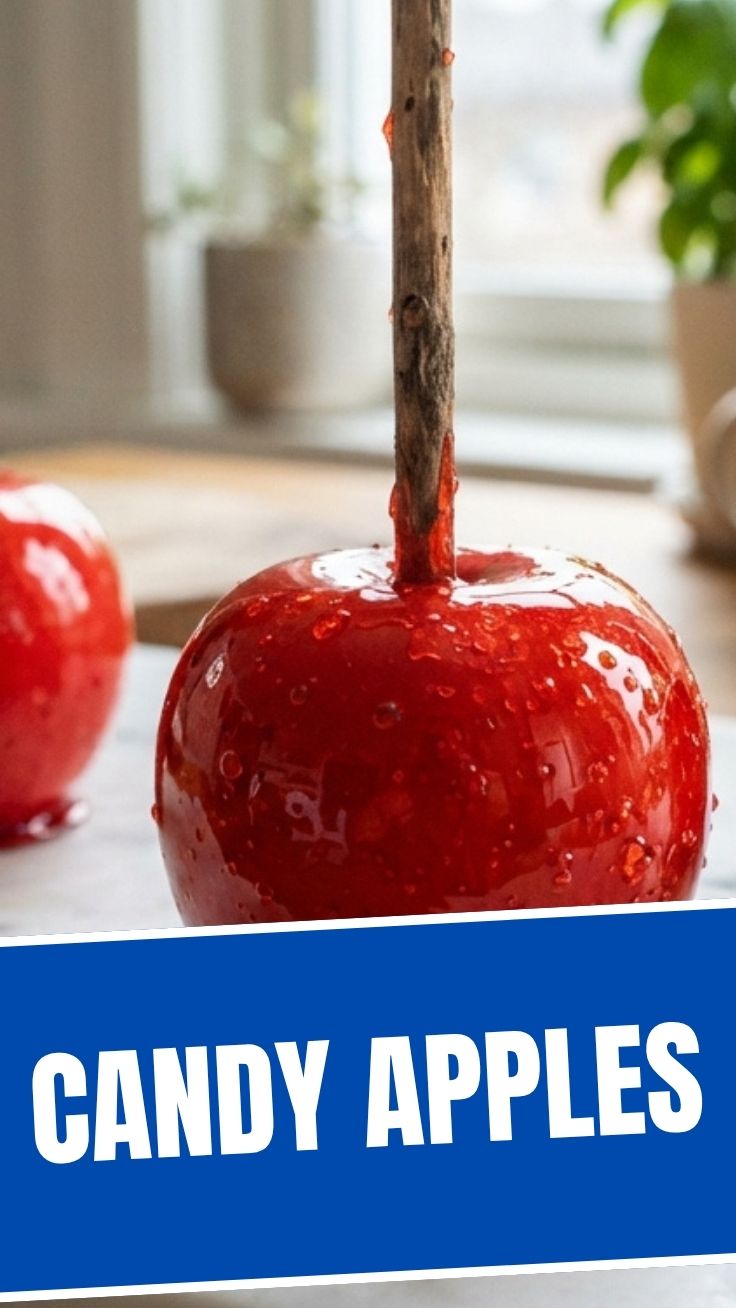
4. Add Flavor and Color: Once the syrup reaches 290°F (143°C), remove it from the heat. Carefully stir in the red food coloring and vanilla extract. The mixture will be very hot, so handle with care. This brilliant red hue is what makes our Candy Apples so iconic.
5. Dip the Apples: Working quickly, carefully dip each prepared apple into the hot candy syrup. Twirl the apple to ensure an even coating, allowing any excess syrup to drip back into the pan. If making caramel apples, you’d be dipping into a rich caramel sauce at this stage.
6. Cool and Set: Place the dipped apples onto your parchment-lined baking sheet. Allow them to cool completely at room temperature for 30-60 minutes, or until the candy shell is hard and glossy. Do not refrigerate, as this can make the candy sticky.
Nutritional Benefits & Advantages
While Candy Apples are undoubtedly a treat, they do offer some surprising benefits. Apples themselves are packed with fiber, vitamins (like Vitamin C), and antioxidants, contributing to gut health and overall well-being. By making them at home, you avoid artificial preservatives often found in store-bought versions. Plus, a homemade treat always tastes better and offers the satisfaction of creation!
Tips, Variations & Cooking Advice
- Flavor Boost: Add a pinch of cinnamon or a few drops of almond extract for an interesting flavor twist.
- Texture Play: For a unique crunch, roll the newly dipped apples in chopped nuts, sprinkles, or crushed cookies before the candy sets. This also works wonderfully for caramel apples!
- Color Variations: Experiment with different food colors for themed events – green for St. Patrick’s Day or blue for a baby shower.
- Smaller Servings: Use smaller crab apples for mini candy apple bites, perfect for parties.
- Dairy-Free/Gluten-Free: The core recipe is naturally dairy-free and gluten-free, making it suitable for many dietary needs.
Common Mistakes to Avoid
- Wet Apples: This is the quickest way to ruin your candy apples. Ensure apples are squeaky clean and bone-dry.
- Not Using a Candy Thermometer: Guessing the temperature leads to sticky (too low) or brittle (too high) candy. Invest in one!
- Stirring While Boiling: Once the sugar dissolves, avoid stirring, as it can cause crystallization.
- Humidity: High humidity can make the candy coating sticky. Choose a dry day for best results.
- Refrigerating to Set: This can cause the candy to become tacky and sweat. Let them set at room temperature.
Storage & Meal Prep Tips
Store your finished Candy Apples individually wrapped in cellophane bags at room temperature for up to 2-3 days. They are best enjoyed fresh, as the apple can soften and the candy can become sticky over time. Do not refrigerate, as cold temperatures cause condensation and stickiness. These are not ideal for meal prepping far in advance but are perfect for a special occasion or immediate enjoyment.
Conclusion
There you have it – a complete guide to crafting your own dazzling Candy Apples at home. With a little precision and the right tools, you can recreate this iconic fairground treat and impress everyone with your culinary skills. Whether you prefer the classic hard candy shell or the chewy delight of caramel apples, the joy of making them yourself is unparalleled. Give this recipe a try, share your vibrant creations with us, and explore the endless possibilities of homemade sweetness! Happy dipping!
FAQs
Q1: Why did my candy coating turn out sticky?
A1: This usually happens if the syrup didn’t reach a high enough temperature (it needs to be precisely 290°F / 143°C) or if the apples were not completely dry. High humidity can also be a factor.
Q2: Can I use different types of apples?
A2: Yes, but opt for firm, slightly tart varieties like Granny Smith, Fuji, or Honeycrisp, which provide a good contrast to the sweet candy and hold up well to dipping. Softer apples can become mushy.
Q3: My candy seized up and became gritty. What went wrong?
A3: This is often due to crystallization. Ensure you don’t stir the syrup after the sugar has dissolved and use a wet pastry brush to wipe down any sugar crystals forming on the sides of the pan during boiling.
Q4: How can I make my candy apples shiny?
A4: Light corn syrup is key to achieving that beautiful glossy finish. Also, boiling the syrup to the correct temperature (290°F / 143°C) and allowing them to cool undisturbed at room temperature contributes to the shine.
Q5: Can I prepare the candy syrup in advance?
A5: Not recommended. The syrup needs to be hot and at the correct temperature for dipping. Reheating can alter its consistency and lead to an undesirable texture.