Beyond the Can: Crafting the Perfect Homemade Pumpkin Pie
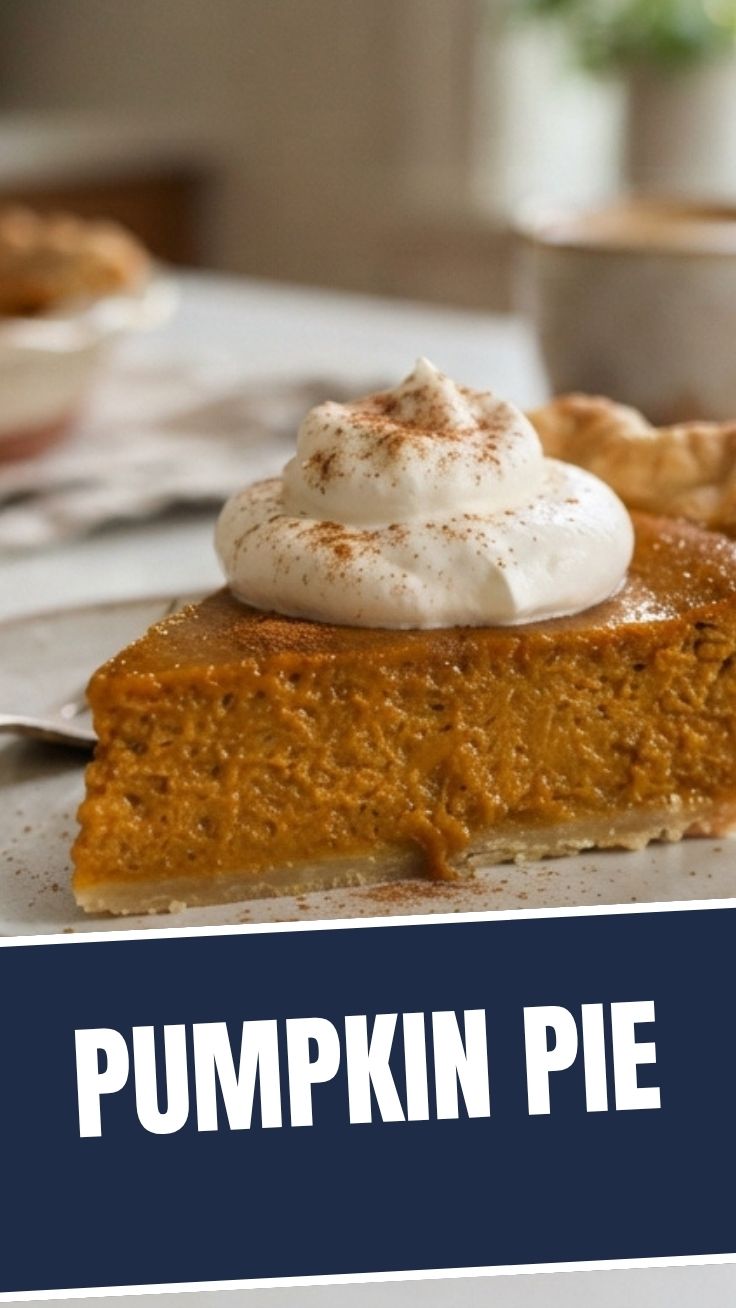
Ever wondered if you could truly capture that quintessential taste of autumn, that warm, comforting embrace, right in your own kitchen? You absolutely can! Forget the store-bought versions; there’s an unparalleled satisfaction in baking a homemade Pumpkin Pie from scratch. This isn’t just about dessert; it’s about creating memories, filling your home with intoxicating aromas, and savoring every single bite of a treat made with love and fresh ingredients. Today, we’re going to demystify the art of crafting this autumnal favorite, ensuring your pie boasts the perfect blend of creamy texture and aromatic spices, particularly that essential pumpkin pie spice. Get ready to impress your family and friends with a pie that tastes as good as it looks!
Ingredients & Kitchen Tools
Here’s everything you’ll need to create your pumpkin masterpiece:
- For the Crust:
* 1 ½ cups all-purpose flour: The base for a flaky, tender crust.
* ½ teaspoon salt: Enhances flavor.
* ½ cup (1 stick) unsalted butter, very cold and cubed: Essential for flakiness; don’t let it soften!
* ¼ cup ice water, plus more if needed: Binds the dough without making it tough.
- For the Filling:
* 1 (15-ounce) can pumpkin puree: Ensure it’s 100% pumpkin, not pumpkin pie filling.
* 1 (12-ounce) can evaporated milk: Adds creaminess and richness.
* ¾ cup granulated sugar: Sweetens the pie.
* ½ teaspoon salt: Balances the sweetness.
* 2 large eggs, lightly beaten: Binds the custard.
* 2 teaspoons pumpkin pie spice: The aromatic heart of the pie; gives it that classic flavor.
- Kitchen Tools:
* 9-inch pie plate: Your pie’s home.
* Large mixing bowls: For combining ingredients.
* Whisk: For smooth, lump-free filling.
* Rolling pin: For rolling out the pie crust.
* Measuring cups and spoons: Precision is key in baking.
* Parchment paper (optional): Helps with rolling out the crust.
Prep Time & Cooking Schedule
- Crust Prep: 15 minutes (plus 30 minutes chilling)
- Filling Prep: 10 minutes
- Bake Time: 50-60 minutes
- Cooling Time: At least 2-4 hours, or overnight (crucial for setting!)
For best results, prepare your pie crust a day in advance and let it chill thoroughly. This allows the gluten to relax, resulting in a more tender and flaky texture. The long cooling time is non-negotiable for a perfectly set, sliceable pie; patience truly is a virtue here!
Step-by-Step Instructions
1. Prepare the Pie Crust: In a large bowl, whisk together the flour and salt. Cut in the very cold, cubed butter using a pastry blender or your fingertips until the mixture resembles coarse crumbs with some pea-sized pieces of butter remaining. Gradually add ice water, one tablespoon at a time, mixing until the dough just comes together. Be careful not to overmix! Form into a disc, wrap in plastic, and refrigerate for at least 30 minutes.
2. Roll out the Crust: On a lightly floured surface, roll the chilled dough into a 12-inch circle. Carefully transfer it to your 9-inch pie plate. Trim and crimp the edges as desired. Prick the bottom of the crust with a fork a few times.
3. Blind Bake (Optional but Recommended): Line the crust with parchment paper and fill with pie weights or dried beans. Bake at 375°F (190°C) for 15 minutes. Remove weights and parchment, then bake for another 5-7 minutes until lightly golden. This prevents a soggy bottom.
4. Prepare the Filling: In a large bowl, whisk together the pumpkin puree, evaporated milk, granulated sugar, salt, two lightly beaten eggs, and the star of the show: 2 teaspoons of exquisite pumpkin pie spice. Whisk until perfectly smooth and well combined.
5. Assemble and Bake: Pour the smooth Pumpkin Pie filling into the partially baked crust.
6. Bake: Bake at 375°F (190°C) for 15 minutes, then reduce the oven temperature to 350°F (175°C) and continue baking for another 35-45 minutes, or until a knife inserted near the center comes out clean. The center will still be slightly jiggly.
7. Cool: Let the pie cool completely on a wire rack for at least 2-4 hours before slicing. This allows the custard to set properly.
Nutritional Benefits & Advantages
Pumpkin is not just a delicious squash; it’s a nutritional powerhouse! It’s rich in Vitamin A (from beta-carotene), which is vital for vision and immune function, and a good source of Vitamin C, potassium, and fiber. Choosing homemade means you control the sugar content and avoid artificial flavors and preservatives often found in store-bought versions. Plus, the evaporated milk provides essential calcium and protein.
Tips, Variations & Cooking Advice
- Spice It Up: For a bolder flavor, consider adding a pinch of freshly grated ginger or a tiny dash of black pepper to your pumpkin pie spice blend.
- Gluten-Free: Substitute the all-purpose flour with your favorite gluten-free pie crust mix.
- Dairy-Free: Use full-fat coconut milk or a dairy-free evaporated milk alternative.
- Sweetener Substitutions: You can adjust the sugar content or use maple syrup or brown sugar for a different flavor profile.
- Crust Decoration: Get creative with leaf cutouts or braided edges for a beautiful presentation.
Common Mistakes to Avoid
- Overmixing the Crust: Leads to a tough crust. Mix just until combined.
- Undercooking: Results in a runny filling. Ensure a knife comes out clean.
- Overcooking: Causes cracks in the filling. Reduce temperature if needed.
- Not Cooling Enough: Impatience will lead to a messy, unset pie! Always let it cool completely.
- Using Pumpkin Pie Filling Instead of Puree: These are not interchangeable! Always check the label.
Storage & Meal Prep Tips
Leftover Pumpkin Pie should be covered loosely with plastic wrap and refrigerated. It will stay fresh for 3-4 days. While freezing pumpkin pie is possible, the texture of the custard can become grainy upon thawing. If you must freeze, wrap slices tightly in plastic wrap and then foil; thaw overnight in the refrigerator. To gently reheat, warm slices in a low oven (around 250°F/120°C) for 10-15 minutes.
Conclusion
There you have it – the definitive guide to baking a truly exceptional homemade Pumpkin Pie. By following these steps and paying attention to those crucial details, especially the perfect balance provided by the pumpkin pie spice, you’re not just baking a dessert; you’re creating a cherished culinary experience. We encourage you to try this recipe and taste the difference that fresh ingredients and a little love can make. Share your results with us, and let’s celebrate the joy of homemade goodness together!
FAQs
Q1: My pie filling cracked during baking. What went wrong?
A: This usually happens from overbaking or baking at too high a temperature. The custard tightens too quickly. Try lowering the oven temperature slightly after the initial high-heat bake and ensuring you don’t overcook it.
Q2: Can I use fresh pumpkin instead of canned puree?
A: Absolutely! Roast fresh pumpkin chunks until tender, then mash or puree them. Just ensure the fresh puree is well-drained to avoid an overly wet filling.
Q3: How can I prevent the crust edges from burning?
A: If the crust edges are browning too quickly, gently cover them with aluminum foil during the last 20-30 minutes of baking.
Q4: Can I make individual mini pumpkin pies?
A: Yes! Use a muffin tin with pre-made mini pie crusts or cut out dough circles. Adjust baking time accordingly, usually 20-30 minutes.
Q5: What’s the best way to serve pumpkin pie?
A: Classic toppings include a dollop of fresh whipped cream, a sprinkle of cinnamon, or a scoop of vanilla ice cream. Some even enjoy a drizzle of caramel sauce!