Bake Your Heart Out: Mastering the Decadent Chocolate Cake at Home
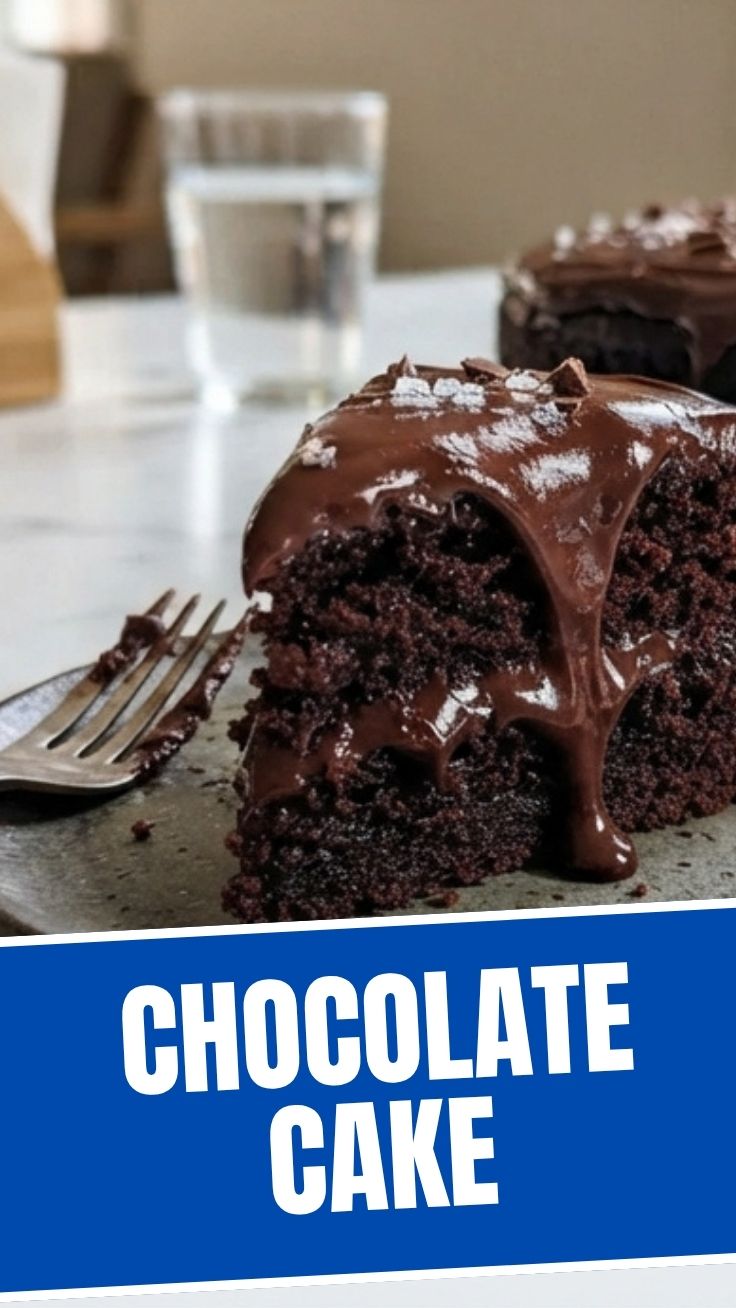
Ever wondered if you could truly recreate that intensely rich, melt-in-your-mouth Chocolate Cake experience in your own kitchen? The kind that makes you close your eyes in pure bliss with every forkful, especially when it’s adorned with a silky-smooth Frosting? Well, get ready to discover the secrets to baking a truly extraordinary chocolate dessert. Preparing this classic at home isn’t just about saving money; it’s about infusing love into every single ingredient, customizing it to your exact preferences, and experiencing the incredible satisfaction of presenting a show-stopping confection. This comprehensive guide will empower you to bake the perfect Chocolate Cake, complete with an irresistible Frosting, from scratch.
Ingredients & Kitchen Tools
- All-purpose flour (2 cups): The structural backbone of our cake.
- Granulated sugar (2 cups): Provides sweetness and helps with browning.
- Unsweetened cocoa powder (¾ cup): For that deep, intense chocolate flavor. Look for Dutch-processed for a darker color and milder taste.
- Baking soda (2 teaspoons): A leavening agent that helps the cake rise.
- Baking powder (1 teaspoon): Another leavening agent, creates a tender crumb.
- Salt (1 teaspoon): Enhances all the other flavors.
- Milk (1 cup): Adds moisture and tenderness.
- Vegetable oil (½ cup): Contributes to a moist and tender texture. Can substitute with melted unsalted butter for richer flavor.
- Large eggs (2): Provide structure and richness.
- Vanilla extract (2 teaspoons): Enhances the chocolate flavor.
- Boiling water (1 cup): Activates the cocoa and baking soda, making the cake extra moist.
- Powdered sugar (4 cups): The base for our smooth Frosting.
- Unsalted butter (1 cup, softened): For rich, creamy Frosting.
- Unsweetened cocoa powder (½ cup): For chocolate Frosting.
- Milk or heavy cream (¼ cup, or more as needed): Adjusts consistency of the Frosting.
- Vanilla extract (1 teaspoon) for Frosting: Balances the sweetness.
- Kitchen Tools: Two 9-inch round baking pans, large mixing bowls, whisk, electric mixer (handheld or stand), spatula, measuring cups and spoons, sifter (optional, for cocoa and powdered sugar), cooling racks.
Prep Time & Cooking Schedule
- Prep Time: 20 minutes
- Bake Time: 30-35 minutes
- Cooling Time (before frosting): 1-2 hours
- Total Time: Approximately 2.5 – 3 hours
This schedule allows you ample time to prepare the wet and dry ingredients, bake the luscious cakes, and then ensure they are completely cool before applying the delightful Frosting. Rushing the cooling process can lead to a messy, melted frosting situation, so patience is key for perfection!
Step-by-Step Instructions
1. Preheat & Prep: Preheat your oven to 350°F (175°C). Grease and flour two 9-inch round baking pans. For extra assurance, you can line the bottoms with parchment paper.
2. Combine Dry Ingredients: In a large mixing bowl, whisk together the all-purpose flour, granulated sugar, ¾ cup unsweetened cocoa powder, baking soda, baking powder, and salt. Make sure there are no lumps.
3. Combine Wet Ingredients: In a separate medium bowl, whisk together the milk, vegetable oil, large eggs, and 2 teaspoons vanilla extract.
4. Combine & Integrate: Pour the wet ingredients into the dry ingredients. Mix on low speed with an electric mixer until just combined, being careful not to overmix. Overmixing develops gluten, leading to a tougher cake.
5. Add Boiling Water: Carefully stir in the boiling water. The batter will be thin – this is normal and contributes to the moist texture of your incredible Chocolate Cake.
6. Bake: Divide the batter evenly between the prepared baking pans. Bake for 30-35 minutes, or until a wooden skewer inserted into the center comes out clean.
7. Cool: Let the cakes cool in their pans for about 10-15 minutes before inverting them onto wire racks to cool completely. This is crucial before moving on to the Frosting.
8. Prepare the Frosting: In a large bowl, beat the softened butter with an electric mixer until creamy. Gradually add the powdered sugar, ½ cup cocoa powder, 1 teaspoon vanilla extract, and milk (or cream), starting with a small amount and adding more as needed to reach your desired consistency. Beat until light and fluffy.
9. Assemble & Frost: Once the cake layers are completely cool, place one layer on your serving plate or cake stand. Spread a generous layer of Frosting on top, then carefully place the second cake layer. Cover the entire cake with the remaining luscious Frosting.
Nutritional Benefits & Advantages
While a slice of this decadent Chocolate Cake is certainly a treat, it’s not without some merits. Dark cocoa powder, a primary ingredient, is rich in antioxidants called flavonoids, which have been linked to improved heart health and cognitive function. Eggs provide protein and essential vitamins, and milk contributes calcium. Making your cake from scratch also gives you control over the quality of ingredients, avoiding artificial flavors and excessive preservatives often found in store-bought options.
Tips, Variations & Cooking Advice
- Espresso Boost: Add 1 teaspoon of instant espresso powder to the batter along with the other dry ingredients. It won’t make your cake taste like coffee, but it will deepen and enhance the chocolate flavor.
- Buttermilk Substitute: For an even more tender and moist cake, use buttermilk instead of regular milk. If you don’t have buttermilk, add 1 tablespoon of white vinegar or lemon juice to regular milk and let it sit for 5 minutes before using.
- Flavorful Frosting Varieties: Experiment with different Frosting types! Try a cream cheese frosting, a rich ganache, or even a peppermint frosting for a festive touch.
- Gluten-Free Version: Substitute all-purpose flour with a 1:1 gluten-free baking blend that contains xanthan gum.
- Dairy-Free Option: Use plant-based milk (almond, soy, oat) and dairy-free butter alternatives for both the cake and the frosting.
Common Mistakes to Avoid
- Overmixing the Batter: This develops too much gluten, resulting in a tough, dry cake. Mix only until the ingredients are just combined.
- Not Cooling Cakes Completely: Trying to frost warm or even slightly warm cakes will result in melted, sliding Frosting. Patience is essential here.
- Incorrect Oven Temperature: An oven that’s too hot can cause the cake to dome and crack, while one that’s too cool will lead to a dense, underbaked result. Use an oven thermometer to ensure accuracy.
- Skipping Greasing and Flour: Without proper pan preparation, your cakes will stick, making removal difficult and potentially damaging the layers.
Storage & Meal Prep Tips
Leftover Chocolate Cake, especially when covered with a generous layer of Frosting, can be stored at room temperature for up to 2-3 days in an airtight container to prevent it from drying out. For longer storage, refrigerate for up to 5 days. Ensure it’s tightly wrapped to avoid absorbing odors from the fridge. For freezing, slice the cake and wrap individual portions tightly in plastic wrap, then place them in an airtight freezer-safe container for up to 2-3 months. Thaw frozen slices in the refrigerator overnight or at room temperature for a few hours before serving.
Conclusion
There you have it – a comprehensive guide to mastering the art of the perfect Chocolate Cake, crowned with a truly divine Frosting. By following these detailed steps, paying attention to ingredient quality, and embracing a little patience, you’ll be able to create a dessert that rivals any bakery-bought confection. Don’t be afraid to experiment and make it your own! We encourage you to try this recipe, share your magnificent creations in the comments below, and revel in the joy of homemade baking.
FAQs
Q1: Can I make this cake in an 8-inch pan?
A1: Yes, you can, but you may need to increase the baking time slightly (by 5-10 minutes) and keep a close watch. The cake layers will also be thicker.
Q2: My Frosting is too stiff/too runny. How do I fix it?
A2: If your frosting is too stiff, add milk (or cream) one teaspoon at a time until it reaches the desired consistency. If it’s too runny, gradually beat in more powdered sugar.
Q3: Can I use hot coffee instead of boiling water in the cake batter?
A3: Absolutely! Using hot brewed coffee instead of boiling water will intensify the chocolate flavor without adding a coffee taste. It’s a fantastic culinary secret for chocolate desserts.
Q4: How can I make this cake less sweet?
A4: You can slightly reduce the sugar in the cake batter by ¼ cup, but avoid reducing it too much as it affects the cake’s structure and moisture. For the frosting, try using a slightly darker cocoa powder or a cream cheese based frosting which tends to be less sweet than traditional buttercream.
Q5: What’s the best way to ensure uniform cake layers?
A5: Use a kitchen scale to weigh your batter and divide it equally between the two pans. This ensures both layers bake evenly and are of the same thickness for a beautiful presentation.