Unlock the Secret to the Best Homemade Banana Bread You’ll Ever Bake
Do you dream of that perfectly moist, fragrant, and comforting slice of Banana Bread, bursting with natural sweetness and a hint of spice? While store-bought versions offer convenience, there’s an unparalleled joy and satisfaction in preparing this beloved treat from scratch right in your own kitchen. Beyond the delightful aroma that will fill your home, baking your own banana bread allows you to control the quality of ingredients, customize flavors, and even sneak in extra nutrients. This isn’t just about baking; it’s about crafting a wholesome, delicious experience for yourself and your loved ones. We’re about to delve into a fantastic Recipe that will elevate your baking game and leave you wondering why you ever bought it pre-made.
Ingredients & Kitchen Tools
Gather your culinary arsenal for this delightful baking adventure:
- Ripe Bananas (3-4 medium): The browner and spottier, the better! These produce the sweetest, most flavorful bread.
- All-Purpose Flour (1 ½ cups): Provides the structure. For a gluten-free option, use an equal amount of a 1:1 gluten-free baking blend.
- Granulated Sugar (½ cup): Adds sweetness and helps with browning. Adjust to your sweetness preference.
- Brown Sugar (¼ cup packed): Contributes to moisture and a subtle caramel note.
- Large Egg (1): Binds the ingredients together.
- Melted Unsalted Butter (½ cup): Adds richness and moisture. Coconut oil can be a dairy-free alternative.
- Milk (¼ cup): Any milk type works – whole, skim, or a plant-based milk like almond or oat. Adds further moisture.
- Baking Soda (1 teaspoon): The leavening agent that helps the bread rise.
- Salt (½ teaspoon): Balances the sweetness and enhances overall flavor.
- Vanilla Extract (1 teaspoon): Aromatic enhancer.
- Ground Cinnamon (½ teaspoon, optional): Adds a warm, comforting spice.
- Chopped Walnuts or Pecans (½ cup, optional): For added texture and nutty flavor.
- Loaf Pan (9×5 inch): The classic vessel for Banana Bread.
- Mixing Bowls (2-3): For separating wet and dry ingredients.
- Whisk: For combining dry ingredients.
- Spatula: For folding the batter.
- Fork or Potato Masher: For mashing bananas.
- Measuring Cups & Spoons: Essential for accurate ingredient ratios.
Prep Time & Cooking Schedule
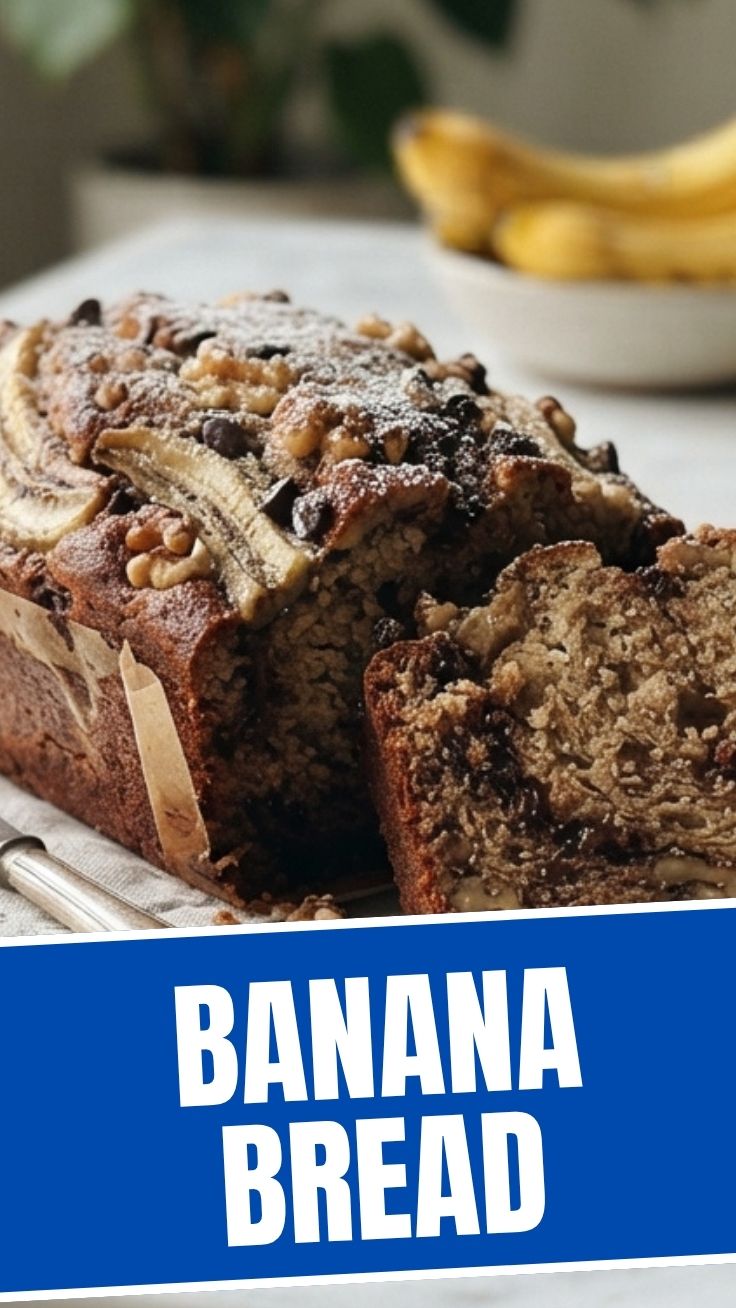
This Recipe is wonderfully forgiving and can fit into various schedules.
- Prep Time: 15 minutes (This includes mashing bananas and gathering ingredients).
- Cook Time: 50-60 minutes (Baking to golden perfection).
- Resting Time: 10-15 minutes in the pan, then fully cool on a wire rack for best slicing.
Plan to start this about 1.5 to 2 hours before you want to enjoy your freshly baked loaf, allowing ample time for baking and crucial cooling.
Step-by-Step Instructions
1. Preheat & Prep: Preheat your oven to 350°F (175°C). Grease and flour a 9×5 inch loaf pan, or line with parchment paper for easy removal.
2. Mash Bananas: In a medium bowl, thoroughly mash the ripe bananas with a fork or potato masher until mostly smooth with a few small lumps remaining.
3. Combine Wet Ingredients: In a large mixing bowl, whisk together the melted butter, granulated sugar, brown sugar, egg, milk, and vanilla extract until well combined. Stir in the mashed bananas. This sets the stage for a moist and flavorful Banana Bread.
4. Combine Dry Ingredients: In a separate medium bowl, whisk together the flour, baking soda, salt, and cinnamon (if using).
5. Combine Wet and Dry: Gradually add the dry ingredients to the wet ingredients, mixing with a spatula until just combined. Be careful not to overmix; a few streaks of flour are fine. Overmixing can lead to a tough loaf. If adding nuts, fold them in now.
6. Bake: Pour the batter into the prepared loaf pan and spread evenly. Bake for 50-60 minutes, or until a wooden skewer or toothpick inserted into the center comes out clean.
7. Cool: Let the bread cool in the loaf pan for 10-15 minutes before inverting it onto a wire rack to cool completely. This crucial step helps prevent the bottom from becoming soggy, perfecting this delightful Recipe.
Nutritional Benefits & Advantages
Bananas are a powerhouse of nutrition, offering potassium for heart health, dietary fiber for digestive wellness, and vitamin B6 for metabolism. The naturally sweet nature of ripe bananas also reduces the need for excessive added sugars. Using whole-wheat flour (as an optional substitution) can boost fiber content further, while nuts add healthy fats and protein, making this Banana Bread a more wholesome indulgence compared to many other baked goods.
Tips, Variations & Cooking Advice
- Spice It Up: Add a pinch of nutmeg or allspice for more depth.
- Chocolate Lover’s Dream: Fold in ½ cup of chocolate chips (dark, milk, or white) with the nuts.
- Healthier Swaps: Replace half the all-purpose flour with whole wheat flour for extra fiber. Substitute some sugar with maple syrup or honey (adjust liquid content slightly).
- Muffin Magic: Pour the batter into muffin tins for banana bread muffins. Reduce baking time to 20-25 minutes.
- Caramelized Top: Sprinkle a tablespoon of coarse sugar on top of the batter before baking for a crunchy, sparkling crust.
Common Mistakes to Avoid
- Under-ripe Bananas: Green or yellow bananas lack the sweetness and moisture needed for truly delicious bread. Wait for those brown spots!
- Overmixing the Batter: This develops the gluten too much, resulting in a tough, dense loaf instead of a tender, moist one. Mix until just combined.
- Opening the Oven Door Too Early: This can cause the bread to sink in the middle. Resist the urge to peek during the first 30-40 minutes of baking.
- Not Cooling Completely: Slicing warm banana bread is tempting, but it can be crumbly. A fully cooled loaf slices cleanly and has the best texture.
Storage & Meal Prep Tips
- Countertop: Store your Banana Bread tightly wrapped in plastic wrap or in an airtight container at room temperature for up to 3 days.
- Refrigerator: For longer storage, refrigerate for up to a week.
- Freezing: This bread freezes beautifully! Wrap individual slices or the whole loaf tightly in plastic wrap, then an additional layer of aluminum foil. Freeze for up to 3 months. Thaw at room temperature or gently warm slices in a toaster oven for a fresh-baked feel. This makes it an excellent candidate for meal prepping healthy snacks.
Conclusion
There you have it – a comprehensive guide to baking the perfect Banana Bread, a timeless classic that brings comfort and joy with every bite. From selecting the ideal overripe bananas to mastering the delicate balance of ingredients in this Recipe, you’re now equipped with all the knowledge to create a truly spectacular loaf. Don’t be afraid to experiment with variations and make it your own. We encourage you to try this recipe, share your delicious results with us in the comments, and explore our other delightful baking adventures!
FAQs
1. Can I use frozen bananas? Yes! Thaw them completely, drain any excess liquid, and use the mashed bananas as directed.
2. My banana bread came out dry. What went wrong? It was likely overbaked or the batter was overmixed. Ensure you’re using very ripe bananas for moisture, and check for doneness with a toothpick.
3. How can I make this healthier? Reduce sugar slightly, use whole wheat flour, add oats, or incorporate unsweetened applesauce for some of the butter.
4. The top browned too quickly. What should I do? If the top is getting too dark before the inside is cooked, loosely tent the loaf pan with aluminum foil for the remaining baking time.
5. Can I add other fruits? Absolutely! Blueberries, chopped apples, or shredded zucchini can be delightful additions. Just be mindful that additional moisture may slightly increase baking time.