Unlock the Secret to the Ultimate Homemade French Onion Dip
Ever wondered how to create that irresistibly creamy, deeply savory dip that vanishes in minutes at every gathering? Forget the store-bought versions; mastering homemade French Onion Dip is surprisingly simple and incredibly rewarding. This isn’t just about mixing a few ingredients; it’s about transforming humble pantry staples into a gourmet experience. With the right techniques and a good quality French onion soup mix, you can achieve a depth of flavor that will impress even the most discerning palates. Preparing this classic at home not only guarantees freshness and control over ingredients but also imbues it with a personal touch that store-bought varieties simply can’t replicate. Get ready to elevate your snack game with a dip that’s perfect for parties, potlucks, or a cozy night in.
Ingredients & Kitchen Tools
- 2 large yellow onions: The star of the show, caramelizing these brings out their natural sweetness and deep umami.
- 2 tbsp unsalted butter: For sautéing the onions, adding richness.
- 1 tbsp olive oil: Helps prevent butter from burning and adds a subtle fruitiness.
- 16 oz (2 cups) full-fat sour cream: The creamy base of our dip. Full-fat ensures a luxurious texture.
- 8 oz (1 cup) cream cheese, softened: Adds tang and extra richness; ensures a thick, scoopable consistency.
- 1 packet (approx. 1 oz) French onion soup mix: The crucial flavor booster, providing a blend of dried onions and savory seasonings.
- 1 tsp Worcestershire sauce: Adds a mysterious, savory depth that enhances the overall flavor profile.
- 1/2 tsp garlic powder: Complements the onion flavors.
- 1/4 tsp black pepper: Freshly ground for best flavor.
- Salt to taste: Adjust after mixing, as the soup mix contains sodium.
- Fresh chives, chopped (for garnish): Adds a pop of color and a fresh, subtle oniony note.
- Kitchen Tools: Large skillet, mixing bowl, spatula, whisk, cutting board, sharp knife.
Prep Time & Cooking Schedule
- Prep Time: 20 minutes (includes chopping onions)
- Cook Time: 30-40 minutes (for caramelizing onions)
- Chill Time: Minimum 2 hours, ideally overnight
This recipe requires a bit of patience, mainly for caramelizing the onions, which is a non-negotiable step for achieving that authentic, deep flavor. Don’t rush this process; slow and low heat is your friend here. The chilling time is also crucial as it allows the flavors to meld and deepen, resulting in a much more delicious dip. Plan ahead to ensure you have ample time for these steps.
Step-by-Step Instructions
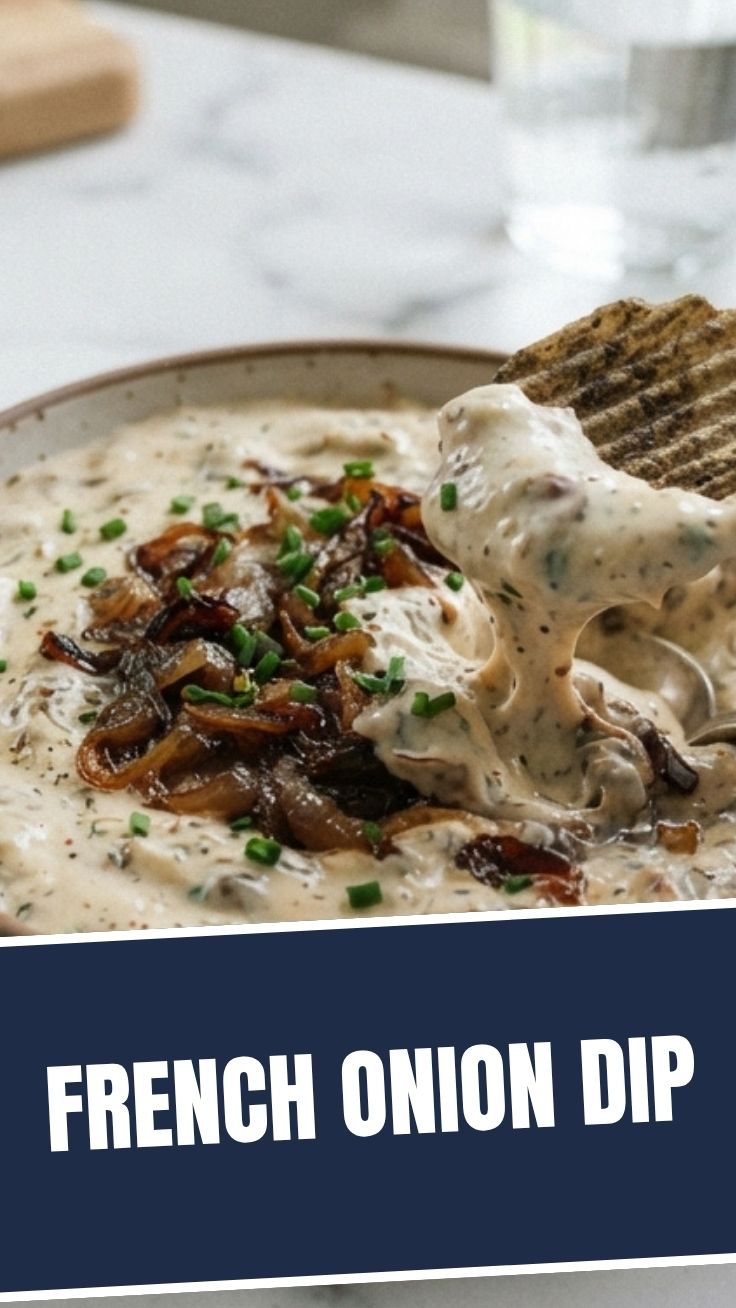
1. Caramelize the Onions: Thinly slice your two large yellow onions. In a large skillet over medium-low heat, melt the butter and olive oil. Add the sliced onions and cook, stirring occasionally, for 30-40 minutes, or until deeply golden brown and very tender. This process extracts their sugars, creating a complex, sweet, and savory base for your French Onion Dip. Let the caramelized onions cool completely.
2. Combine Wet Ingredients: In a large mixing bowl, combine the softened cream cheese, sour cream, Worcestershire sauce, garlic powder, and black pepper. Whisk until smooth and well-combined.
3. Incorporate Flavor Boosters: Add the cooled caramelized onions and the packet of French onion soup mix to the wet ingredients. Fold everything together gently until evenly distributed.
4. Season and Chill: Taste the dip and add salt if necessary (remembering the soup mix has some). Transfer the dip to an airtight container and refrigerate for at least 2 hours, or preferably overnight. This chilling period is vital for the flavors to fully develop and for the dip to thicken to the perfect consistency.
5. Serve: Garnish with fresh chopped chives just before serving with your favorite potato chips, vegetable sticks, or crackers.
Nutritional Benefits & Advantages
Homemade French Onion Dip, while indulgent, offers several advantages over its store-bought counterparts. By caramelizing fresh onions, you’re incorporating natural prebiotics and antioxidants. Using full-fat dairy provides essential vitamins and healthy fats. Furthermore, making it from scratch allows you to control sodium levels and avoid artificial preservatives, colors, and excessive sugars often found in commercial dips. It’s a more wholesome way to enjoy a classic comfort food.
Tips, Variations & Cooking Advice
- Onion Varieties: While yellow onions are traditional, a mix of red and yellow can add another layer of sweetness and a beautiful color.
- Herb Boost: Stir in a tablespoon of fresh thyme or rosemary for an aromatic twist after the onions have cooled.
- Spicy Kick: A pinch of cayenne pepper or a dash of hot sauce can add a subtle heat.
- Creamier Texture: For an even silkier dip, blend a portion of the caramelized onions with the dairy base before folding in the rest.
- Dietary Adaptations: For a lighter version, use low-fat sour cream and Neufchâtel cheese. For dairy-free, explore plant-based sour cream and cream cheese alternatives (results may vary in texture).
Common Mistakes to Avoid
- Rushing the Onions: This is the most crucial step. If your onions aren’t deeply caramelized, your dip will lack depth and flavor. Cook them slowly over low heat until they are a rich, golden brown.
- Not Chilling Long Enough: The flavors need time to meld. A short chill will result in a less flavorful and thinner dip.
- Over-Salting: Taste before adding extra salt, as the soup mix can be quite salty on its own.
- Serving Immediately: While tempting, allowing the dip to chill for several hours or overnight significantly improves its taste and texture.
Storage & Meal Prep Tips
Store leftover French Onion Dip in an airtight container in the refrigerator for up to 3-4 days. Due to the dairy content, freezing is not recommended as it can alter the texture of the dip, making it grainy or watery upon thawing. This dip is an excellent make-ahead option for parties; prepare it the day before, and the flavors will be even more pronounced.
Conclusion
There you have it – the definitive guide to crafting the most irresistible homemade French Onion Dip. By taking the time to properly caramelize your onions and allowing the flavors to meld, you’ll create a dip that far surpasses any store-bought alternative. This recipe, perfectly enhanced by a quality French onion soup mix, is a testament to how simple ingredients can yield extraordinary results. We encourage you to try this recipe for your next gathering or as a special treat for yourself. Share your creations and let us know how your dip turned out! Happy dipping!
FAQs
Q1: Can I use different types of onions?
A1: Yellow onions are best for caramelization due to their sugar content. Sweet onions can also work, but red onions might offer a slightly different flavor profile.
Q2: How do I speed up the caramelization process?
A2: While you can increase the heat slightly, rushing will likely lead to burned onions rather than caramelized. Low and slow is the key to deep, sweet flavor. Add a pinch of baking soda to speed it up very slightly, but be careful not to overdo it.
Q3: My dip is too thin. What did I do wrong?
A3: This could be due to not chilling the dip long enough, using low-fat dairy, or not cooling the caramelized onions completely before mixing. Ensure all components are cool and allow ample chill time.
Q4: Can I make this ahead of time for a party?
A4: Absolutely! In fact, making it a day in advance is highly recommended as it allows the flavors to fully develop and deepen, resulting in a more delicious dip.
Q5: What’s the best way to serve this dip?
A5: Classic ruffled potato chips are a perfect pairing. It also goes wonderfully with sturdy vegetable sticks (carrots, celery, bell peppers), pretzels, or crusty bread.