Unlocking the Secret to Bakery-Quality Chocolate Cupcakes at Home
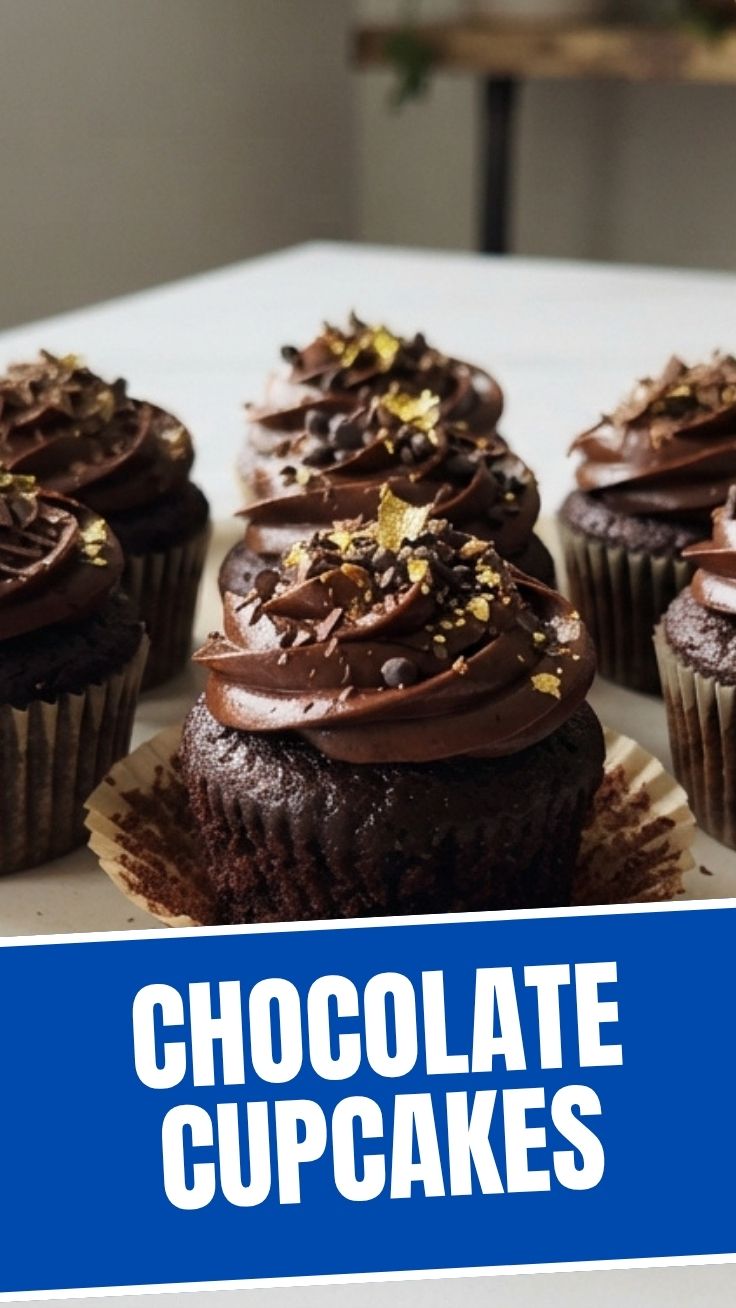
Who doesn’t love a perfectly baked, moist, and decadent Chocolate Cupcakes, lovingly adorned with a cloud of heavenly frosting for cupcakes? While store-bought treats can satisfy a craving, there’s an unparalleled joy and sense of accomplishment that comes from creating these delightful indulgences in your own kitchen. This isn’t just about baking; it’s about crafting a personalized experience, where every bite is a testament to your effort and care. This comprehensive guide will walk you through everything you need to know to master the art of homemade chocolate cupcakes, from selecting the finest ingredients to achieving that perfect fluffy texture and, of course, the ideal frosting for cupcakes. Get ready to impress your taste buds and loved ones with a dessert that truly shines.
Ingredients & Kitchen Tools
To embark on your chocolate cupcake journey, gather these essential items:
- All-Purpose Flour (1 ½ cups): Provides structure. For a gluten-free option, use a 1:1 gluten-free baking mix.
- Unsweetened Cocoa Powder (¾ cup): The star of our chocolate show. Opt for Dutch-processed for a darker color and mellower flavor.
- Granulated Sugar (1 ¾ cups): Sweetens and tenderizes the crumb.
- Baking Soda (1 ½ teaspoons): A leavening agent that helps the cupcakes rise.
- Baking Powder (1 teaspoon): Another leavening boost for a light and airy texture.
- Salt (1 teaspoon): Balances sweetness and enhances chocolate flavor.
- Large Eggs (2): Binds ingredients and adds richness. Ensure they are at room temperature.
- Milk (1 cup): Adds moisture. Whole milk is recommended for richness, but any kind works.
- Vegetable Oil (½ cup): Contributes to a super moist crumb. Can be substituted with melted coconut oil.
- Vanilla Extract (2 teaspoons): Elevates the overall flavor profile. Use pure vanilla for best results.
- Boiling Water (½ cup): Activates the cocoa powder, making the chocolate flavor more intense.
Kitchen Tools:
- Muffin Pan: Standard 12-cup capacity.
- Cupcake Liners: Prevents sticking and makes for easy serving.
- Large Mixing Bowls (2): For dry and wet ingredients.
- Whisk: For combining dry ingredients.
- Electric Mixer (Handheld or Stand): For creaming butter and sugar for the frosting, and for mixing the cupcake batter.
- Rubber Spatula: For scraping down bowls and folding.
- Measuring Cups and Spoons: For accurate ingredient portions.
- Cooling Rack: For cooling the cupcakes completely.
- Piping Bag and Tip (Optional): For decorative frosting application.
Prep Time & Cooking Schedule
- Prep Time: 20 minutes
- Baking Time: 18-22 minutes
- Cooling Time: 30 minutes (minimum before frosting)
Plan to dedicate about an hour from start to finish, not including the cooling time. The cooling period is crucial for ensuring your Chocolate Cupcakes set properly and don’t melt the delightful frosting for cupcakes you’ll be adding.
Step-by-Step Instructions
1. Preheat & Prepare: Preheat your oven to 350°F (175°C). Line a 12-cup muffin pan with cupcake liners. This ensures easy removal and cleanup.
2. Combine Dry Ingredients: In a large bowl, whisk together the flour, cocoa powder, granulated sugar, baking soda, baking powder, and salt until well combined. This initial step prevents lumps and ensures even distribution of leavening agents.
3. Mix Wet Ingredients: In a separate medium bowl, whisk the eggs, milk, vegetable oil, and vanilla extract until smooth.
4. Combine Wet & Dry: Pour the wet ingredients into the dry ingredients. Mix on low speed with an electric mixer, or by hand with a spatula, until just combined. Do not overmix; overmixing can lead to tough cupcakes.
5. Add Boiling Water: Carefully pour in the boiling water and mix until just incorporated. The batter will be thin, but this is normal and contributes to the moist texture of your Chocolate Cupcakes.
6. Fill Liners: Divide the batter evenly among the prepared cupcake liners, filling each about two-thirds full.
7. Bake: Bake for 18-22 minutes, or until a wooden skewer inserted into the center of a cupcake comes out clean.
8. Cool: Let the cupcakes cool in the muffin pan for 5 minutes before transferring them to a wire rack to cool completely. This is vital before applying any frosting for cupcakes.
Nutritional Benefits & Advantages
While cupcakes are often seen as a treat, these homemade delights offer some advantages. Using cocoa powder provides antioxidants, and you have control over the sugar quality and quantity compared to store-bought versions. Making them yourself also means avoiding artificial colors and preservatives common in many commercial baked goods. Furthermore, the satisfaction of creating these from scratch can be a wonderful mood booster!
Tips, Variations & Cooking Advice
- Coffee Boost: For an even deeper chocolate flavor, substitute half of the boiling water with strong hot coffee. Coffee enhances chocolate without making the cupcakes taste like coffee.
- Chocolate Chips: Fold ½ cup of chocolate chips into the batter for an extra gooey texture.
- Dairy-Free: Use plant-based milk (almond, soy, or oat) and an oil-based frosting for a delicious dairy-free option.
- Gluten-Free: As mentioned, a 1:1 gluten-free baking flour blend works wonderfully in this recipe.
- Portion Control: Bake in mini muffin tins for smaller, bite-sized treats (adjust baking time accordingly).
Common Mistakes to Avoid
Overmixing the Batter: This is the most common culprit for dry, tough cupcakes. Mix just* until the ingredients are combined.
- Overfilling the Liners: Filling past two-thirds will result in overflowing cupcakes and a less appealing shape.
- Opening the Oven Door Too Early: Resist the urge! This can cause cupcakes to sink.
- Frosting Warm Cupcakes: A surefire way to have your frosting melt into a sticky mess. Always wait until they are completely cool.
Storage & Meal Prep Tips
Store unfrosted Chocolate Cupcakes in an airtight container at room temperature for up to 3 days. Once frosted, they are best stored in the refrigerator in an airtight container for up to 5 days, especially if your frosting for cupcakes contains dairy. To freeze, place unfrosted cupcakes in a single layer on a baking sheet until firm, then transfer to a freezer bag or airtight container for up to 3 months. Thaw at room temperature before frosting.
Conclusion
There you have it – your definitive guide to baking the most delicious and satisfying Chocolate Cupcakes right in your own kitchen! From the rich, moist crumb to the luscious frosting for cupcakes, every element of this recipe is designed to deliver bakery-quality results with the heartfelt touch of homemade goodness. Don’t be afraid to experiment with flavors and decorative touches to make them uniquely yours. We encourage you to try this recipe and share your creations with us! Happy baking!
FAQs
Q1: Can I use less sugar in the recipe?
A1: While you can slightly reduce the sugar for the cupcakes, it can affect the texture. For the best result, stick to the recommended amount or reduce by no more than ¼ cup.
Q2: My cupcakes sank in the middle, what went wrong?
A2: Common reasons include overmixing the batter, opening the oven door too early, or incorrect oven temperature (too high or too low). Ensure your baking powder and soda are fresh.
Q3: How do I make the frosting dairy-free?
A3: For a dairy-free frosting, use a plant-based butter substitute and plant-based milk in your preferred frosting recipe. Ensure all other ingredients are also dairy-free.
Q4: Can I bake these as a large cake instead of cupcakes?
A4: Yes, this recipe can be adapted for an 8-inch round cake. Adjust baking time to 30-35 minutes, checking for doneness with a wooden skewer.
Q5: What’s the best way to get a fluffy frosting?
A5: Ensure your butter is at room temperature for the frosting. Cream the butter and powdered sugar together for several minutes until light and airy. Adding milk or cream gradually helps achieve the desired consistency.