Unlocking the Secret to the Perfect Homemade Red Velvet Cake
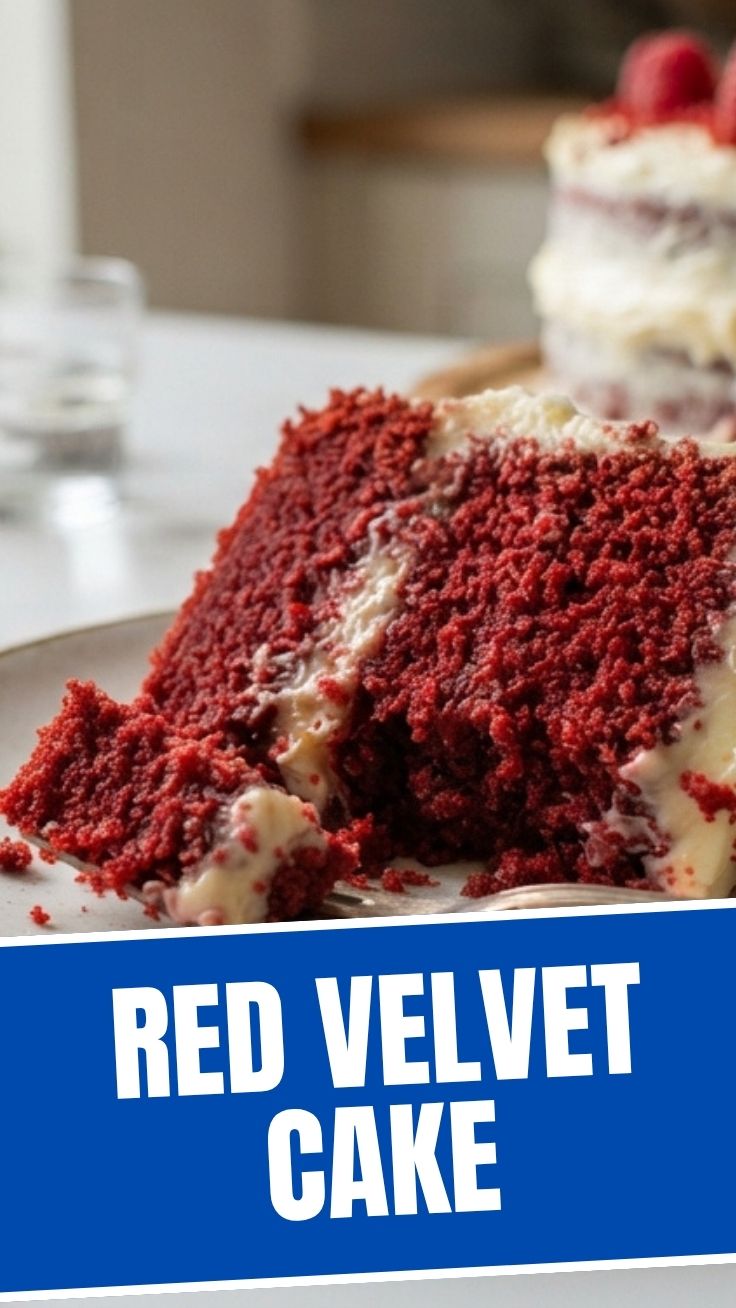
Ever wondered if you could recreate that iconic, velvety texture and rich flavor of a gourmet bakery cake right in your own kitchen? The answer is a resounding yes! There’s something undeniably satisfying about baking from scratch, especially when it comes to classics like Red Velvet Cake. Ditch the box mixes and discover the sheer joy (and superior taste) of a homemade red velvet confection, complete with a luscious cream cheese frosting. Not only does it allow for complete control over ingredients, ensuring a healthier and more personalized treat, but it also fills your home with an aroma that signals pure indulgence. Mastering this recipe elevates your baking game and guarantees a show-stopping dessert for any occasion.
Ingredients & Kitchen Tools
To embark on your Red Velvet Cake adventure, gather these essentials:
- For the Cake:
* 2 ½ cups all-purpose flour: Provides structure to the cake.
* 1 teaspoon baking soda: Leavening agent for rise.
* 1 teaspoon salt: Balances sweetness and enhances flavor.
* 1 cup buttermilk: Adds tanginess and tenderizes the crumb. (Substitution: 1 cup milk + 1 tbsp lemon juice or white vinegar, let sit for 5 minutes).
* 1 cup granulated sugar: Sweetens the cake.
* ½ cup unsalted butter, softened: Adds richness and moisture.
* 2 large eggs: Binds ingredients and aids in structure.
* 1 tablespoon cocoa powder (unsweetened): Provides the subtle chocolate element.
* 1 teaspoon vanilla extract: Enhances overall flavor.
* 1 ounce red food coloring (liquid or gel): For the iconic red hue. (Gel coloring provides a more vibrant color with less liquid).
* ½ teaspoon white vinegar: Reacts with baking soda for lift and tender crumb.
- For the cream cheese frosting:
* 8 ounces full-fat cream cheese, softened: The star of the frosting, providing tang and creaminess.
* ½ cup unsalted butter, softened: Adds richness and stabilizes the frosting.
* 4 cups powdered sugar, sifted: Sweetens and thickens the frosting. Sifting prevents lumps.
* 1 teaspoon vanilla extract: Enhances flavor.
* Pinch of salt: Balances sweetness.
- Kitchen Tools:
* Two 9-inch round cake pans: For baking even layers. Greasing and flouring ensures easy release.
* Electric mixer (stand or hand-held): Essential for creaming butter and sugar, and whipping frosting.
* Large mixing bowls: For combining dry and wet ingredients.
* Rubber spatula: For scraping down bowls and folding.
* Measuring cups and spoons: Accurate measurements are crucial for baking.
* Wire cooling rack: For cooling cakes completely.
* Offset spatula or butter knife: For spreading frosting.
Prep Time & Cooking Schedule
- Prep Time: 30 minutes. This includes gathering ingredients, softening butter and cream cheese, and preheating your oven.
- Bake Time: 25-30 minutes. This can vary based on your oven, so always test for doneness.
- Cooling Time: 1-2 hours (for cakes), plus 30 minutes chilling (for frosted cake). Don’t rush this step; completely cooled cakes prevent frosting from melting.
Plan to bring your butter and cream cheese to room temperature at least an hour before you start baking. This ensures a smooth, lump-free batter and frosting.
Step-by-Step Instructions
1. Prepare your Pans: Preheat your oven to 350°F (175°C). Grease and flour two 9-inch round cake pans. Line the bottoms with parchment paper for extra insurance against sticking.
2. Combine Dry Ingredients: In a medium bowl, whisk together the flour, baking soda, and salt. Set aside.
3. Cream Butter and Sugar: In a large mixing bowl, using an electric mixer, cream together the softened butter and granulated sugar until light and fluffy, about 2-3 minutes. This incorporates air, contributing to a tender cake.
4. Add Eggs and Flavorings: Beat in the eggs one at a time, mixing well after each addition. Stir in the cocoa powder, vanilla extract, and red food coloring until fully combined. At this stage, your batter should be a beautiful, vibrant red – the hallmark of a perfect Red Velvet Cake.
5. Alternate Wet and Dry: Gradually add the dry ingredients to the wet ingredients, alternating with the buttermilk, beginning and ending with the dry ingredients. Mix on low speed until just combined. Do not overmix! Overmixing develops gluten, leading to a tough cake.
6. Add Vinegar: Gently fold in the white vinegar. This activates the baking soda, creating a tender crumb and contributing to the distinctive red velvet texture.
7. Bake the Cakes: Divide the batter evenly between the prepared cake pans. Bake for 25-30 minutes, or until a wooden skewer inserted into the center comes out clean.
8. Cool Completely: Let the cakes cool in their pans for 10-15 minutes before inverting them onto a wire rack to cool completely. This is crucial before frosting.
9. Prepare the cream cheese frosting: While the cakes cool, beat the softened cream cheese and butter together in a large bowl with an electric mixer until smooth and creamy.
10. Add Powdered Sugar: Gradually add the sifted powdered sugar, 1 cup at a time, beating until smooth after each addition. Stir in the vanilla extract and a pinch of salt. Beat until the frosting is light and fluffy.
11. Assemble and Frost: Once the cake layers are completely cool, place one layer on a serving platter. Spread about 1/3 of the cream cheese frosting evenly over the top. Place the second cake layer on top and spread the remaining frosting over the top and sides of the cake. For best results, chill the frosted cake for at least 30 minutes before serving to allow the frosting to set.
Nutritional Benefits & Advantages
While a treat, homemade Red Velvet Cake offers a few advantages. Baking at home allows you to control the sugar content and avoid artificial preservatives often found in store-bought versions. Buttermilk contributes probiotics, which are beneficial for gut health. Moreover, eggs provide protein and essential nutrients, and a touch of cocoa powder adds antioxidants. The act of baking itself can also be a wonderful stress reliever and creative outlet!
Tips, Variations & Cooking Advice
- For a richer flavor: Use dark cocoa powder for a deeper chocolate note, or even a shot of espresso in the batter.
- Gluten-Free: Substitute the all-purpose flour with a 1:1 gluten-free baking blend.
- Dairy-Free: Use a dairy-free buttermilk substitute (e.g., almond milk + vinegar) and dairy-free butter and cream cheese alternatives for the frosting.
- Cupcakes: This recipe can easily be adapted for cupcakes. Bake for 18-22 minutes.
- Temperature Control: Ensure all dairy products (butter, cream cheese, buttermilk) are at room temperature for a smooth, emulsified batter and frosting.
Common Mistakes to Avoid
- Overmixing the Batter: This is the most common culprit for a tough cake. Mix only until ingredients are just combined.
- Not Cooling Cakes Completely: Frosting a warm cake will result in a melty, messy disaster. Patience is key!
- Skipping Sifting Powdered Sugar: This step ensures a lump-free, silky cream cheese frosting.
- Using Cold Cream Cheese/Butter: Leads to a lumpy, difficult-to-spread frosting.
Storage & Meal Prep Tips
Store leftover Red Velvet Cake in an airtight container in the refrigerator for up to 3-4 days. The cream cheese frosting requires refrigeration. For longer storage, individual slices or the whole cake (unfrosted ideally, or well-wrapped) can be frozen for up to 2-3 months. Thaw in the refrigerator overnight before serving.
Conclusion
Baking your own Red Velvet Cake from scratch is a truly rewarding experience, yielding a dessert that’s rich in flavor, history, and personal touch. The vibrant color and the tangy sweetness of the delicate cake, beautifully complemented by the luxurious cream cheese frosting, make it an unforgettable treat. This guide empowers you to bake with confidence, transforming simple ingredients into a masterpiece. We encourage you to try this recipe, share your baking successes, and savor every magnificent slice!
FAQs
Q: Can I use liquid food coloring instead of gel?
A: Yes, but you might need more liquid coloring to achieve the desired vibrant red hue, and it can slightly thin the batter. Gel coloring is often preferred for its intensity.
Q: Why is my cream cheese frosting too runny?
A: This usually happens if the butter or cream cheese was too soft (over room temperature), or if not enough powdered sugar was used. Try chilling it briefly or adding a bit more sifted powdered sugar.
Q: How do I know when the Red Velvet Cake is done baking?
A: Insert a wooden skewer or toothpick into the center of the cake. If it comes out clean with no wet batter, the cake is ready.
Q: Can I make this cake ahead of time?
A: Yes! The cake layers can be baked a day in advance, wrapped tightly in plastic wrap, and stored at room temperature. The frosting can also be made a day ahead and stored in the refrigerator; bring to room temperature and re-whip before frosting.
Q: What if I don’t have buttermilk?
A: You can easily make a substitute! Add 1 tablespoon of lemon juice or white vinegar to a measuring cup, then fill the rest of the cup with regular milk to the 1-cup line. Let it sit for 5-10 minutes until it slightly curdles.