Your Ultimate Guide to Crafting the Ultimate Homemade Crunchy Snack Experience
Ever wondered if you could recreate that perfectly balanced, irresistibly crunchy, and endlessly customizable Chex Mix that tantalizes your taste buds with every bite? The answer is a resounding YES! Preparing this classic
snack mix at home isn’t just about saving money; it’s about unlocking a world of flavor customization, ensuring fresh, high-quality ingredients, and experiencing the pure joy of crafting something delicious from scratch. Forget those stale store-bought versions – today, we’re diving deep into creating a homemade Chex Mix that will impress everyone, from casual snackers to connoisseurs of savory treats.
Ingredients & Kitchen Tools
- Cereal Base:
* 3 cups Rice Chex Cereal: Offers a light, crispy texture.
* 3 cups Corn Chex Cereal: Provides a sturdy, slightly sweeter crunch.
* 3 cups Wheat Chex Cereal: Adds a hearty, whole-grain element.
* Optional Substitutions: Feel free to experiment with a mix of Chex varieties or even add other small, unsweetened cereals like Cheerios for textural variation.
- Boosters & Munchies:
* 1 cup Mixed Nuts: Almonds, cashews, peanuts, and pecans add richness and protein.
* 1 cup Bagel Chips or Pretzels: Choose bite-sized portions for even distribution and an extra layer of crunch.
* Optional Substitutions: Sesame sticks, oyster crackers, or even small cheese crackers can enhance the mix.
- Flavorful Coating:
* 6 tablespoons Unsalted Butter, melted: The base for our savory coating, ensuring even distribution of seasonings.
* 2 tablespoons Worcestershire Sauce: Adds a distinctive umami depth.
* 1 teaspoon Garlic Powder: For a pungent, aromatic kick.
* 1 teaspoon Onion Powder: Complements the garlic with a milder, savory note.
* ½ teaspoon Smoked Paprika: Offers a subtle smoky warmth and appealing color.
* ¼ teaspoon Cayenne Pepper (optional): For those who prefer a little heat; adjust to your spice preference.
* A pinch of Salt & Black Pepper: To taste and enhance all the other flavors.
- Essential Kitchen Tools:
* Large Roasting Pan or Large Baking Sheets: Needed for even spreading and roasting.
* Large Mixing Bowl: For combining all the ingredients.
* Measuring Cups and Spoons: For accurate ingredient quantities.
* Whisk: To thoroughly combine the seasoning mixture.
* Spatula or Large Spoon: For stirring the mix during roasting.
* Parchment Paper (optional): For easier cleanup and preventing sticking.
Prep Time & Cooking Schedule
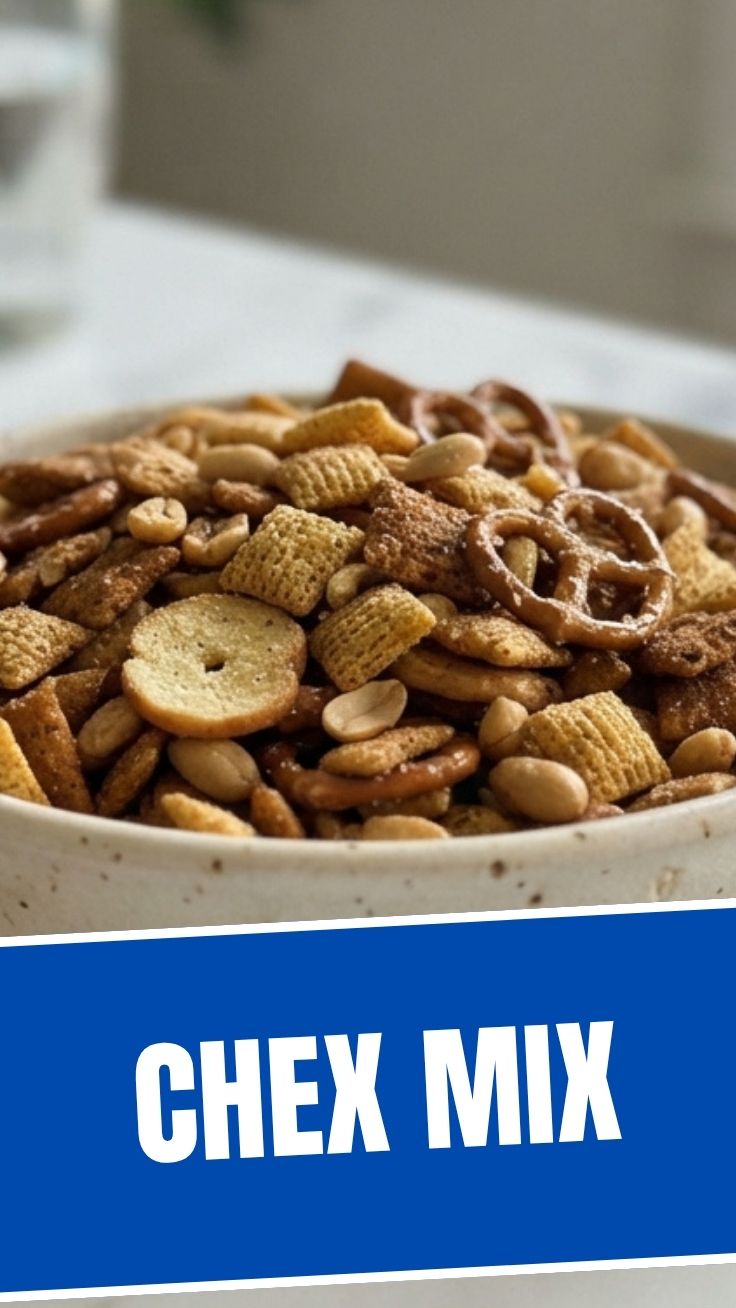
- Prep Time: 15 minutes
- Cook Time: 60 minutes
- Cooling Time: 30 minutes
This recipe requires about a total of 1 hour and 45 minutes from start to finish. The bulk of the time is hands-off baking, allowing the flavors to meld and the mix to achieve that perfect crunch. You can easily prepare the ingredients ahead of time, ensuring a smooth cooking process when you’re ready to bake. This makes it an ideal candidate for party prep or a weekend afternoon project.
Step-by-Step Instructions
1. Preheat & Prepare: Preheat your oven to 250°F (120°C). If using, line a large roasting pan or two large baking sheets with parchment paper for easier cleanup.
2. Combine Dry Ingredients: In a very large mixing bowl, gently combine the Rice Chex, Corn Chex, Wheat Chex, mixed nuts, and bagel chips/pretzels. Be careful not to crush the cereals.
3. Prepare the Flavorful Coating: In a separate small bowl, whisk together the melted butter, Worcestershire sauce, garlic powder, onion powder, smoked paprika, cayenne pepper (if using), salt, and black pepper until well combined.
4. Coat the Mix: Pour the butter mixture evenly over the dry ingredients in the large bowl. Using a large spatula or spoon, gently toss until all ingredients are thoroughly and evenly coated. This is crucial for a perfectly seasoned Chex Mix.
5. Roast to Perfection: Spread the seasoned mix in a single layer onto your prepared roasting pan or baking sheets. Bake for 1 hour, stirring gently every 15 minutes to ensure even toasting and prevent burning. The cereal pieces should be golden brown and the entire snack mix should feel crispy.
6. Cool & Enjoy: Once roasted, remove the pan from the oven and spread the mix out of the hot pan onto a clean sheet of parchment paper or aluminum foil. Let it cool completely at room temperature for at least 30 minutes. This cooling process is essential for achieving maximum crispness.
Nutritional Benefits & Advantages
This homemade Chex Mix, when made with whole-grain cereals like Wheat Chex, offers a decent source of fiber, which is beneficial for digestive health. The addition of nuts contributes healthy fats, protein, and various vitamins and minerals such as Vitamin E, magnesium, and selenium. Compared to many heavily processed store-bought snacks, crafting your own allows you to control the amount of sodium and unhealthy additives, opting for natural spices and real butter for flavor. It can be a more wholesome alternative for satisfying those crunchy cravings.
Tips, Variations & Cooking Advice
- Spice it Up: Experiment with different seasonings! Try a dash of chili powder, dried dill, Italian seasoning, or even a sprinkle of Parmesan cheese after baking.
- Sweet & Savory: For a delightful contrast, add a tablespoon of brown sugar or maple syrup to the butter mixture.
Ingredient Swaps: Explore different cereals (e.g., Oat Chex), add roasted chickpeas for extra protein, or include dried fruit for a touch of sweetness (add these after* baking to prevent burning).
- Air Fryer Method: For smaller batches, you can air fry at 250°F (120°C) for 20-30 minutes, shaking the basket every 5 minutes, until crispy. This can be quicker but requires close monitoring.
- Dietary Adaptations:
* Gluten-Free: Ensure all your Chex cereals and other ingredients (like pretzels or bagel chips) are certified gluten-free. Rice Chex and Corn Chex are typically gluten-free.
* Dairy-Free: Substitute the butter with a plant-based butter alternative.
Common Mistakes to Avoid
- Overcrowding the Pan: Spreading the mix too thickly on the baking sheet will result in uneven cooking and a less crispy texture. Use multiple sheets if necessary.
- Skipping the Stirring: Not stirring every 15 minutes can lead to burnt spots and undercooked areas. Regular stirring ensures consistent toasting.
- Not Cooling Completely: Removing the mix from the oven and immediately digging in often results in a slightly chewy texture. Cooling it completely allows it to crisp up properly.
- Too Much Liquid: Be precise with the butter and Worcestershire sauce measurements. Too much liquid can make the mix soggy.
- Over-seasoning: While customization is great, start with the recommended seasoning amounts and adjust subtly on subsequent batches if you desire stronger flavors.
Storage & Meal Prep Tips
Once completely cooled, store your homemade Chex Mix in an airtight container at room temperature. It will stay fresh and delightfully crispy for up to 2-3 weeks. Avoid storing it in the refrigerator, as this can introduce moisture and cause it to become soft. For longer storage (though typically unnecessary given how quickly it disappears!), you could freeze it in an airtight container for up to 3 months, allowing it to thaw at room temperature before serving. This recipe is fantastic for meal prep as a ready-to-grab snack throughout the week or for packing in lunchboxes.
Conclusion
There you have it – the definitive guide to creating your own batch of incredibly satisfying homemade Chex Mix. By following these easy steps, you’ve not only whipped up a delicious treat but also tailored it to your preferences, ensuring a perfect balance of crunch and flavor. This versatile snack mix is perfect for parties, movie nights, or simply as a delightful anytime snack. Don’t hesitate to experiment with the variations, make it your own, and share your culinary successes with friends and family. Happy snacking!
FAQs
Q1: Can I make this Chex Mix in a slow cooker?
A1: Yes, you can! Combine all ingredients in your slow cooker, spread evenly, and cook on low for 3-4 hours, stirring every 45-60 minutes, until crispy.
Q2: What’s the best way to ensure the seasoning sticks to everything?
A2: Ensure your butter is fully melted and whisked well with the seasonings. Then, gently toss the dry ingredients with the liquid mixture very thoroughly, ensuring each piece gets a coating. A large bowl is key for effective tossing.
Q3: My Chex Mix isn’t as crispy as I’d like. What went wrong?
A3: This is usually due to insufficient baking time or not spreading the mix thinly enough. Make sure to bake for the full hour, stirring frequently, and allow it to cool completely before storing. If still not crisp, you can rebake for another 10-15 minutes at a low temperature.
Q4: How can I make this recipe spicier?
A4: Increase the amount of cayenne pepper. You can also add a pinch of red pepper flakes or a dash of hot sauce to the butter mixture for an extra kick.
Q5: Can I use different types of cereal besides Chex?
A5: Absolutely! While Chex cereals are traditional and lend themselves well to the savory coating, you can certainly experiment with other sturdy, unsweetened cereals like Cheerios, Shredded Wheat Squares (smaller pieces), or even cornflakes. Just be mindful of their differing textures and baking times.