The Secret to Perfectly Moist Vanilla Cupcakes: Your Kitchen, Your Creation
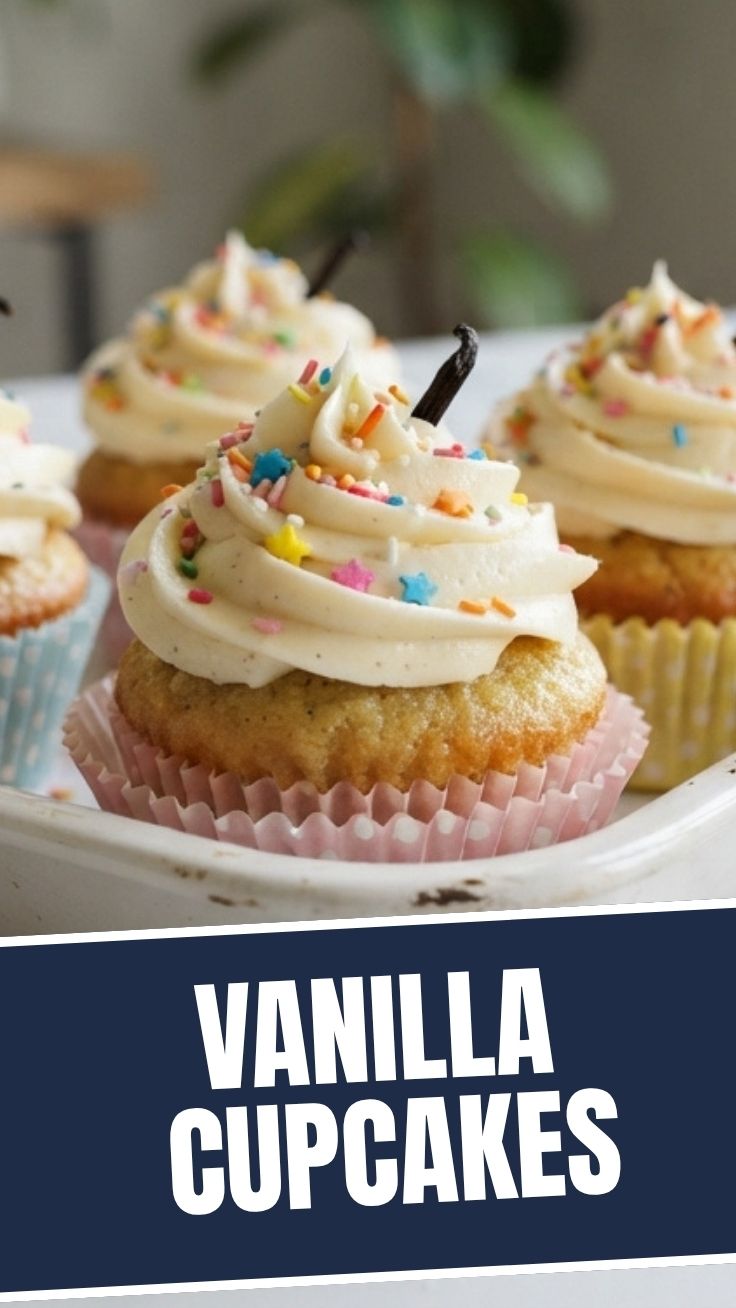
Have you ever bitten into a Vanilla Cupcake that was so light, so fluffy, and so utterly delicious that it transported you straight to dessert heaven? Imagine achieving that very same magic right in your own kitchen, with minimal fuss and maximum satisfaction. Making Vanilla Cupcakes at home isn’t just about baking; it’s about crafting a delightful treat that fills your home with an irresistible aroma and your loved ones with joy. Forget store-bought imitations; the depth of flavor you get from a homemade Vanilla Cupcake, especially when crowned with a rich and creamy vanilla frosting, is unparalleled. This guide will walk you through creating the most exquisite Vanilla Cupcakes you’ve ever tasted, from scratch, ensuring each bite is a memory in the making.
Ingredients & Kitchen Tools
Crafting the perfect Vanilla Cupcake requires a few essential ingredients and tools. Here’s what you’ll need:
- All-Purpose Flour (1 ½ cups): The structural backbone of our cupcakes. Sifting it ensures a lighter texture.
- Granulated Sugar (1 cup): Provides sweetness and contributes to moisture.
- Baking Powder (1 ½ teaspoons): Our leavening agent, creating rise and lightness.
- Salt (½ teaspoon): Balances flavors and enhances sweetness.
- Unsalted Butter (½ cup, softened): Adds richness and tenderness. Using unsalted allows you to control salt levels.
- Large Eggs (2, room temperature): Binds ingredients and adds richness. Room temperature eggs emulsify better.
- Whole Milk (½ cup, room temperature): Provides moisture and contributes to a tender crumb.
- Pure Vanilla Extract (2 teaspoons): The star flavor of our Vanilla Cupcakes. Avoid imitation vanilla for the best taste.
- For the vanilla frosting: Powdered sugar, unsalted butter, milk/cream, pure vanilla extract. (Specific quantities will be provided as part of the full recipe for the frosting).
Kitchen Tools:
- Cupcake Pan (12-cup): Essential for baking individual cupcakes.
- Cupcake Liners: Prevents sticking and makes for easy serving.
- Large Mixing Bowls (2): For dry and wet ingredients.
- Electric Mixer (stand or hand-held): For creaming butter and sugar, and whipping frosting.
- Whisk: For combining dry ingredients.
- Rubber Spatula: For scraping bowls and folding ingredients.
- Measuring Cups and Spoons: For accurate ingredient measurement.
Prep Time & Cooking Schedule
- Prep Time: 20 minutes
- Bake Time: 18-22 minutes
- Cooling Time: 30 minutes (before frosting)
This schedule allows for a relaxed baking experience. Have all your ingredients at room temperature before you start; this significantly impacts the final texture of your Vanilla Cupcakes. The cooling time is crucial for preventing your vanilla frosting from melting!
Step-by-Step Instructions
1. Preheat and Prepare: Preheat your oven to 350°F (175°C). Line a 12-cup cupcake pan with paper liners.
2. Combine Dry Ingredients: In a medium bowl, whisk together the flour, baking powder, and salt. Set aside.
3. Cream Butter and Sugar: In a large bowl, using an electric mixer, cream together the softened butter and granulated sugar on medium speed until light and fluffy, about 3-4 minutes. This process incorporates air, contributing to the lightness of your Vanilla Cupcakes.
4. Add Eggs and Vanilla: Beat in the eggs one at a time, mixing well after each addition. Stir in the pure vanilla extract.
5. Alternate Wet and Dry: Gradually add the dry ingredients to the wet ingredients, alternating with the milk, beginning and ending with the dry ingredients. Mix on low speed until just combined. Be careful not to overmix; overmixing develops gluten, leading to tough cupcakes.
6. Fill Liners: Divide the batter evenly among the prepared cupcake liners, filling each about two-thirds full.
7. Bake: Bake for 18-22 minutes, or until a wooden skewer inserted into the center of a cupcake comes out clean.
8. Cool: Let the Vanilla Cupcakes cool in the pan for 5 minutes before transferring them to a wire rack to cool completely. Ensure they are fully cooled before applying the blissful vanilla frosting.
Nutritional Benefits & Advantages
While often seen as an indulgence, homemade Vanilla Cupcakes offer several advantages. You control the quality of ingredients, opting for pure vanilla extract over artificial flavorings and real butter, which provides essential fat-soluble vitamins. Making them from scratch avoids the artificial preservatives and high-fructose corn syrup often found in commercially produced baked goods. Enjoying a homemade treat in moderation can be a delightful and emotionally satisfying experience.
Tips, Variations & Cooking Advice
- Flavor Boost: For an extra vanilla punch, consider adding a tiny pinch of vanilla bean powder or the scraped seeds from half a vanilla bean to the batter.
- Citrus Zest: A teaspoon of lemon or orange zest can add a bright, complementary note to your Vanilla Cupcakes.
- Chocolate Swirl: Melt a tablespoon of chocolate and swirl it into the batter in the cupcake liners before baking for a marbled effect.
- Dairy-Free: Substitute whole milk with a plain, unsweetened non-dairy milk (like almond or oat) and use a high-quality vegan butter substitute.
- Gluten-Free: Use a 1:1 gluten-free baking flour blend for an equally delightful result.
Common Mistakes to Avoid
- Overmixing the Batter: This is the most common culprit for tough cupcakes. Mix only until ingredients are just combined.
- Overfilling Liners: Leads to overflowing, misshapen cupcakes with dense centers. Stick to two-thirds full.
- Opening the Oven Door Too Early: Can cause cupcakes to sink. Resist the urge until at least 15 minutes into baking.
- Frosting Warm Cupcakes: The frosting will melt and slide off! Always allow cupcakes to cool completely.
Storage & Meal Prep Tips
Store unfrosted Vanilla Cupcakes in an airtight container at room temperature for up to 3 days, or in the refrigerator for up to 5 days. Once frosted with vanilla frosting, they are best stored in an airtight container in the refrigerator for up to 3 days due to the butter in the frosting. Bring them to room temperature for about 15-20 minutes before serving for the best texture. You can also freeze unfrosted cupcakes for up to 3 months. Thaw them at room temperature before frosting.
Conclusion
Mastering the art of homemade Vanilla Cupcakes is a rewarding culinary journey. This recipe provides a foundational classic that’s endlessly customizable and guaranteed to impress. From the delightful aroma that fills your kitchen to the first tender bite, these Vanilla Cupcakes, perfectly complemented by a luscious vanilla frosting, are truly a testament to the joy of baking. Don’t be afraid to experiment with variations and make them your own. We encourage you to try this recipe and share your delicious results! What’s your favorite way to enjoy a classic Vanilla Cupcake?
FAQs
Q1: Can I use milk substitutes like almond or oat milk?
A1: Yes, absolutely! Unsweetened almond or oat milk provides an excellent dairy-free alternative without compromising the texture or flavor significantly.
Q2: How can I prevent my cupcakes from sinking in the middle?
A2: Common causes for sinking include overmixing the batter, opening the oven door too early, or incorrect oven temperature. Ensure your leavening agents are fresh and avoid overfilling the liners.
Q3: My vanilla frosting is too thin/thick. How can I fix it?
A3: If your vanilla frosting is too thin, add a tablespoon of powdered sugar at a time until it reaches the desired consistency. If it’s too thick, add a teaspoon of milk or cream until it loosens up.
Q4: Can I make the cupcake batter ahead of time?
A4: It’s best to bake the batter immediately after mixing for the best rise and texture. However, you can prepare dry and wet ingredients separately and combine them just before baking.
Q5: What’s the best way to get a rich vanilla flavor?
A5: Always opt for pure vanilla extract over imitation. For an even deeper flavor profile, consider using vanilla bean paste or scraping seeds from a fresh vanilla bean.