Unlock the Secret to the Perfect Holiday Feast: Your Guide to Homemade Gravy
Are you ready to transform your holiday meals from good to absolutely unforgettable? The secret often lies in a single, magnificent element that pulls everything together: a rich, savory homemade gravy. Forget those powdered packets and canned concoctions; preparing your own Turkey Gravy at home is not only incredibly rewarding but also surprisingly straightforward. It’s the essential accompaniment that elevates everything it touches, especially your perfectly roasted Thanksgiving Turkey. This guide will walk you through every step, ensuring your gravy is the star of the show.
Ingredients & Kitchen Tools
Crafting the ideal Turkey Gravy requires a few key ingredients and tools, many of which you likely already have.
Ingredients:
- 4-6 cups Turkey drippings/stock: The flavorful liquid collected from roasting your Thanksgiving Turkey. If short, supplement with good quality chicken or turkey broth.
- 1/2 cup Unsalted butter: Provides richness and forms the base of the roux.
- 1/2 cup All-purpose flour: The thickening agent for a silky smooth gravy. Gluten-free alternatives can be used.
- 1/2 cup Dry white wine or sherry (optional): Adds depth and complexity to the flavor profile.
- 1 teaspoon Fresh thyme, chopped: Enhances the aromatic qualities.
- 1/2 teaspoon Fresh sage, chopped: A classic companion to turkey.
- Salt and freshly ground black pepper: To taste, adjust seasoning at the end.
- Optional: 1 tablespoon Cognac or brandy: For an extra layer of sophisticated flavor.
Kitchen Tools:
- Large saucepan or Dutch oven: For cooking the gravy evenly.
- Whisk: Essential for preventing lumps and achieving a smooth consistency.
- Fat separator: Highly recommended for easily separating turkey fat from drippings.
- Fine-mesh sieve (strainer): To ensure a smooth, lump-free gravy.
- Ladle: For serving.
- Measuring cups and spoons: For precise ingredient amounts.
Prep Time & Cooking Schedule
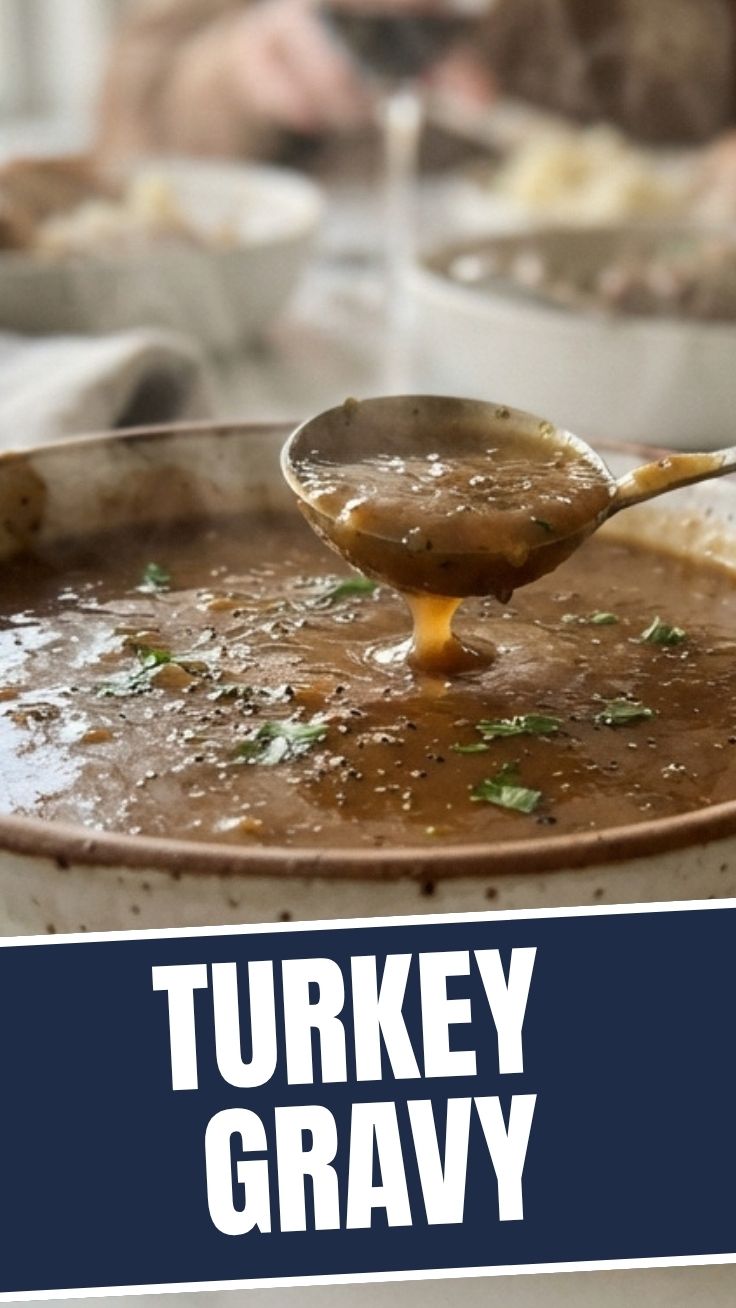
The beauty of homemade gravy is that it can often be made while your Thanksgiving Turkey is resting, making it the perfect last-minute addition to your feast.
- Prep time: 10 minutes (mostly gathering ingredients and filtering drippings)
- Cook time: 15-20 minutes
- Resting time: None, serve immediately for best results.
This efficient timeline allows you to focus on carving the turkey while the gravy simmers to perfection. If you’re short on time, preparing the stock ahead of time can significantly speed up the gravy-making process on the day.
Step-by-Step Instructions
Follow these steps for a flawless Turkey Gravy that will impress everyone at your table.
1. Prepare the Drippings: After removing your Thanksgiving Turkey from the roasting pan, carefully pour all the pan drippings into a fat separator. Let stand for a few minutes to allow the fat to separate and rise to the top. Skim off about 1/2 cup of fat and reserve it in a small bowl. Measure out 4-6 cups of the remaining turkey stock/liquid. If you have less than 4 cups, supplement with chicken or turkey broth until you reach the desired amount.
2. Make the Roux: In your large saucepan or Dutch oven, melt the reserved 1/2 cup of turkey fat (or unsalted butter if you don’t have enough fat) over medium heat. Once melted, gradually whisk in the 1/2 cup of all-purpose flour. Stir constantly for 2-3 minutes, creating a smooth paste known as a roux. This mixture should cook until it’s a light golden brown, developing a nutty aroma. This is crucial for avoiding a floury taste in your gravy.
3. Deglaze (Optional but Recommended): If using, pour in the 1/2 cup of dry white wine or sherry into the roux. Whisk constantly, scraping up any browned bits from the bottom of the pan. Let it simmer for 1 minute until slightly reduced.
4. Add Liquid and Thicken: Slowly pour in the prepared turkey drippings/stock, whisking continuously to prevent lumps. Bring the mixture to a simmer, stirring frequently. As it heats, it will begin to thicken. Reduce the heat to low and let it gently simmer for 5-7 minutes, allowing the flour to fully cook and the flavors to meld.
5. Season and Finish: Stir in the fresh thyme and sage. Season generously with salt and freshly ground black pepper. Taste and adjust seasonings as needed. If you desire an even smoother gravy, pour it through a fine-mesh sieve. For an extra touch of richness, stir in the optional cognac or brandy just before serving.
Nutritional Benefits & Advantages
Homemade Turkey Gravy, especially when made from scratch with natural drippings, offers more than just incredible flavor. Compared to store-bought varieties, you have complete control over the ingredients, allowing you to minimize sodium and avoid artificial additives. Using turkey drippings provides a natural source of collagen and amino acids, derived from the roasted Thanksgiving Turkey. While gravy is a treat, making it at home ensures you’re enjoying a more wholesome version, free from high-fructose corn syrup or excessive preservatives.
Tips, Variations & Cooking Advice
- For a Richer Flavor: Roast some turkey wings or necks with aromatic vegetables (carrots, celery, onion) to make a highly concentrated turkey stock a day or two in advance.
- Gluten-Free Version: Substitute all-purpose flour with a gluten-free all-purpose flour blend or cornstarch. If using cornstarch, create a slurry with cold water before adding to hot liquid to avoid lumps.
- Herb Variations: Experiment with other fresh herbs like rosemary or marjoram.
- Creamy Gravy: Stir in a tablespoon or two of heavy cream at the very end for an extra luxurious texture.
- Umami Boost: A dash of Worcestershire sauce or a tiny pinch of MSG can enhance the savory depth.
Common Mistakes to Avoid
- Lumpy Gravy: The most common culprit! Always whisk constantly when adding flour to fat (to make the roux) and when slowly incorporating liquid into the roux. Using cold liquid with a hot roux can sometimes help.
- Raw Flour Taste: Not cooking the roux long enough. Ensure your roux has cooked for at least 2-3 minutes until it turns a light golden color and smells nutty, not like raw flour.
- Too Salty: Be cautious with salt, especially if your turkey drippings are already seasoned. Taste frequently and adjust at the end.
- Too Thin/Thick: Gravy too thin? Simmer longer for reduction. Too thick? Whisk in a little more hot broth or water until desired consistency is reached.
Storage & Meal Prep Tips
Leftover Turkey Gravy is a treasure! Store it in an airtight container in the refrigerator for up to 3-4 days. For longer storage, freeze it in freezer-safe containers or even ice cube trays for individual portions. It will keep in the freezer for up to 3 months. When reheating, gently warm on the stovetop over low heat, whisking frequently. You may need to add a splash of broth or water to thin it out to its original consistency. Gravy can lose some of its thickness after freezing and thawing, but a quick whisk often restores it.
Conclusion
Mastering homemade Turkey Gravy is an indispensable skill for any home cook, especially for those grand holiday meals. This comprehensive guide provides all the tools and knowledge you need to create a rich, flavorful, and perfectly smooth gravy that will be the crowning glory of your Thanksgiving Turkey and all its fixings. Don’t be intimidated; with these steps, you’ll be pouring with pride. Try this recipe and share your results! What are your go-to gravy secrets?
FAQs
Q1: Can I make gravy without turkey drippings?
A: Yes! You can use good quality chicken or turkey broth as the base. You’ll miss some of the roasted turkey flavor, but it will still be delicious. You might want to add a bit of concentrated poultry base for extra depth.
Q2: What if my gravy is lumpy?
A: Don’t panic! You can pour the gravy through a fine-mesh sieve or use an immersion blender to smooth out any lumps.
Q3: How can I make my gravy richer in color?
A: Cooking your roux a little longer until it’s a medium brown can add a deeper color. A tiny dash of kitchen bouquet or a caramelized onion base can also help.
Q4: Can I prepare the gravy ahead of time?
A: Absolutely! Gravy reheats beautifully. Prepare it fully, cool, then refrigerate or freeze. Reheat gently on the stovetop, whisking and adding a touch of broth if needed.
Q5: What’s the best way to separate fat from drippings if I don’t have a fat separator?
A: Pour the drippings into a large bowl or pitcher and refrigerate for about 30 minutes to an hour. The fat will solidify on top, making it easy to skim off with a spoon.