Master the Art of Savory Quesadillas: Your Ultimate Guide to Homemade Perfection
Are you tired of bland, uninspired meals, or endlessly searching for that perfect bite from your favorite restaurant? Imagine crafting a dish at home that’s bursting with flavor, incredibly versatile, and surprisingly simple to prepare. Today, we’re diving deep into the world of savory Quesadillas – a beloved staple of Mexican food that’s perfect for any occasion. Forget those pre-made, rubbery versions, and get ready to elevate your culinary game with a truly authentic and delicious experience. Preparing them yourself not only guarantees fresh, high-quality ingredients but also allows you to customize every aspect to your exact liking, transforming a simple snack into a gourmet delight. Let’s unlock the secrets to creating the ultimate cheesy, savory, and utterly satisfying quesadilla right in your own kitchen!
Ingredients & Kitchen Tools
Gathering the right components is the first step to quesadilla nirvana. Here’s what you’ll need:
- Flour Tortillas (8-10 inches): Choose good quality, soft tortillas that won’t crack when folded. Corn tortillas can also be used for a gluten-free option, but they tend to be less pliable.
- Shredded Cheese (2 cups): A blend of Monterey Jack and Oaxaca cheese is ideal for its melty texture and mild flavor. Cheddar or a Mexican blend also works well.
- Cooked Chicken or Beef (1.5 cups, shredded or diced): Leftover rotisserie chicken or seasoned ground beef are perfect. For a vegetarian option, use black beans or sautéed mushrooms.
- Bell Pepper (1, any color, thinly sliced): Adds a sweet crunch and vibrant color.
- Onion (1/2, small, thinly sliced): Provides a pungent aromatic base.
- Jalapeño (1, deseeded and minced, optional): For a spicy kick.
- Olive Oil or Butter (2 tbsp): For sautéing and crisping the tortillas.
- Salt and Pepper (to taste): Basic seasoning for the fillings.
- Cumin (1/2 tsp): Enhances the savory, earthy flavors of the filling.
- Chili Powder (1/2 tsp): Adds a mild smoky depth.
- Garlic Powder (1/4 tsp): A foundational aromatic.
- Salsa, Guacamole, Sour Cream (for serving): Essential accompaniments.
Kitchen Tools:
- Large Non-Stick Skillet or Comal: Crucial for even cooking and browning.
- Spatula: For flipping and transferring.
- Cutting Board and Knife: For preparing vegetables and meat.
- Measuring Cups and Spoons: For accurate ingredient quantities.
Prep Time & Cooking Schedule
This recipe is designed for efficiency!
- Prep Time: 15 minutes (if using pre-cooked protein)
- Cook Time: 5-7 minutes per quesadilla
- Total Time: Approximately 30-45 minutes (depending on how many you make)
This schedule allows you to have a delicious meal on the table quickly, making it perfect for weeknight dinners or impromptu gatherings. If your protein isn’t pre-cooked, factor in an additional 15-20 minutes for preparation.
Step-by-Step Instructions
Follow these steps for perfectly golden and gooey quesadillas:
1. Prepare the Filling: In your non-stick skillet, heat 1 tablespoon of olive oil or butter over medium heat. Add the sliced onions and bell peppers, sautéing until softened, about 5-7 minutes. If using jalapeño, add it now.
2. Season the Protein: Add your cooked chicken or beef to the skillet. Sprinkle with cumin, chili powder, garlic powder, salt, and pepper. Stir well to combine and heat through, about 3-5 minutes. This is a crucial step for infusing flavor into your savory Quesadillas, ensuring every bite is rich and satisfying, much like the authentic flavors you’d find in top-tier Mexican food. Remove the filling from the skillet and set aside.
3. Assemble the Quesadilla: Wipe the skillet clean. Place a tortilla in the dry skillet over medium heat. Sprinkle about 1/4 cup of cheese evenly over one half of the tortilla.
4. Add Filling: Spoon a generous amount of your prepared meat and veggie filling over the cheese on one half of the tortilla. Top with another 1/4 cup of cheese.
5. Fold and Cook: Allow the cheese to start melting slightly, then carefully fold the empty half of the tortilla over the filling. Press down gently with your spatula.
6. Brown and Crisp: Cook for 2-3 minutes per side, or until the tortilla is golden brown and crispy, and the cheese is completely melted and bubbly. You can add a tiny bit of butter to the skillet for extra crispiness if desired.
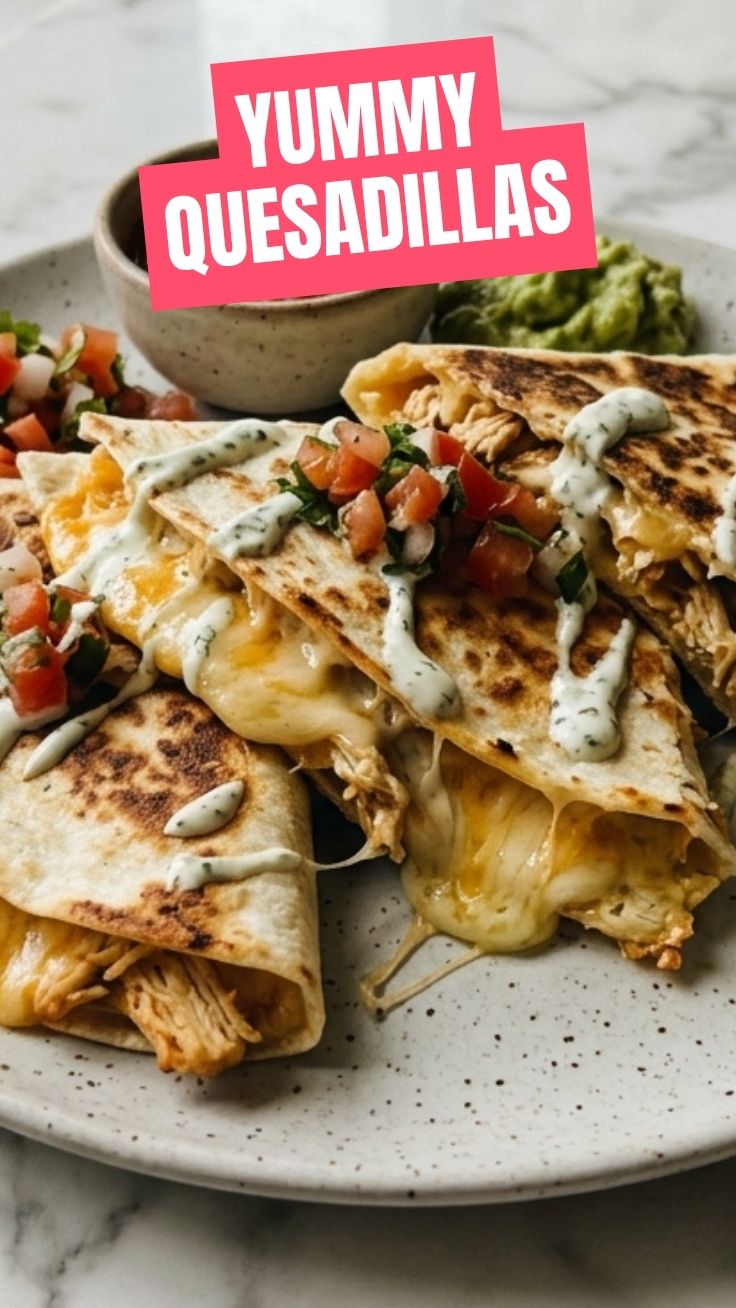
7. Serve: Remove from the skillet, cut into wedges, and serve immediately with salsa, guacamole, and sour cream. Repeat with remaining tortillas and filling.
Nutritional Benefits & Advantages
Beyond their delicious taste, these homemade Quesadillas offer several benefits. Using lean protein like chicken provides essential amino acids for muscle repair and growth. Bell peppers are packed with Vitamin C, an antioxidant that supports immune health. When you make them at home, you control the amount of fat and sodium, making it a healthier alternative to restaurant versions. Plus, including plenty of vegetables boosts fiber intake, aiding digestion.
Tips, Variations & Cooking Advice
- Vegetarian Delight: Substitute the meat with black beans, sautéed mushrooms, spinach, or roasted sweet potatoes.
- Spice It Up: Add a pinch of cayenne pepper or a dash of hot sauce to the filling for extra heat.
- Cheese Blend: Experiment with different cheese combinations like Harvarti for extra creaminess or smoked provolone for a deeper flavor.
- Caramelized Onions: For a gourmet touch, slowly caramelize the onions before adding them to the filling.
- Breakfast Quesadilla: Add scrambled eggs, breakfast sausage, and a sprinkle of cilantro for a delightful morning meal.
- Crispy Edges: A thin layer of butter or oil applied to the outside of the tortilla before cooking helps achieve perfect golden-brown crispiness.
Common Mistakes to Avoid
- Overfilling: Too much filling makes the quesadilla difficult to fold and cook evenly, leading to spills.
- High Heat: Cooking on heat that is too high will burn the tortilla before the cheese has a chance to melt and the filling warms through. Medium heat is your friend.
- Lack of Seasoning: Don’t forget to season your filling adequately. Bland filling makes for a bland quesadilla.
- Not Enough Cheese: Cheese is the glue! Ensure enough cheese is spread to hold the filling together and create that irresistible gooey texture.
Storage & Meal Prep Tips
Cooked Quesadillas can be stored in an airtight container in the refrigerator for up to 3-4 days. To reheat, warm them in a dry skillet over medium heat until crispy and heated through, or in a toaster oven for best results. Avoid microwaving, as it can make them soggy. For meal prep, you can cook the filling in advance and store it separately. When ready to eat, simply assemble and cook a fresh quesadilla.
Conclusion
There you have it – your definitive guide to crafting the most delectable savory Quesadillas at home. This recipe isn’t just about combining ingredients; it’s about creating a customizable, flavorful experience that rivals any restaurant-quality Mexican food. By following these steps and embracing the tips, you’ll consistently produce crispy, melty, and incredibly satisfying quesadillas that will become a staple in your culinary repertoire. We encourage you to try this recipe, experiment with your own fillings, and share your creations with us! Happy cooking!
FAQs
1. Can I use corn tortillas instead of flour tortillas?
Yes, you can! However, corn tortillas tend to be less pliable and can break more easily when folded. Consider warming them slightly before folding to increase their flexibility. For best results, use good quality, pliable corn tortillas.
2. What’s the best cheese for quesadillas?
A blend of Monterey Jack and Oaxaca cheese is highly recommended for its excellent melting properties and mild flavor. Cheddar, a Mexican cheese blend, or even a provolone can also produce delicious results.
3. How do I prevent my quesadilla from getting soggy?
The key is to cook it on medium heat and avoid overfilling. Excess moisture from the filling can also contribute to sogginess, so ensure your vegetables are properly sautéed and any meat is drained of excess liquid. Reheating in a skillet or toaster oven rather than a microwave will also keep them crispy.
4. Can I make these ahead of time for a party?
You can prepare the filling ahead of time and store it in the refrigerator. When it’s time for the party, simply assemble and cook the quesadillas fresh. They are best served immediately for optimal crispness and gooeyness.
5. What are some good vegetarian filling ideas?
Beyond black beans, try sautéed spinach and feta, roasted sweet potatoes with black beans, or a medley of mushrooms, bell peppers, and corn. Adding a pinch of smoked paprika can enhance the vegetarian fillings even further.