Rise and Shine with the Perfect Morning Treat: Homemade Pumpkin Muffins!
Ever found yourself craving that quintessential taste of autumn, the comforting aroma of spices mingling with the sweet earthiness of pumpkin, all baked into a fluffy, golden masterpiece? Then you’re in the right place! Today, we’re diving into the delightful world of homemade Pumpkin Muffins, a true breakfast champion that’s surprisingly easy to master. Skip the bakery lines and questionable additives – by preparing these delectable treats at home, you gain control over ingredients, reduce sugar content if desired, and fill your kitchen with an irresistible scent that store-bought versions simply can’t replicate. Embracing the warmth and flavor of homemade baking isn’t just about the end product; it’s about the joy of the process and the love poured into every bite.
Ingredients & Kitchen Tools
Gather your culinary arsenal! Here’s everything you’ll need to create your own batch of heavenly Pumpkin Muffins:
- 1 ½ cups all-purpose flour: The base for our fluffy muffins. Sifting can ensure a lighter texture.
- 1 teaspoon baking soda: Our primary leavening agent, which reacts with the acid in the pumpkin.
- ½ teaspoon salt: Enhances all the other flavors. Don’t skip it!
- 1 teaspoon ground cinnamon: The quintessential spice that screams autumn.
- ½ teaspoon ground nutmeg: Adds warmth and depth, complementing the cinnamon.
- ¼ teaspoon ground cloves: A potent, aromatic spice; use sparingly for best results.
- ¼ teaspoon allspice: A blend of cinnamon, nutmeg, and cloves, adding complexity.
1 cup canned pumpkin puree: Not* pumpkin pie filling. This is the star ingredient!
- ½ cup granulated sugar: Provides sweetness and helps with browning.
- ½ cup packed light brown sugar: Adds moisture and a hint of caramel flavor.
- ½ cup vegetable oil: Creates a moist, tender crumb without the need for butter.
- 2 large eggs: Binds ingredients and adds richness.
- ½ teaspoon vanilla extract: Enhances the overall flavor profile.
- Optional additions: ½ cup chocolate chips, ½ cup chopped walnuts, or pecans for added texture and flavor.
Kitchen Tools & Utensils:
- Large mixing bowl: For combining dry ingredients.
- Medium mixing bowl: For whisking wet ingredients.
- Whisk: For aeration and smooth blending.
- Rubber spatula: For folding ingredients and scraping bowls.
- 12-cup muffin tin: The vessel for our muffins.
- Paper muffin liners: For easy removal and cleanup.
- Measuring cups and spoons: For precise ingredient measurement.
- Oven mitts: For safe handling of hot bakeware.
- Wire cooling rack: Essential for cooling muffins evenly and preventing sogginess.
Prep Time & Cooking Schedule
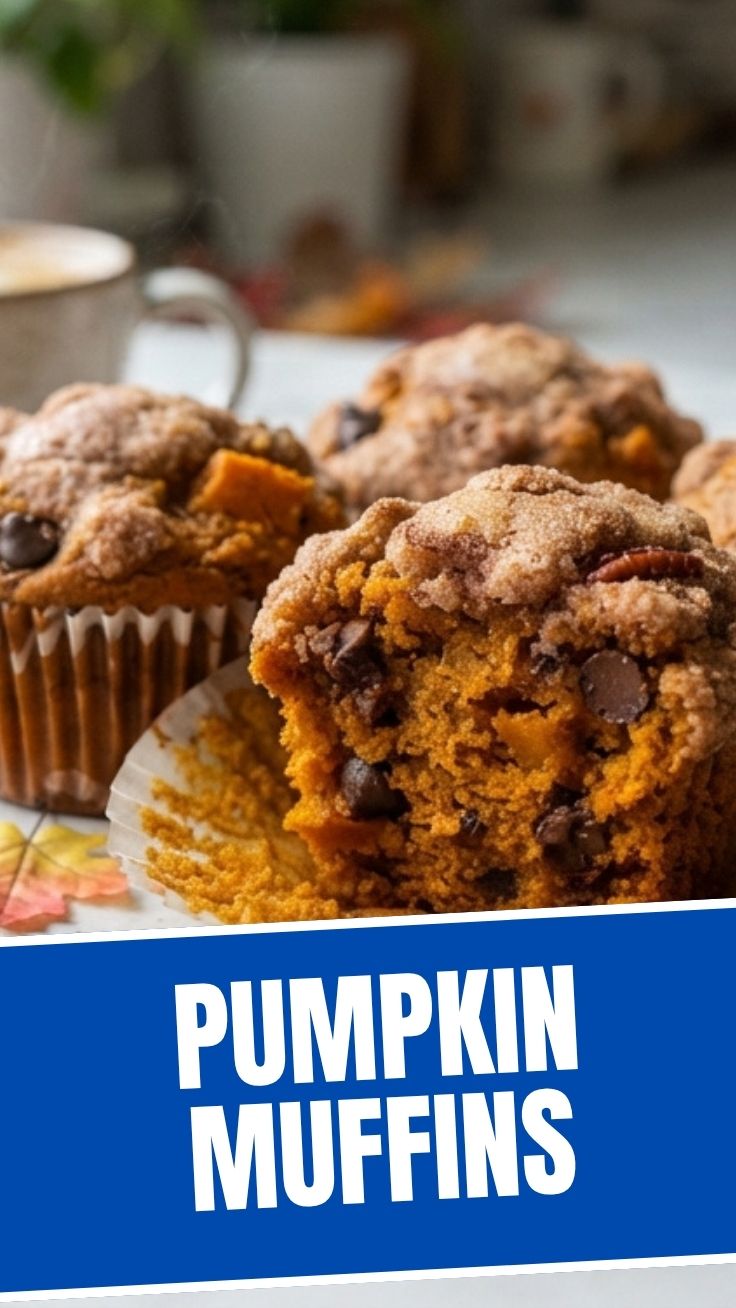
Planning your baking session is key to an enjoyable experience. Here’s a breakdown:
- Prep Time: 15 minutes. This includes measuring all ingredients and preheating your oven.
- Cook Time: 20-25 minutes. Our delicious muffins will bake to golden perfection.
- Cooling Time: 15-20 minutes. Allowing the muffins to cool on a wire rack is crucial for setting their texture and preventing a soggy bottom. Don’t rush this step!
This recipe is perfect for a weekend morning baking project or even a quick mid-week treat since the active hands-on time is relatively short.
Step-by-Step Instructions
Let’s get baking! Follow these simple steps for perfectly moist and flavorful Pumpkin Muffins:
1. Preheat & Prepare: Preheat your oven to 375°F (190°C). Line a 12-cup muffin tin with paper liners. Lightly grease any exposed metal if not using liners.
2. Combine Dry Ingredients: In a large mixing bowl, whisk together the flour, baking soda, salt, cinnamon, nutmeg, cloves, and allspice. Ensure no lumps remain and the spices are evenly distributed.
3. Mix Wet Ingredients: In a separate medium mixing bowl, whisk together the pumpkin puree, granulated sugar, brown sugar, vegetable oil, eggs, and vanilla extract until smooth and well combined.
4. Combine & Fold: Pour the wet ingredients into the dry ingredients. and mix gently with a rubber spatula until just combined. Be careful not to overmix; a few streaks of flour are okay. Overmixing develops gluten, leading to tough muffins. If adding optional chocolate chips or nuts, fold them in now.
5. Fill Muffin Cups: Divide the batter evenly among the 12 muffin cups, filling each about two-thirds full.
6. Bake: Bake for 20-25 minutes, or until a wooden skewer inserted into the center of a muffin comes out clean. The tops should be golden brown and spring back when lightly touched.
7. Cool: Remove the muffin tin from the oven and let the muffins cool in the tin for 5 minutes before transferring them to a wire rack to cool completely.
Nutritional Benefits & Advantages
Beyond their incredible taste, these muffins offer some delightful advantages. Pumpkin is a powerhouse, rich in Vitamin A (beta-carotene), which is crucial for vision and immune function, and a good source of Vitamin C, boosting overall health. It also provides dietary fiber, aiding digestion and promoting a feeling of fullness. By making them at home, you control sugar levels and avoid common allergens or preservatives found in commercial baked goods, making them a healthier and more wholesome option for your family.
Tips, Variations & Cooking Advice
- Spice It Up: Want more zing? Add a pinch of ground ginger to your spice blend.
- Texture Play: Add ½ cup of chopped pecans or walnuts for an extra crunch. For a sweeter treat, fold in ½ cup of chocolate chips.
- Gluten-Free Option: Substitute all-purpose flour with a 1:1 gluten-free baking blend that contains xanthan gum.
- Dairy-Free: This recipe is naturally dairy-free!
- Mini Muffins: Reduce baking time to 12-15 minutes for mini muffins.
- Sweet Topping: Sprinkle demerara sugar on top before baking for a sparkling, crunchy crust.
Common Mistakes to Avoid
Overmixing: This is the cardinal sin of muffin making. Overmixing develops gluten, resulting in tough, chewy muffins instead of light and tender ones. Mix just* until the ingredients are combined.
- Overfilling Muffin Cups: Filling cups to the brim can lead to overflowing and uneven baking. Stick to two-thirds full.
- Opening Oven Door Too Soon: Resist the urge to peek! Opening the oven door too early can cause muffins to collapse.
- Not Cooling Properly: Leaving muffins in the hot tin too long creates condensation, leading to soggy bottoms. Transfer to a wire rack after 5 minutes.
Storage & Meal Prep Tips
Your homemade Pumpkin Muffins are perfect for meal prepping and enjoying throughout the week.
- Room Temperature: Store cooled muffins in an airtight container at room temperature for up to 3 days. A paper towel placed at the bottom of the container can help absorb excess moisture.
- Refrigeration: While not strictly necessary, if your kitchen is particularly warm, you can refrigerate them for up to 5 days.
- Freezing: For longer storage, freeze cooled muffins in a freezer-safe bag or container for up to 3 months. Thaw at room temperature or warm gently in the microwave for a fresh-baked taste.
- Reheating: A quick zap in the microwave (15-30 seconds) or a few minutes in a toaster oven will bring them back to life.
Conclusion
There you have it – a simple yet incredibly rewarding recipe for homemade Pumpkin Muffins that will undoubtedly become a fall favorite. The comforting blend of spices and the rich, earthy notes of pumpkin create a symphony of flavors that truly embodies the essence of the season. We encourage you to whip up a batch, savor the aroma, and delight in the taste of these wholesome, handcrafted treats. Don’t forget to share your baking journey with us in the comments below! What are your favorite muffin additions?
FAQs
1. Can I use fresh pumpkin instead of canned?
Yes, absolutely! Just make sure it’s roasted and pureed until smooth, and that it’s not watery. Canned pumpkin puree is simply more convenient.
2. My muffins are dense. What went wrong?
Most likely, you overmixed the batter. Remember to mix just until the dry and wet ingredients are combined.
3. Can I reduce the sugar in this recipe?
Yes, you can cautiously reduce the sugar by up to ¼ cup without significantly impacting the texture, although the flavor might be less sweet.
4. How do I prevent my muffins from sticking to the liners?
Ensure you’re using good quality muffin liners. If they still stick, a light spray of baking spray inside the liners can help. Letting them cool completely can also make removal easier.
5. My muffins are browning too quickly on top but are still raw inside. What should I do?
Your oven might be running hot. Try reducing the oven temperature by 25°F (about 15°C) and extending the baking time slightly, or loosely tenting the muffins with foil if they start browning too much.