The Secret to Seriously Delicious, Wholesome Fall Treats: Your New Go-To Pumpkin Bars!
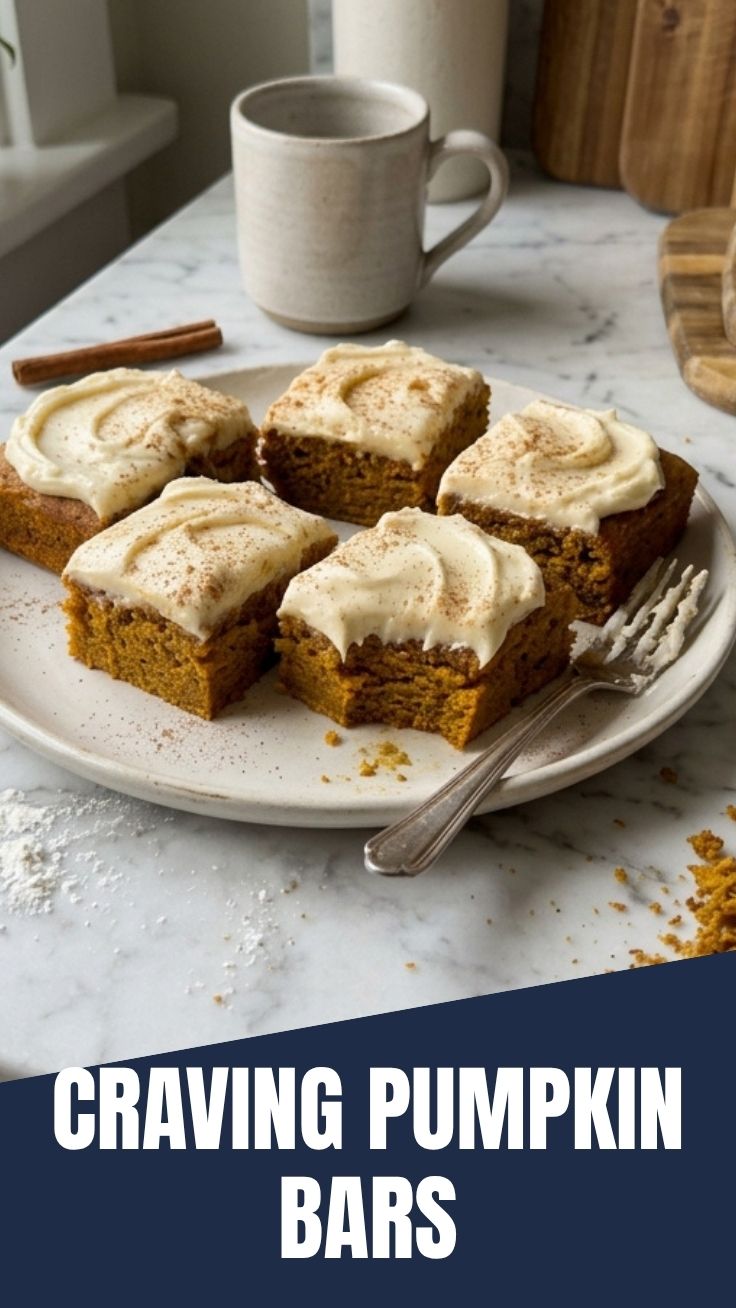
Ever wondered how to capture that quintessential taste of autumn in a single, irresistible bite? Imagine a treat that’s not only incredibly flavorful but also surprisingly easy to make and perfect for any occasion, from cozy nights in to festive gatherings. This blog post is your ultimate guide to creating the most delectable homemade Pumpkin Bars. We’ll delve into a delightful Pumpkin Bars Recipe that promises a soft, spiced crumb and a luscious cream cheese frosting, making these bars an absolute standout. Preparing these culinary gems at home allows for complete control over ingredients, ensuring freshness and avoiding artificial additives often found in store-bought options. Plus, there’s an undeniable satisfaction in baking something so utterly delicious from scratch!
Ingredients & Kitchen Tools
To embark on this delightful baking adventure, gather the following:
Ingredients:
- For the Bars:
* 1 ½ cups all-purpose flour: The base of our tender crumb. For a gluten-free option, use a 1:1 gluten-free baking blend.
* 1 ½ cups granulated sugar: Provides sweetness and contributes to moisture.
* 1 teaspoon baking soda: Our leavening agent for a light, airy texture.
* 2 teaspoons ground cinnamon: Essential for that warm, autumnal spice.
* 1 teaspoon ground nutmeg: Adds depth and complexity to the spice profile.
* ½ teaspoon ground ginger: A subtle kick to enhance the pumpkin flavor.
* ½ teaspoon salt: Balances sweetness and amplifies other flavors.
* 2 large eggs: Binds ingredients and adds richness.
* 1 cup (240g) canned pumpkin puree (not pie filling): The star ingredient, providing moisture and that signature pumpkin taste.
* ½ cup vegetable oil (or melted unsalted butter): Adds richness and keeps the bars incredibly moist.
* 1 teaspoon vanilla extract: Enhances overall flavor.
- For the Cream Cheese Frosting:
* 8 ounces cream cheese, softened: Crucial for a smooth, tangy frosting.
* ½ cup (1 stick) unsalted butter, softened: Provides richness and structure to the frosting.
* 2 cups powdered sugar (confectioners’ sugar): Sweetens and thickens the frosting.
* 1 teaspoon vanilla extract: Further enriches the frosting’s flavor.
Kitchen Tools:
- 9×13 inch baking pan: The ideal size for our bar recipe.
- Large mixing bowls (2): One for dry ingredients, one for wet, and another for frosting.
- Electric mixer (stand or hand-held): Makes whipping the frosting and combining batter much easier.
- Whisk: For dry ingredients.
- Spatula: For folding and scraping bowls.
- Measuring cups and spoons: Precision is key in baking.
- Oven: Our trusty baker’s companion.
- Parchment paper (optional): For easy removal and cleanup.
Prep Time & Cooking Schedule
- Prep Time: Approximately 20 minutes. This includes gathering ingredients, measuring, and mixing the batter.
- Cook Time: 25-30 minutes. The bars bake up relatively quickly, filling your kitchen with an intoxicating aroma.
- Cooling Time: 1-2 hours. It’s crucial for the bars to cool completely before frosting; otherwise, your frosting will melt! Plan for this resting period to ensure perfect results. You can even bake the bars the day before and frost them the next day for easier scheduling.
Step-by-Step Instructions
Let’s get baking! Follow these steps closely to achieve perfect Pumpkin Bars every time.
1. Preheat & Prep: Preheat your oven to 350°F (175°C). Lightly grease and flour a 9×13 inch baking pan, or line it with parchment paper for easy removal.
2. Combine Dry Ingredients: In a large bowl, whisk together the flour, granulated sugar, baking soda, ground cinnamon, ground nutmeg, ground ginger, and salt until well combined. This ensures even distribution of spices and leavening.
3. Combine Wet Ingredients: In a separate medium bowl, whisk together the eggs, pumpkin puree, vegetable oil, and vanilla extract until smooth.
4. Combine Wet and Dry: Pour the wet ingredients into the dry ingredients. Stir with a spatula until just combined. Be careful not to overmix, as this can lead to tough bars. A few lumps are perfectly fine!
5. Bake the Bars: Pour the batter evenly into your prepared baking pan. Bake for 25-30 minutes, or until a wooden skewer inserted into the center comes out clean.
6. Cool Completely: Remove the pan from the oven and let the bars cool in the pan for about 15 minutes before transferring them to a wire rack to cool completely. This is a critical step for a flawless Pumpkin Bars Recipe!
7. Prepare the Frosting: While the bars are cooling, beat the softened cream cheese and butter together in a clean large bowl with an electric mixer until smooth and creamy. Gradually add the powdered sugar, one cup at a time, beating until smooth after each addition. Stir in the vanilla extract.
8. Frost & Serve: Once the bars are completely cool, spread the cream cheese frosting evenly over the top. Cut into squares and serve!
Nutritional Benefits & Advantages
Beyond their incredible taste, these Pumpkin Bars offer some delightful advantages. Pumpkin, the star ingredient, is a fantastic source of Vitamin A, crucial for vision and immune function, and Vitamin C, a powerful antioxidant. It also provides dietary fiber, aiding digestion and promoting satiety. While these are a treat, making them at home allows you to control the sugar content and use high-quality ingredients, making them a more wholesome option than many store-bought desserts.
Tips, Variations & Cooking Advice
- Spice it Up: For an extra kick, add a pinch of allspice or cloves to the batter.
- Nutty Addition: Fold in ½ cup of chopped walnuts or pecans into the batter for added texture and flavor.
- Gluten-Free: As mentioned, a 1:1 gluten-free baking blend works wonderfully as a substitute for all-purpose flour.
- Dairy-Free Frosting: Use dairy-free cream cheese and plant-based butter alternatives for a dairy-free frosting option.
- Orange Zest: A teaspoon of orange zest in the frosting can add a bright, fresh counterpoint to the richness.
- Portion Control: Cut into smaller squares for bite-sized delights, perfect for parties or lunchbox treats.
Common Mistakes to Avoid
- Overmixing the Batter: This develops gluten, leading to denser, tougher bars. Mix until just combined.
- Not Cooling Completely Before Frosting: Frosting warm bars results in a melted, runny mess. Patience is key!
- Using Pumpkin Pie Filling: Pumpkin pie filling contains added spices and sugar, which will alter the flavor profile of this recipe. Always use pure pumpkin puree.
- Underbaking: A gooey center is a sign of underbaked bars. Always check with a skewer.
Storage & Meal Prep Tips
Store unfrosted Pumpkin Bars at room temperature in an airtight container for up to 2 days. Once frosted, they should be stored in an airtight container in the refrigerator for up to 3-4 days due to the cream cheese frosting. They can also be frozen, either frosted or unfrosted. Wrap individual bars tightly in plastic wrap, then place them in a freezer-safe bag or container for up to 2-3 months. Thaw in the refrigerator overnight or at room temperature.
Conclusion
There you have it – a comprehensive guide to crafting the most delightful Pumpkin Bars! This Pumpkin Bars Recipe is more than just a dessert; it’s a taste of autumn comfort and a testament to the joy of homemade baking. We hope you’re inspired to whip up a batch and share the warmth and deliciousness with your loved ones. Don’t be shy – bake these bars, savor each bite, and let us know your baking adventures in the comments below! Happy baking!
FAQs
Q1: Can I use fresh pumpkin instead of canned puree?
A1: Yes, you can! You’ll need to roast and puree about 1-1.5 pounds of fresh pumpkin to get the equivalent of a 15-ounce can of pumpkin puree. Ensure it’s very smooth and drained of excess liquid.
Q2: My cream cheese frosting is too thin/thick. What should I do?
A2: If it’s too thin, add more powdered sugar, a tablespoon at a time, until desired consistency is reached. If it’s too thick, add a tiny splash of milk or heavy cream, a teaspoon at a time, until it loosens up.
Q3: Can I make these bars ahead of time for a party?
A3: Absolutely! You can bake the bars one day, let them cool completely, and then frost them the day of your event. Keep them refrigerated until serving for best results.
Q4: How can I make these bars even more festive?
A4: You can sprinkle a little extra cinnamon or nutmeg on top of the frosting, or even add some festive sprinkles for a holiday touch. A drizzle of caramel sauce would also be a delicious addition!