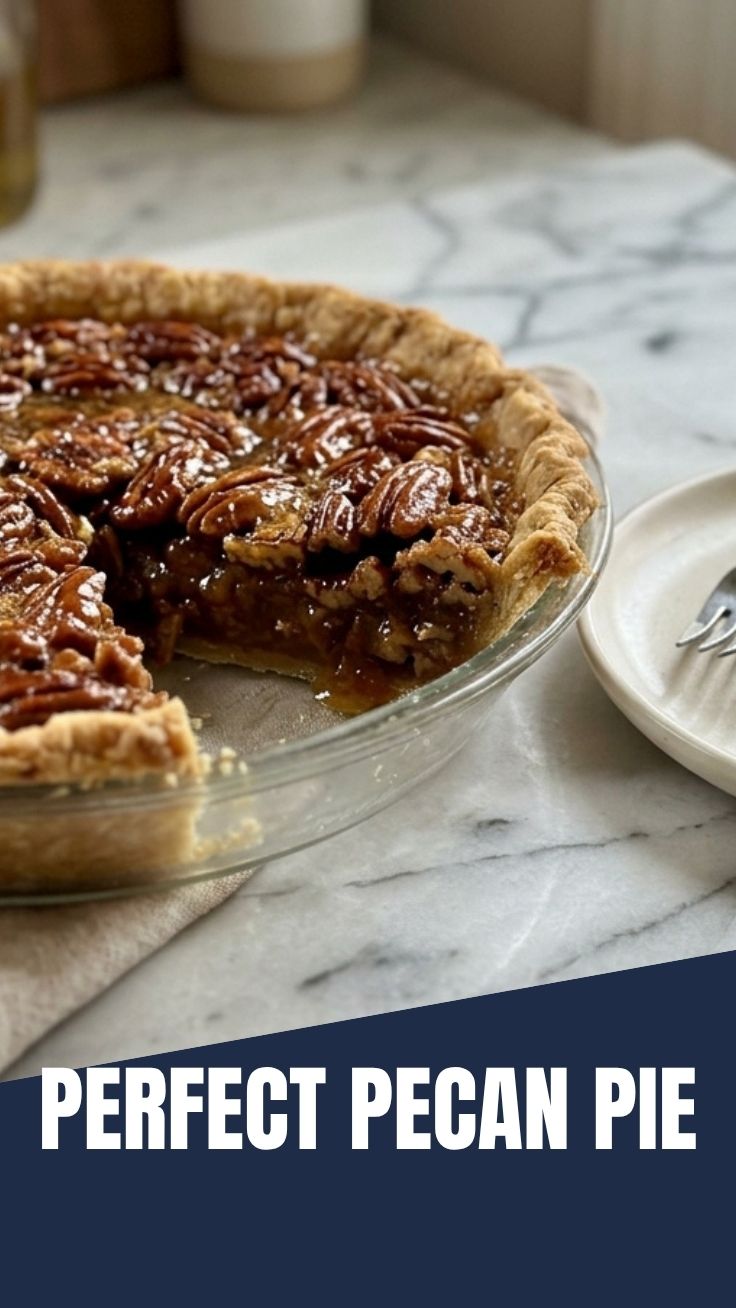
The Ultimate Guide to Crafting the Perfect Homemade Pecan Pie
Ever wondered what transforms a simple dessert into an unforgettable culinary experience? Look no further than the mesmerizing aroma and rich, buttery flavor of a perfectly baked Pecan Pie. There’s something undeniably magical about creating such a classic at home, bypassing store-bought options for a treat that truly speaks of warmth and effort. This comprehensive guide will walk you through every step, ensuring your homemade version isn’t just good, but exceptional. We’ll delve into the secrets for achieving that sublime balance of sweet and savory, a golden-brown crust, and a filling that’s both creamy and delightfully studded with pecans. Get ready to elevate your baking prowess and discover why mastering this dessert is a truly rewarding endeavor, opening doors to a world of delightful pecan recipes you can explore!
Ingredients & Kitchen Tools
Crafting the perfect pie starts with the right ingredients and equipment.
- 1 9-inch unbaked pie crust: Store-bought or homemade, your preference. A homemade flaky crust elevates the pie significantly.
- 1 ½ cups pecan halves: Choose fresh, plump pecans for optimal flavor and texture. These are the star of the show!
- ½ cup unsalted butter: Melted. Butter adds richness and helps create that smooth, luscious filling.
- 1 cup packed light brown sugar: Provides a deep, caramel-like sweetness.
- ½ cup light corn syrup: Crucial for the filling’s signature gooey texture and to prevent crystallization.
- 3 large eggs: Lightly beaten. Eggs act as the binder, giving the filling its structure.
- 1 teaspoon vanilla extract: Pure vanilla extract enhances all the flavors.
- ¼ teaspoon salt: Balances the sweetness and amplifies other flavors.
- Optional: 1-2 tablespoons bourbon or dark rum: Adds a wonderful depth of flavor, complementing the pecans.
Kitchen Tools:
- 9-inch pie plate: Essential for shaping and baking your pie.
- Large mixing bowl: For combining the filling ingredients.
- Whisk: To ensure all ingredients are well incorporated.
- Measuring cups and spoons: For precise ingredient measurements.
- Heat-proof spatula: For scraping down the bowl and spreading.
- Baking sheet: Placed under the pie plate to catch any drips and ensure even cooking.
Prep Time & Cooking Schedule

- Prep time: 15-20 minutes
- Bake time: 50-60 minutes
- Cooling/Resting time: Minimum 3-4 hours (essential for the filling to set properly)
To plan your baking, consider that while the prep is quick, the cooling time is paramount. This isn’t a pie to rush! It’s ideal to bake it the day before you plan to serve, allowing ample time for the filling to fully set, resulting in clean slices.
Step-by-Step Instructions
1. Preheat Oven & Prepare Crust: Preheat your oven to 375°F (190°C). If using a homemade crust, par-bake it for 10-12 minutes until lightly golden. If using a frozen or store-bought unbaked crust, you can skip par-baking if instructed by the package, otherwise, par-baking helps prevent a soggy bottom.
2. Arrange Pecans: Scatter the Pecan Pie halves evenly over the bottom of your prepared pie crust. This ensures pecans in every bite.
3. Prepare the Filling: In a large mixing bowl, whisk together the melted butter, brown sugar, corn syrup, eggs, vanilla extract, and salt until smooth and well combined. If using, whisk in the bourbon or dark rum now.
4. Pour & Bake: Carefully pour the filling mixture over the pecans in the pie crust. Place the pie plate on a baking sheet to catch any potential spills.
5. Initial Bake: Bake for 30 minutes at 375°F (190°C).
6. Reduce Heat & Continue Baking: Reduce the oven temperature to 350°F (175°C). Continue baking for another 20-30 minutes, or until the center is mostly set with a slight jiggle. The crust edges should be golden brown. If the crust begins to brown too quickly, loosely tent the edges with aluminum foil.
7. Cool Completely: Remove the pie from the oven and transfer it to a wire rack. Allow it to cool completely for at least 3-4 hours, or preferably overnight, before slicing and serving. This extended cooling period is crucial for the filling to firm up and ensures clean, beautiful slices, making your exploration of other delightful pecan recipes even more satisfying when you’ve mastered this fundamental one.
Nutritional Benefits & Advantages
Pecans are more than just a delicious addition; they are packed with health benefits. They are a good source of healthy monounsaturated fats, which can help lower bad cholesterol levels. They also provide dietary fiber, promoting digestive health, and are rich in antioxidants, especially Vitamin E, which protects cells from damage. While Pecan Pie is a treat and contains sugar, the inclusion of pecans offers a valuable nutritional boost.
Tips, Variations & Cooking Advice
- Toasting Pecans: For an even deeper, nuttier flavor, lightly toast your pecan halves in a dry skillet over medium heat for 5-7 minutes before adding them to the pie. Let them cool completely.
- Chocolate Pecan Pie: Stir in ½ cup of semi-sweet chocolate chips into the filling mixture for a decadent twist.
- Maple Pecan Pie: Substitute ¼ cup of the corn syrup with real maple syrup for a more nuanced, earthy sweetness.
- Crust Variations: Experiment with a graham cracker crust or a shortbread crust for a different textural contrast.
- Portion Control: Slice into smaller wedges to make it more manageable for serving at gatherings.
Common Mistakes to Avoid
- Under-baking: The most common mistake. An underbaked pie will have a runny center. Ensure the pie jiggles only slightly in the very center when removed from the oven. It will continue to set as it cools.
- Over-browning the Crust: If your crust is browning too quickly, gently tent the edges with aluminum foil.
- Not Cooling Long Enough: Impatience leads to a messy, unset pie. Resist the urge to cut into it too soon!
- Using Stale Pecans: Old pecans can taste bitter. Always use fresh, good-quality nuts.
Storage & Meal Prep Tips
Leftover Pecan Pie should be stored in an airtight container at room temperature for up to 2 days, or refrigerated for up to 5 days. To reheat, you can briefly warm individual slices in the microwave for 15-20 seconds, or in a preheated oven at 300°F (150°C) for about 10 minutes until just warm. Freezing is also an option; wrap slices or the whole pie tightly in plastic wrap and then foil. It can be frozen for up to 3 months. Thaw overnight in the refrigerator before serving.
Conclusion
Crafting a homemade Pecan Pie is a truly satisfying endeavor that yields a dessert far superior to any store-bought alternative. By following these detailed instructions, you’re not just baking a pie; you’re creating an experience—a centerpiece for gatherings, a comforting treat, and a testament to the joy of home cooking. We encourage you to try this recipe and savor the rich, nutty flavors and the perfect blend of sweetness and texture. Once you master this classic, you’ll be well-equipped to explore countless other delectable pecan recipes, expanding your baking repertoire and delighting friends and family with your culinary skills. Share your results with us and happy baking!
FAQs
Q1: My pie crust is getting too dark. What should I do?
A1: If the edges of your pie crust are browning too quickly, loosely tent them with aluminum foil for the remainder of the baking time.
Q2: How do I know when my pecan pie is done?
A2: The pie is done when the edges are set and a slight jiggle remains in the very center. An internal temperature of 200°F (93°C) is ideal, or a knife inserted near the edge comes out clean.
Q3: Can I make this pie gluten-free?
A3: Yes! Simply substitute a gluten-free pie crust for the traditional one. The filling itself is naturally gluten-free.
Q4: What’s the best way to prevent the filling from being too sweet?
A4: You can reduce the brown sugar by ¼ cup. The salt is also crucial for balancing the sweetness, so don’t omit it. Adding optional bourbon or rum can also introduce a complex, less overtly sweet flavor.