Unleash the Aroma: Your Ultimate Guide to Perfect Homemade Garlic Bread
Ever wondered why restaurant Garlic Bread tastes so irresistibly good? The secret often lies in premium ingredients and a perfectly balanced Garlic Butter. But what if we told you that achieving that golden, crispy, and aromatic perfection is not only possible at home but also incredibly easy and rewarding? Preparing homemade Garlic Bread isn’t just about saving money; it’s about customizing the flavors to your exact preference, ensuring quality ingredients, and filling your kitchen with an intoxicating aroma that store-bought versions simply can’t replicate. This guide will walk you through every step, from selecting the right bread to crafting the ideal Garlic Butter, ensuring your next meal is elevated to a new level of deliciousness. Get ready to transform humble ingredients into a culinary masterpiece that will have everyone asking for more.
Ingredients & Kitchen Tools
Crafting the perfect Garlic Bread requires a few essential items. Here’s what you’ll need:
1 Loaf of French or Italian Bread: A crusty exterior and a soft interior are key. Avoid overly soft sandwich loaves. Substitution: Ciabatta or sourdough for a different texture and flavor profile.*
1/2 Cup (1 stick) Unsalted Butter, softened: Room temperature butter is crucial for a smooth Garlic Butter spread. Clarification: Unsalted allows you to control the saltiness.*
4-6 Cloves Garlic, minced: Freshly minced garlic provides the best flavor. Clarification: Avoid pre-minced jarred garlic for optimal taste.*
2 Tablespoons Fresh Parsley, chopped: Adds a fresh, herbaceous note and a pop of color. Substitution: Dried parsley (use 1 tablespoon) if fresh is unavailable, though fresh is preferred.*
- 1/2 Teaspoon Salt: Enhances the overall flavor. Adjust to taste.
- 1/4 Teaspoon Black Pepper: A touch of spice to complement the garlic.
- Optional: 1/4 cup Grated Parmesan Cheese: For an extra layer of savory flavor and a slightly crispy top.
- Baking Sheet: To ensure even baking and easy cleanup.
- Aluminum Foil: For wrapping and retaining moisture.
- Small Mixing Bowl: For preparing the Garlic Butter.
- Spatula or Butter Knife: For spreading.
- Sharp Serrated Knife: For slicing the bread.
Prep Time & Cooking Schedule
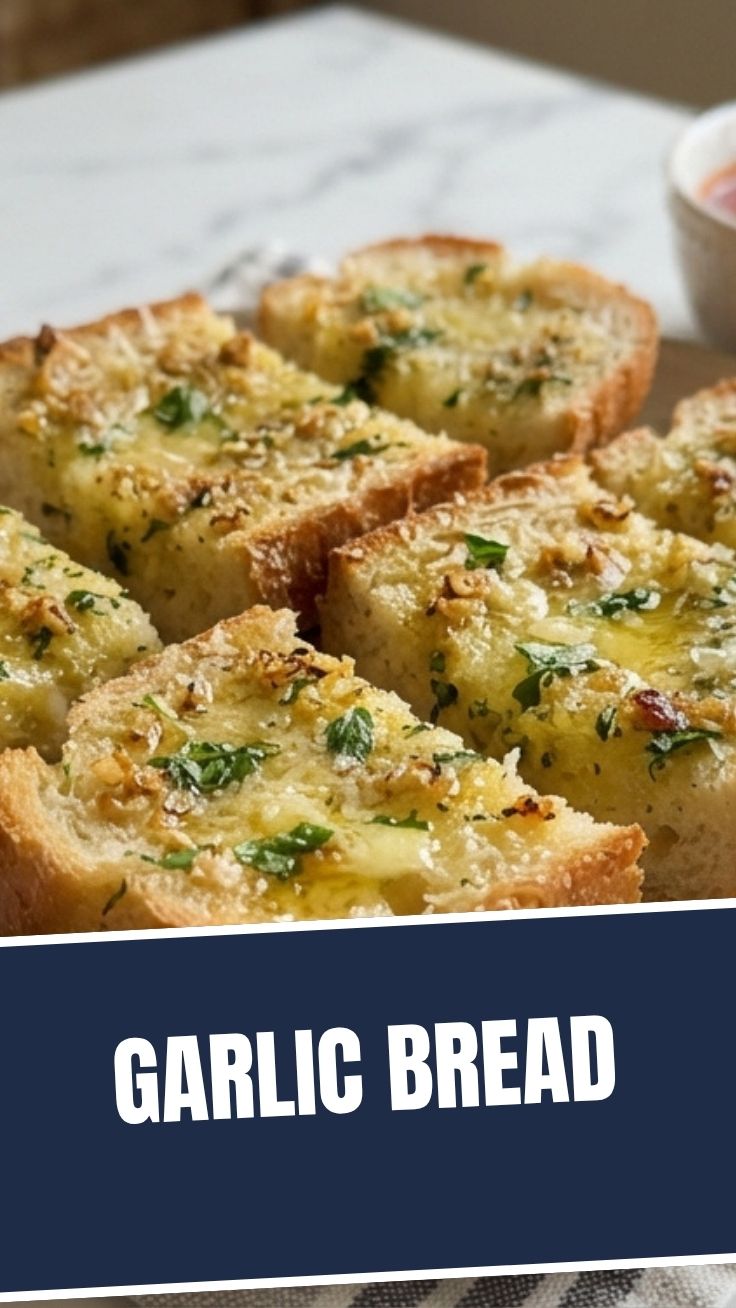
This recipe is wonderfully quick, making it an ideal side dish even on busy weeknights.
- Prep Time: 10 minutes
- Cook Time: 10-15 minutes
- Total Time: 20-25 minutes
You can prepare the Garlic Butter mixture ahead of time and store it in the refrigerator for up to 3 days, reducing the prep time even further when you’re ready to bake. This makes it perfect for last-minute meal additions.
Step-by-Step Instructions
1. Preheat Oven: Preheat your oven to 375°F (190°C).
2. Prepare the Bread: Using a serrated knife, slice the French or Italian bread in half lengthwise. You can also make diagonal slices across the bread, but do not cut all the way through, creating individual slices that are still connected at the bottom. This method ensures even distribution of the Garlic Butter.
3. Make the Garlic Butter: In a small mixing bowl, combine the softened butter, minced garlic, chopped fresh parsley, salt, and black pepper. If using, stir in the grated Parmesan cheese. Mix until all ingredients are well incorporated and the mixture is smooth. This rich mixture is the heart of your perfect Garlic Bread.
4. Spread the Butter: Generously spread the Garlic Butter mixture evenly over the cut surfaces of the bread. Ensure the butter reaches the edges for maximum flavor.
5. Wrap and Bake (Initial): Place the buttered bread halves on a baking sheet, butter-side up. Loosely cover the bread with aluminum foil. Bake for 10 minutes. This initial covered baking steams the bread slightly, keeping it soft and moist while allowing the flavors to meld.
6. Uncover and Bake (Final): Remove the foil and continue baking for another 5-10 minutes, or until the edges are golden brown and slightly crispy. Keep a close eye on it to prevent burning, as ovens can vary. The goal is a beautifully toasted surface and a fragrant aroma.
7. Serve: Remove from the oven, slice into desired portions (if not already pre-sliced), and serve immediately. Enjoy your homemade Garlic Bread!
Nutritional Benefits & Advantages
Beyond its undeniable deliciousness, homemade Garlic Bread offers several advantages. Garlic, a star ingredient in the Garlic Butter, is renowned for its health benefits, including immune-boosting properties and potential to lower cholesterol and blood pressure. Butter, when consumed in moderation, provides essential fat-soluble vitamins. By making it yourself, you control the amount of salt and fat, avoiding the excessive additives often found in commercially prepared versions. You can also opt for whole-grain bread for added fiber and nutrients, making it a more wholesome side dish.
Tips, Variations & Cooking Advice
- Spicy Kick: Add a pinch of red pepper flakes to the Garlic Butter for a subtle heat.
- Cheesy Goodness: Besides Parmesan, a sprinkle of mozzarella or provolone in the last few minutes of baking will create a gooey, cheesy top.
- Herbaceous Twist: Experiment with other fresh herbs like chives, oregano, or rosemary in your butter mixture.
- Grill It: For a smoky flavor, grill the buttered bread directly over medium heat for 2-3 minutes per side, or until golden and toasted.
- Vegan Option: Substitute dairy butter with a high-quality vegan butter spread. Ensure your bread is also vegan-friendly.
- Gluten-Free: Use your favorite gluten-free baguette or loaf. The cooking times may vary slightly.
- Portion Control: For smaller gatherings, consider using a mini baguette or cutting a larger loaf into smaller sections before buttering.
Common Mistakes to Avoid
- Using cold butter: Hard butter won’t blend evenly with the garlic and herbs, leading to an inconsistent spread.
- Burning the garlic: Be careful not to over-toast the bread without the foil, especially if using a higher temperature. Burnt garlic tastes bitter.
- Under-seasoning the Garlic Butter: Don’t be shy with salt and pepper; they bring out the flavors.
- Cutting all the way through: If you cut the bread completely into individual slices before baking, it can dry out faster. Keeping it connected allows the bread to steam slightly and retain moisture.
- Not covering initially: The foil step is crucial for achieving that perfect balance of crispy exterior and soft, fluffy interior. Skipping it can result in overly dry Garlic Bread.
Storage & Meal Prep Tips
Leftover Garlic Bread, if there is any, can be stored in an airtight container at room temperature for up to 2 days, though it’s best enjoyed fresh. To maintain optimal flavor and texture, avoid refrigeration, as it can dry out the bread.
Reheating: To reheat, wrap the leftovers loosely in foil and bake at 350°F (175°C) for 5-7 minutes, or until warmed through and crispy again. You can also use a toaster oven or even a pan on the stovetop for individual slices.
For meal prep, as mentioned, you can prepare the Garlic Butter mixture up to 3 days in advance and store it in an airtight container in the refrigerator. Let it come to room temperature for easier spreading before use.
Conclusion
There you have it – the definitive guide to crafting the perfect homemade Garlic Bread. With just a few simple ingredients and a little love, you can transform an ordinary loaf into an extraordinary culinary delight. The aromatic allure of fresh garlic and butter, combined with a perfectly toasted crust, is a testament to the power of simple, quality ingredients. We hope this guide empowers you to experiment with your own flavor variations and truly master the art of making this beloved side dish. Don’t let restaurant versions intimidate you; your kitchen is capable of producing equally, if not more, delicious results, especially with a perfectly balanced Garlic Butter. Share your creations and let us know your favorite ways to enjoy this classic!
FAQs
Q1: Can I use pre-minced garlic?
A1: While convenient, pre-minced jarred garlic often lacks the pungency and fresh flavor of freshly minced cloves. For the best Garlic Bread, we highly recommend fresh garlic.
Q2: My Garlic Bread came out soggy. What went wrong?
A2: This usually happens if too much butter was used, or if the bread was not uncovered for the final baking stage. Ensure you spread the Garlic Butter evenly and allow it to toast uncovered to achieve crispiness.
Q3: How can I make this spicier?
A3: To add a kick, simply mix a quarter to half a teaspoon of red pepper flakes into your Garlic Butter mixture.
Q4: Can I freeze homemade Garlic Bread?
A4: Yes! You can prepare the buttered bread (unbaked), wrap it tightly in foil, then place it in a freezer-safe bag. Freeze for up to 1 month. When ready to bake, place directly on a baking sheet (still wrapped in foil), and bake at 375°F (190°C) for 20-25 minutes, then uncover and bake for an additional 5-10 minutes until golden.
Q5: What’s the best type of bread to use?
A5: A sturdy French baguette or Italian loaf with a good crust and soft interior works best. The bread needs to hold up to the butter and provide a satisfying crunch.