Craving That Irresistible Crunch? Unlock the Magic of Homemade Chex Mix!
Ever wonder why store-bought Chex Mix just doesn’t quite hit the same? The truth is, nothing beats the fresh, customizable flavor and satisfying crunch of a homemade batch. This culinary adventure transforms simple pantry staples into an unforgettable snack mix experience, perfect for game nights, parties, or just a cozy evening in. Preparing this iconic snack at home not only saves you money but also allows you to control the ingredients, ensuring a healthier and more personalized treat. Get ready to elevate your snacking game and discover the joy of crafting your very own crunchy masterpiece.
Ingredients & Kitchen Tools
Crafting the perfect Chex Mix requires a blend of staple ingredients and a few common kitchen tools.
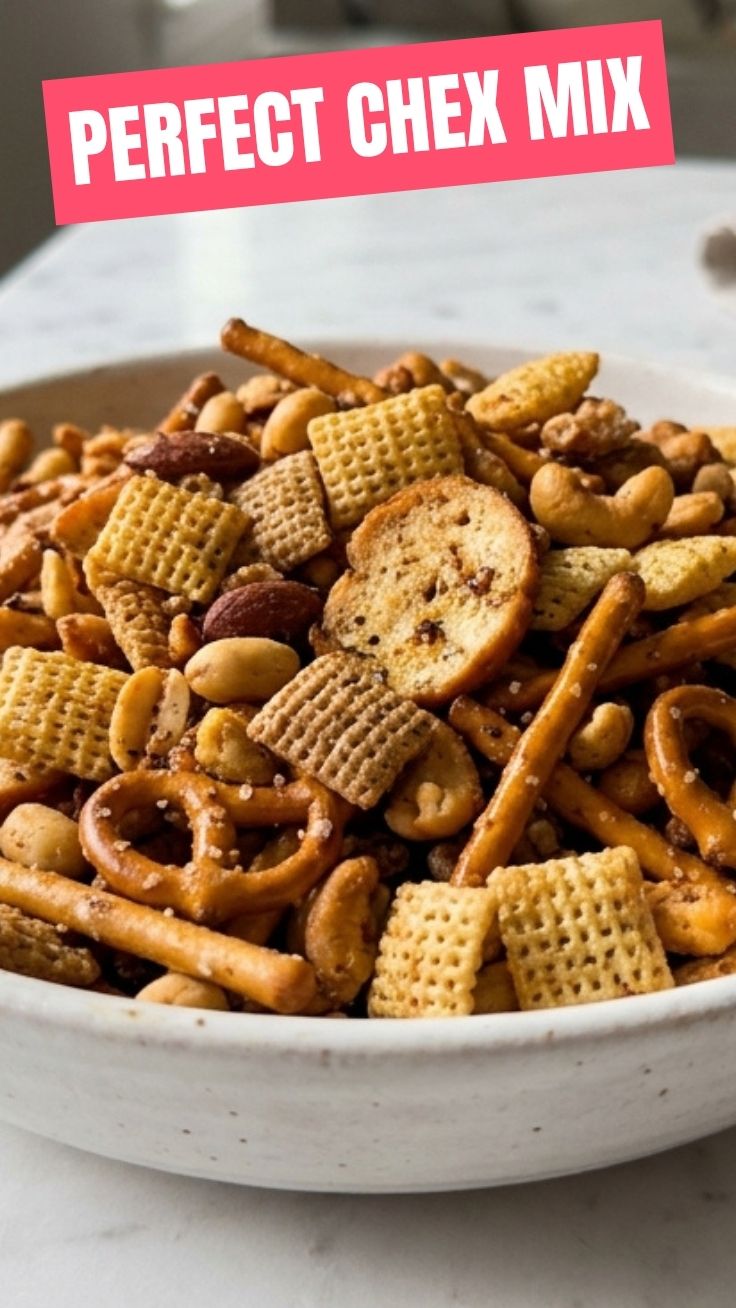
- 9 cups mixed cereals: (e.g., Rice Chex, Corn Chex, Wheat Chex, Cheerios) – Provides the essential crunchy base and varied textures.
- 3 cups pretzels: (mini twists or sticks) – Adds a salty, crunchy counterpoint.
- 2 cups mixed nuts: (peanuts, pecans, cashews, walnuts) – For added richness, protein, and diverse crunch.
- 1 cup bagel chips or pita chips: (crushed into smaller pieces) – Introduces another layer of savory crunch and substantial bite.
- ½ cup unsalted butter: (melted) – The essential binding agent and flavor carrier.
- 1 tablespoon Worcestershire sauce: – Adds a deep, savory umami flavor.
- 2 teaspoons seasoned salt: – Enhances overall flavor; adjust to your preference.
- 1 teaspoon garlic powder: – Provides aromatic depth.
- ½ teaspoon onion powder: – Complements the garlic with subtle sweetness.
- ¼ teaspoon cayenne pepper: (optional) – For a touch of heat; omit if you prefer mild.
- Large roasting pan: – Crucial for even baking and tossing.
- Large mixing bowl: – For combining dry ingredients.
- Small microwave-safe bowl or saucepan: – For melting butter and mixing the seasoning blend.
- Whisk: – To thoroughly combine the wet ingredients.
- Spatula or large spoon: – For tossing and stirring.
Prep Time & Cooking Schedule
- Prep Time: 15 minutes – This includes gathering ingredients and mixing the dry components.
- Cook Time: 1 hour – Baking time is crucial for developing that signature crispness.
- Cooling Time: 30 minutes – Essential for the mixture to fully crisp up and for flavors to meld.
This recipe is ideal for an afternoon project, allowing ample time for baking and cooling. Plan to start approximately 2 hours before you intend to serve to ensure it’s perfectly crisp and cooled.
Step-by-Step Instructions
1. Preheat Oven & Prepare Pan: Preheat your oven to 250°F (120°C). Lightly spray a large roasting pan (about 12×18 inches) with non-stick cooking spray, or line it with parchment paper for easier cleanup.
2. Combine Dry Ingredients: In a large mixing bowl, gently combine the mixed cereals, pretzels, mixed nuts, and crushed bagel or pita chips. Stir carefully to avoid crushing the delicate cereals. This forms the delightful base for our homemade Chex Mix.
3. Prepare Seasoning Blend: In a small microwave-safe bowl or saucepan, melt the butter. Stir in the Worcestershire sauce, seasoned salt, garlic powder, onion powder, and cayenne pepper (if using) until well combined. This aromatic mixture is the heart of your savory snack mix.
4. Coat the Mixture: Pour the melted butter and seasoning blend evenly over the dry ingredients in the large bowl. Using a spatula or your hands (wear gloves if preferred), gently toss until all the dry ingredients are thoroughly coated. Ensure every piece gets a share of that delicious seasoning.
5. Bake and Stir: Spread the coated mixture evenly in the prepared roasting pan. Bake for 1 hour, stirring every 15 minutes to ensure even toasting and prevent burning. This constant stirring is key to achieving that uniform golden-brown crispness.
6. Cool Completely: Once baking is complete, remove the pan from the oven and spread the Chex Mix on a large sheet of parchment paper or aluminum foil to cool completely. This cooling process is vital for the snack to become extra crispy. Break apart any clumps as it cools.
Nutritional Benefits & Advantages
Homemade Chex Mix offers more than just incredible flavor; it can also be a surprisingly beneficial snack. The whole-grain cereals provide dietary fiber, essential for digestive health and sustained energy. Nuts contribute healthy fats, protein, and various micronutrients like vitamin E, magnesium, and selenium. By making it yourself, you control the amount of sodium and unhealthy additives often found in store-bought versions. You can also opt for low-sodium cereals and pretzels, and choose healthier nut varieties to boost its nutritional profile.
Tips, Variations & Cooking Advice
- Spice It Up: For a spicier kick, increase the cayenne pepper or add a pinch of smoked paprika or chili powder.
- Sweet & Savory: Introduce a sweet element by adding a tablespoon of brown sugar to the butter mixture, or tossing in some dried cranberries or chocolate chips after baking and cooling.
- Herbaceous Twist: Incorporate dried herbs like dill, rosemary, or thyme into the seasoning blend for a fragrant variation.
- Cheese Lover’s Dream: Add grated Parmesan cheese during the last 15 minutes of baking for a cheesy crust.
- Gluten-Free: Ensure all your cereals are certified gluten-free (Rice Chex and Corn Chex are typically GF), use gluten-free pretzels, and check all other ingredient labels.
- Air Fryer Method: For smaller batches, you can try air frying at 275°F (135°C) for 15-20 minutes, shaking the basket frequently until golden and crisp.
Common Mistakes to Avoid
- Overcrowding the Pan: Too much mix in one pan will steam instead of toast, resulting in a soggy rather than crispy product. Use two pans if necessary.
- Skipping the Stirring: Not stirring every 15 minutes leads to uneven browning and some pieces getting burnt while others remain soft.
- Baking at Too High a Temperature: A high oven temperature will burn the seasoning before the cereals have a chance to crisp up. Stick to 250°F (120°C).
- Not Cooling Completely: The mixture isn’t truly crisp until it’s fully cooled. Patience is key!
Storage & Meal Prep Tips
Once completely cooled, store your homemade Chex Mix in an airtight container at room temperature for up to 2 weeks. A large zip-top bag also works well. For longer storage, you can freeze it in an airtight container for up to 2 months; simply thaw at room temperature before serving. This snack is perfect for meal prepping as an on-the-go snack, part of a packed lunch, or to have ready for unexpected guests.
Conclusion
There you have it – the ultimate guide to crafting a spectacular homemade batch of Chex Mix. With its irresistible crunch and savory seasoning, this customizable snack mix is sure to become a beloved staple in your home. By mastering this recipe, you’re not just making a snack; you’re creating memories and a truly personalized treat that outshines any store-bought alternative. Don’t hesitate to experiment with the variations and make this recipe truly your own! We encourage you to try this recipe, share your delicious results with us, and explore other exciting snack ideas on our blog.
FAQs
Q1: Can I make this with just one type of cereal?
A1: While you can, using a mix of cereals like Rice, Corn, and Wheat Chex adds a delightful variety in texture and flavor that is characteristic of classic Chex Mix.
Q2: My Chex Mix isn’t getting crispy, what went wrong?
A2: Common culprits include overcrowding the pan, not baking long enough, or not stirring frequently enough. Ensure a single layer in the pan, consistent stirring, and adequate cooling time.
Q3: How can I make this recipe vegan?
A3: Easily! Substitute the butter with a plant-based butter alternative. All other ingredients are typically vegan-friendly, but always double-check labels, especially for Worcestershire sauce.
Q4: Can I prepare the dry ingredients ahead of time?
A4: Yes, you can combine the cereals, pretzels, nuts, and bagel chips a day or two in advance and store them in an airtight container. When ready to bake, just prepare the seasoning and proceed with the baking steps.
Q5: What’s the best way to get a perfectly even coating of seasoning?
A5: Ensure your butter mixture is thoroughly whisked, and after pouring it over the dry ingredients, use a large spatula or clean hands to gently but thoroughly toss the mixture until every piece appears coated. Spreading it thinly on the pan also promotes even distribution.