Unveiling the Perfect Blueberry Pie: Your Guide to Homemade Bliss
Have you ever craved the comforting warmth of a freshly baked pie, its aroma filling your kitchen, promising a burst of sweet-tart goodness nestled in a flaky crust? Preparing a truly exceptional Blueberry Pie at home isn’t just about following a recipe; it’s an experience that connects you to generations of culinary tradition. Beyond the incredible flavor, mastering homemade pies offers a sense of accomplishment and allows you to control the quality of your ingredients, bypassing artificial additives. This comprehensive guide will walk you through every step, ensuring your homemade Blueberry Pie is a showstopper. Get ready to explore the delightful world of blueberry recipes and create something truly memorable.
Ingredients & Kitchen Tools
Crafting the perfect pie requires a thoughtful selection of ingredients and the right tools at your disposal. Here’s what you’ll need:
- For the Crust:
* 2 ½ cups All-Purpose Flour: Provides structure.
* 1 teaspoon Salt: Enhances flavor.
* 1 cup (2 sticks) Unsalted Butter, very cold and cubed: Creates flakiness.
* ½ cup Ice Water: Hydrates the dough without developing too much gluten.
* Optional: 1 tablespoon Granulated Sugar: For a slightly sweeter crust.
- For the Filling:
* 6 cups Fresh Blueberries (about 2 pints): The star of our pie; frozen can be used but may require longer baking.
* ¾ cup Granulated Sugar: Sweetens the berries.
* ¼ cup All-Purpose Flour or Cornstarch: Thickens the filling. Choose cornstarch for a glossier finish.
* 1 tablespoon Lemon Juice: Brightens the flavor and balances sweetness.
* 1 teaspoon Lemon Zest: Adds aromatic citrus notes.
* ½ teaspoon Ground Cinnamon (optional): A warm spice that complements blueberries beautifully.
* Pinch of Salt: Balances sweetness.
- For Assembly & Glaze:
* 1 large Egg (for egg wash): Gives the crust a golden sheen.
* 1 tablespoon Water or Milk (for egg wash): Thins the egg for easy brushing.
* 1 tablespoon Coarse Sugar (optional): For a sparkling, crunchy topping.
- Kitchen Tools:
* Large Mixing Bowls: For dough and filling.
* Pastry Blender or Food Processor: To cut butter into flour efficiently.
* Rolling Pin: For shaping the crust.
* 9-inch Pie Dish (glass or ceramic recommended): For even baking.
* Measuring Cups and Spoons: For accurate ingredient quantities.
* Whisk: To combine dry ingredients.
* Parchment Paper or Silicone Mat: For easy dough handling.
* Wire Rack: For cooling the baked pie.
Prep Time & Cooking Schedule
Planning your pie-making process ensures a smooth culinary journey.
- Prep Time: 45 minutes (includes making the crust and preparing the filling).
- Chilling Time for Crust: 1 hour to overnight (crucial for a flaky crust).
- Bake Time: 50-60 minutes.
- Resting Time (after baking): 3-4 hours (essential for the filling to set properly).
Allow ample time for the crust to chill – this prevents shrinkage and yields that desirable flaky texture. The resting time for the baked pie is equally important; cutting into a hot pie often results in a runny filling. Patience here is a virtue!
Step-by-Step Instructions
Embark on your journey to create a truly unforgettable Blueberry Pie. Follow these steps carefully for optimal results. When working with the beautiful berries, remember that the quality of your fresh produce directly impacts the final flavor, a key consideration for all blueberry recipes.
1. Prepare the Pie Crust (can be made a day ahead): In a large bowl, whisk together flour and salt. Cut in the cold, cubed butter using a pastry blender or your fingertips until the mixture resembles coarse crumbs with some pea-sized butter pieces. Gradually add ice water, one tablespoon at a time, mixing until the dough just comes together. Do not overmix. Divide the dough into two equal discs, wrap tightly in plastic, and refrigerate for at least 1 hour (preferably longer).
2. Make the Blueberry Filling: In a large bowl, gently combine blueberries, granulated sugar, flour or cornstarch, lemon juice, lemon zest, and an optional pinch of cinnamon and salt. Toss until the berries are evenly coated.
3. Assemble the Pie: On a lightly floured surface, roll out one disc of chilled dough into a 12-inch circle. Carefully transfer it to your 9-inch pie dish. Trim the edges, leaving about ½ inch overhang. Pour the blueberry filling into the crust.
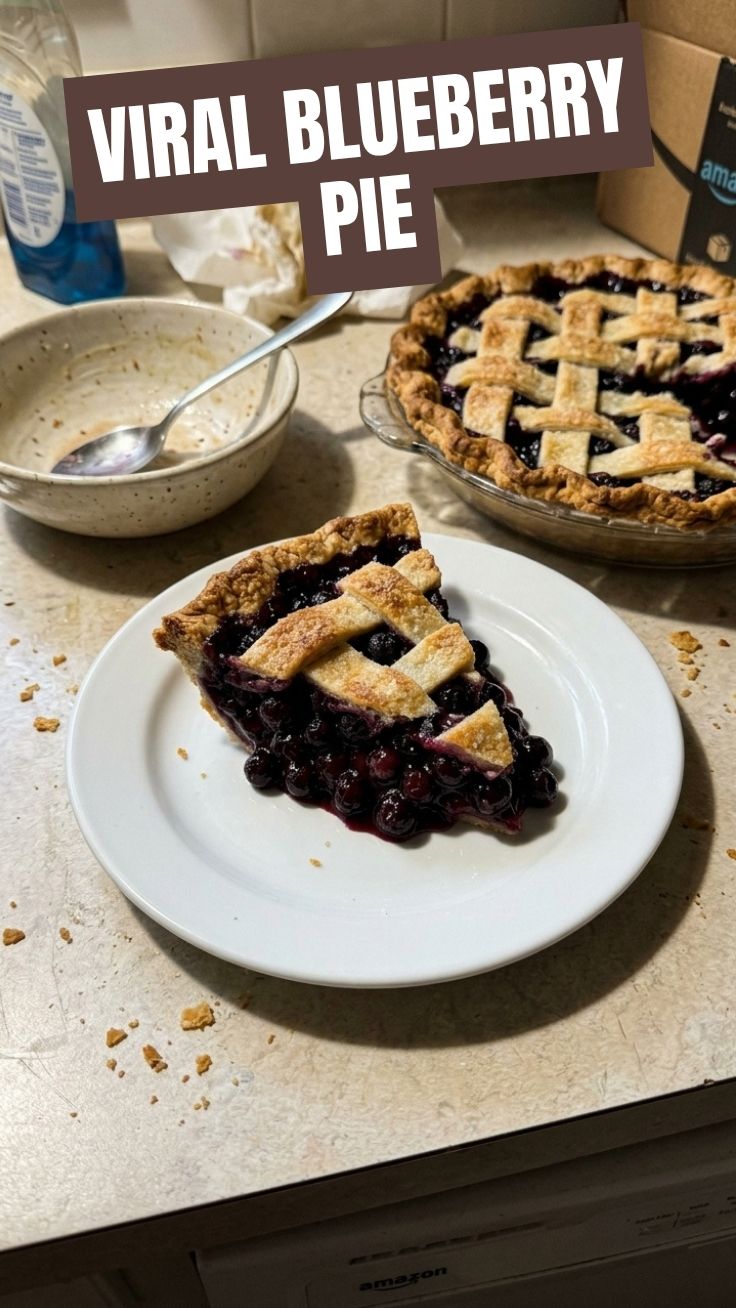
4. Create the Top Crust: Roll out the second disc of dough. You can either place it directly over the filling, cut steam vents, or create a lattice top for a more decorative finish.
5. Seal and Crimp: Trim the top crust to match the bottom overhang. Fold the overhang under itself and crimp the edges decoratively.
6. Egg Wash & Sugar (Optional): In a small bowl, whisk the egg with water or milk to create an egg wash. Brush generously over the top crust. Sprinkle with coarse sugar if desired.
7. Bake the Pie: Preheat your oven to 400°F (200°C). Place the pie on a baking sheet (to catch any drips) and bake for 20 minutes. Reduce the oven temperature to 375°F (190°C) and continue baking for another 30-40 minutes, or until the crust is golden brown and the filling is bubbling thickly. If the crust browns too quickly, loosely tent it with foil.
8. Cool Completely: This is the hardest part! Transfer the baked pie to a wire rack and let it cool completely for at least 3-4 hours before slicing. This allows the filling to set properly.
Nutritional Benefits & Advantages
Blueberries, the star of our pie, are nutritional powerhouses. They are rich in antioxidants, particularly anthocyanins, which contribute to their vibrant color and offer significant health benefits, including reducing oxidative stress and inflammation. They are also an excellent source of Vitamin C, Vitamin K, and dietary fiber, promoting digestive health and contributing to a strong immune system. While pie is an indulgence, opting for homemade allows you to control sugar content and avoid artificial flavors, making it a more wholesome treat.
Tips, Variations, & Cooking Advice
- Gluten-Free Version: Substitute almond flour or a gluten-free all-purpose flour blend for the wheat flour in the crust. Ensure your chosen blend contains xanthan gum for elasticity.
- Dairy-Free Version: Use a high-quality dairy-free butter alternative for the crust.
- Flavor Boosts: Add a touch of cardamom or ginger to the filling for an exotic twist. A tablespoon of balsamic vinegar can also surprisingly enhance the berry flavor.
- Lattice Top: For a stunning presentation, cut your top crust into strips and weave them into a lattice pattern over the filling.
- Freezing Unbaked Pie: Assemble the pie, cover tightly with plastic wrap and foil, and freeze for up to 3 months. Bake from frozen, adding an extra 20-30 minutes to the baking time.
- Serving Suggestions: Serve warm with a scoop of vanilla bean ice cream or a dollop of fresh whipped cream.
Common Mistakes to Avoid
- Overworking the Dough: This develops gluten, leading to a tough, chewy crust instead of a flaky one. Mix just until combined.
- Using Warm Butter: Warm butter melts too quickly into the flour, resulting in a dense, greasy crust. Keep your butter (and even your flour!) very cold.
- Not Chilling the Dough Enough: Insufficient chilling causes the butter to melt out of the dough too fast in the oven, leading to a flat, less flaky crust, and can also cause the crust to shrink.
- Cutting into a Hot Pie: The filling needs time to cool and set. Cutting too early will result in a runny, messy pie. Patience is key!
- Not Tenting with Foil: If your crust is browning too quickly before the filling is fully cooked and bubbling, tenting it with foil prevents burning.
Storage & Meal Prep Tips
Leftover Blueberry Pie can be stored at room temperature, loosely covered, for up to 2 days. For longer storage, refrigerate for up to 4-5 days. To reheat slices, a quick warm-up in a microwave or oven (350°F / 175°C for 10-15 minutes, tented with foil) will restore some of its fresh-baked appeal. You can also freeze individual slices wrapped tightly in plastic wrap and then foil for up to 2 months. Thaw in the refrigerator overnight before reheating.
Conclusion
Crafting a delightful homemade Blueberry Pie is a rewarding experience, transforming simple ingredients into a masterpiece of flavor and texture. By following these detailed instructions and embracing the tips, you’re well on your way to baking a pie that will impress and satisfy. Remember that the beauty of homemade lies in its imperfections and the love poured into every step. We encourage you to try this recipe, explore other delicious blueberry recipes, and share your baking journey with us!
FAQs
Q1: Can I use frozen blueberries for the pie?
A1: Yes, absolutely! You can use frozen blueberries without thawing them. Just toss them directly with the sugar and flour. Be aware that frozen berries release more liquid, so you might need to add an extra tablespoon of flour or cornstarch to the filling.
Q2: My pie crust is always tough. What am I doing wrong?
A2: A tough crust usually means you’ve over-worked the dough. Over-mixing develops gluten, which makes the crust chewy. Mix only until the dough just comes together, and ensure your butter and water are very cold.
Q3: How do I prevent the pie crust from getting soggy at the bottom?
A3: To prevent a soggy bottom, ensure your oven is preheated properly. You can also par-bake the bottom crust for about 10-15 minutes before adding the filling (this is called blind baking). Additionally, allow the pie to cool completely after baking, as the residual heat continues to cook the crust.
Q4: Can I make the pie dough ahead of time?
A4: Yes, pie dough can be made up to 2-3 days in advance and stored in the refrigerator, tightly wrapped. You can also freeze it for up to 3 months. Thaw in the refrigerator before rolling.
Q5: What if my blueberries aren’t very sweet?
A5: If your blueberries are on the tart side, you can increase the granulated sugar in the filling by 1-2 tablespoons, to taste. A little more lemon zest can also enhance the sweetness perception.