Baking Bliss: Unveiling the Perfect Homemade Banana Bread
Ever dreamt of that comforting aroma filling your kitchen, the kind that instantly transports you to a cozy, happy place? Look no further than the timeless allure of homemade Banana Bread. This delightful quick bread isn’t just a treat for your taste buds; it’s a testament to the value of creating something truly special from scratch. Making your own banana bread recipe at home ensures you control every ingredient, tailoring it to your preferences and avoiding artificial additives. It’s a rewarding culinary journey that results in a wonderfully moist and flavorful loaf, far superior to anything store-bought. Plus, it’s an excellent way to repurpose those perfectly ripe bananas languishing on your counter!
Ingredients & Kitchen Tools
Crafting the perfect loaf requires a simple yet essential arsenal of ingredients and tools.
Ingredients:
- 3 ripe bananas (mashed): The riper, the better! Look for bananas with plenty of brown spots – this indicates maximum sweetness and flavor.
- 1/2 cup (113g) unsalted butter, softened: Provides richness and moisture. If using salted butter, reduce added salt slightly.
- 1 cup (200g) granulated sugar: Adds sweetness and helps create a tender crumb. Can be adjusted to taste.
- 1 large egg: Acts as a binder, helping the bread hold its shape.
- 1 teaspoon vanilla extract: Enhances the overall flavor profile.
- 1 1/2 cups (190g) all-purpose flour: Provides structure. For a gluten-free option, use a 1:1 gluten-free baking blend.
- 1 teaspoon baking soda: The leavening agent that helps the bread rise and become fluffy.
- 1/2 teaspoon salt: Balances the sweetness and enhances other flavors.
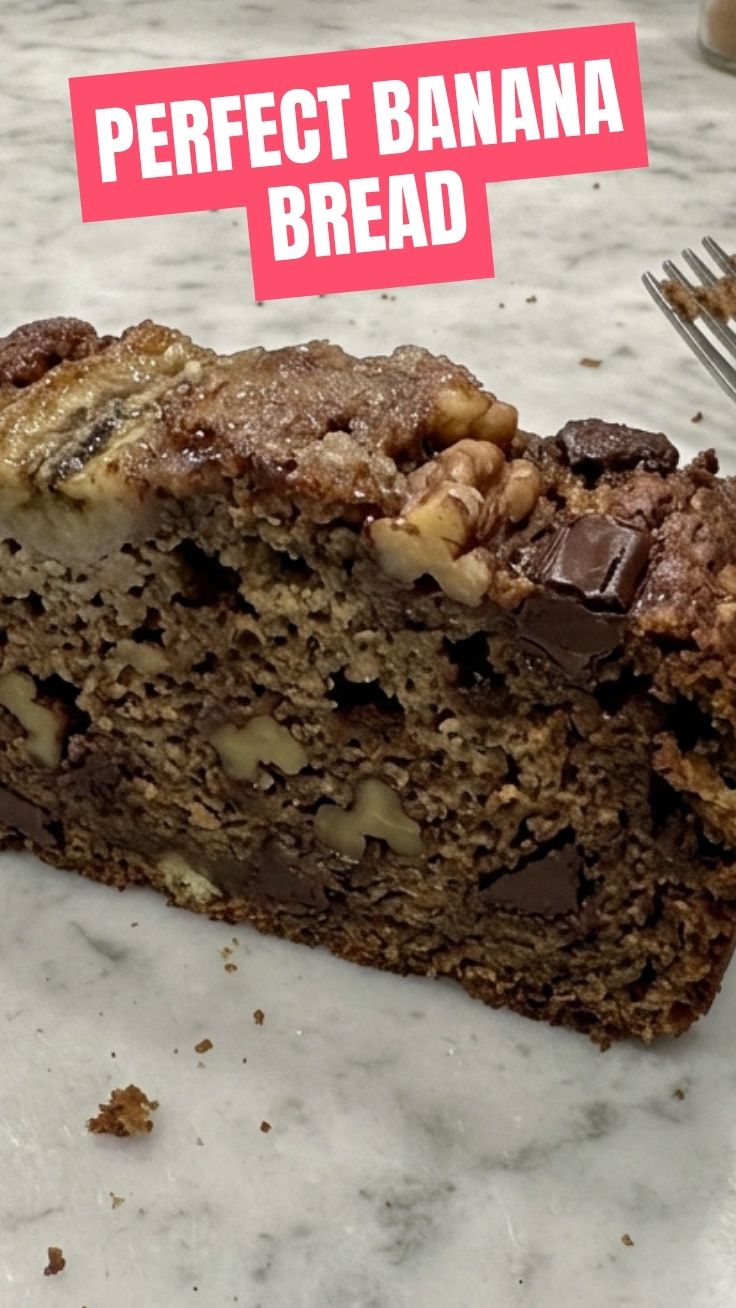
- Optional add-ins: 1/2 cup chocolate chips, chopped nuts (walnuts or pecans), or shredded coconut for extra texture and flavor.
Kitchen Tools:
- Large mixing bowl: For combining ingredients.
- Fork or potato masher: To mash the bananas.
- Electric mixer (handheld or stand) or whisk: For creaming butter and sugar.
- Rubber spatula: For scraping down the sides of the bowl and folding ingredients.
- 9×5 inch loaf pan: The ideal size for a standard loaf of banana bread.
- Parchment paper: For easy removal and cleanup (optional, but highly recommended).
- Measuring cups and spoons: For accurate ingredient measurement.
Prep Time & Cooking Schedule
No need for extensive planning; this recipe is designed for ease!
- Prep Time: 15 minutes
- Cook Time: 50-60 minutes
- Resting Time: 10-15 minutes (after baking, before slicing)
This schedule allows for a relaxed baking experience. While the banana bread bakes, you’ll have ample time for other tasks, or simply to enjoy the incredible aroma permeating your home.
Step-by-Step Instructions
Follow these simple steps to achieve a mouthwatering loaf of Banana Bread every time. Remember, the key to a tender loaf is not to overmix the batter.
1. Preheat and Prepare: Preheat your oven to 350°F (175°C). Grease and flour a 9×5 inch loaf pan, or line it with parchment paper for easier removal.
2. Mash Bananas: In a large bowl, mash the ripe bananas with a fork until mostly smooth, with a few small lumps remaining for texture. Set aside.
3. Cream Butter and Sugar: In a separate large bowl, using an electric mixer or whisk, beat the softened butter and granulated sugar together until light and fluffy, about 2-3 minutes.
4. Add Wet Ingredients: Beat in the egg and vanilla extract until well combined, scraping down the sides of the bowl as needed. Stir in the mashed bananas.
5. Combine Dry Ingredients: In a medium bowl, whisk together the all-purpose flour, baking soda, and salt.
6. Combine Wet and Dry: Gradually add the dry ingredients to the wet ingredients, mixing until just combined. Be careful not to overmix; a few lumps are okay. If using, gently fold in chocolate chips, nuts, or other add-ins. This careful approach is crucial for mastering any banana bread recipe.
7. Bake: Pour the batter into the prepared loaf pan and spread evenly. Bake for 50-60 minutes, or until a wooden skewer inserted into the center comes out clean.
8. Cool: Let the banana bread cool in the pan on a wire rack for 10-15 minutes before carefully removing it from the pan. Allow it to cool completely on the wire rack before slicing and serving.
Nutritional Benefits & Advantages
Beyond its delicious taste, homemade banana bread offers several nutritional advantages. Bananas are excellent sources of potassium, vitamin B6, and vitamin C, contributing to heart health and immune function. Using whole wheat flour (an optional substitution) can boost fiber content, aiding digestion. When made at home, you can control sugar levels and choose healthier fats, making it a more wholesome treat than many store-bought alternatives.
Tips, Variations & Cooking Advice
- Spice It Up: Add 1 teaspoon of cinnamon or 1/2 teaspoon of nutmeg to the dry ingredients for a warm, spiced flavor.
- Fruity Twist: Incorporate a handful of fresh or frozen berries for a burst of fruitiness.
- Moisture Secret: A tablespoon of plain yogurt or sour cream added to the wet ingredients can enhance moisture and tenderness.
- Gluten-Free: Substitute the all-purpose flour with a 1:1 gluten-free baking blend.
- Dairy-Free: Use a plant-based butter substitute and a flax egg (1 tablespoon ground flaxseed + 3 tablespoons water, let sit for 5 minutes) instead of a regular egg.
- Mini Loaves/Muffins: Adjust baking time accordingly (muffins typically take 20-25 minutes, mini loaves 30-35 minutes).
Common Mistakes to Avoid
- Under-ripe Bananas: Green or firm bananas lack the essential sweetness and moisture for a truly great banana bread.
- Overmixing: Overmixing the batter develops the gluten in the flour, leading to a tough and chewy loaf instead of a tender one.
- Underbaking: An underbaked loaf will be gooey in the center. Always use the skewer test.
- Slicing Too Soon: Slicing hot banana bread can cause it to crumble. Patience is key!
Storage & Meal Prep Tips
Homemade Banana Bread stores beautifully, making it perfect for meal prep.
- Countertop: Store wrapped tightly in plastic wrap or in an airtight container at room temperature for up to 3-4 days.
- Refrigeration: For longer storage, refrigerate for up to a week.
- Freezing: Slice the loaf and wrap individual slices in plastic wrap, then place them in a freezer-safe bag or container. It can be frozen for up to 3 months. Thaw individual slices at room temperature or gently reheat in the microwave or toaster oven.
Conclusion
There’s an undeniable magic to a perfectly baked loaf of Banana Bread. It’s more than just a quick bread; it’s a hug in food form, a delightful way to transform humble, overripe bananas into a glorious treat. By following this comprehensive guide, you’ve unlocked the secrets to a consistently moist, flavorful, and incredibly satisfying banana bread recipe that will impress everyone. Don’t hesitate – gather your ingredients and embark on this delicious baking adventure. We encourage you to try this recipe, share your baking successes in the comments below, or explore our other delightful quick bread recipes for more homemade goodness!
FAQs
Q1: Can I use frozen bananas for banana bread?
A1: Absolutely! Thaw the frozen bananas first, drain any excess liquid, and then mash them as usual. The texture might be a bit softer, but the flavor will be excellent.
Q2: My banana bread top cracks, is that normal?
A2: Yes, a crack on top is perfectly normal and a characteristic of many quick breads, including banana bread. It indicates a good rise!
Q3: How can I make my banana bread extra moist?
A3: Ensure your bananas are very ripe. Adding a tablespoon of sour cream or plain yogurt also significantly boosts moisture. Avoid overbaking, as this can dry out the loaf.
Q4: Can I replace granulated sugar with brown sugar?
A4: Yes, you can! Brown sugar adds a lovely caramel-like flavor and often contributes to a moister crumb. You can use it as a 1:1 substitute.