The Golden Standard of Zest: Master the Art of Perfect Lemon Bars
Are you ready to transform simple ingredients into a burst of sunshine that will delight your palate and impress your guests? There’s something undeniably magical about a perfectly crafted dessert, and when it comes to citrusy delights, nothing quite compares to the vibrant tang and buttery sweetness of homemade Lemon Bars. While countless recipes exist, preparing this iconic lemon dessert at home offers an unparalleled sense of accomplishment and ensures a fresh, high-quality treat free from artificial additives. We’ll be diving deep into the nuances of creating these delightful squares, ensuring both novice and experienced bakers can achieve bakery-worthy results right in their own kitchen.
Ingredients & Kitchen Tools
To embark on your delectable journey to create these phenomenal lemon bars, gather the following:
- For the Shortbread Crust:
* 1 ½ cups all-purpose flour: The structural foundation for our buttery crust.
* ½ cup granulated sugar: Sweetens the crust and contributes to its crispness.
* ¼ teaspoon salt: Balances the sweetness and enhances flavor.
* 1 cup (2 sticks) unsalted butter, cold and cubed: Essential for a tender, flaky crust. Using cold butter prevents overworking, which can lead to a tough crust.
- For the Lemon Filling:
* 1 ½ cups granulated sugar: Sweetens the tart lemon juice.
* ¼ cup all-purpose flour: Acts as a thickening agent, creating a smooth, set custard.
* 4 large eggs: Provide structure and richness to the filling.
* ¾ cup fresh lemon juice (from 3-4 medium lemons): The star of the show! Freshly squeezed is non-negotiable for vibrant flavor.
* 2 tablespoons lemon zest: Enhances the intense lemon aroma and flavor.
- For Garnish (Optional):
* Powdered sugar: For dusting, adding a touch of elegance and extra sweetness.
- Kitchen Tools:
* 9×13-inch baking pan: The ideal size for standard lemon bars.
* Parchment paper: Lines the pan for easy removal and cleanup.
* Mixing bowls (various sizes): For combining ingredients separately.
* Whisk: For blending dry ingredients and an emulsified lemon filling.
* Rubber spatula: For scraping bowls and folding.
* Microplane zester: For fine lemon zest, maximizing flavor extraction.
* Juicer: For efficient lemon juice extraction.
Prep Time & Cooking Schedule
Crafting these delightful lemon bars requires a careful balance of prep and bake times. The active prep time is approximately 25 minutes, largely dedicated to making the crust and mixing the lemon filling. The bake time for the crust and then the full bars will be around 40-50 minutes total. Crucially, these bars require a significant resting time – at least 2 hours at room temperature, followed by a minimum of 2-3 hours in the refrigerator. This chilling period is vital for the lemon filling to properly set, allowing for clean, neat slices and the perfect custard-like consistency. Therefore, plan to start these at least 5-6 hours before you intend to serve them, or even better, prepare them the day before for optimal results.
Step-by-Step Instructions
1. Prepare the Crust: Preheat your oven to 350°F (175°C). Line a 9×13-inch baking pan with parchment paper, leaving an overhang on the sides for easy lifting. In a medium bowl, whisk together the flour, granulated sugar (½ cup), and salt. Cut in the cold, cubed butter using a pastry blender, your fingertips, or a food processor until the mixture resembles coarse crumbs. Press the mixture evenly into the prepared baking pan. Bake for 18-20 minutes, or until the edges are lightly golden.
2. Make the Lemon Filling: While the crust bakes, prepare the lemon filling. In a large bowl, whisk together the granulated sugar (1 ½ cups) and ¼ cup flour. This helps prevent the flour from clumping when added to the wet ingredients.
3. Combine Wet Ingredients: In a separate medium bowl, lightly beat the eggs. Gradually whisk in the fresh lemon juice and lemon zest until well combined.
4. Finish the Filling: Slowly pour the wet lemon mixture into the sugar and flour mixture, whisking constantly until smooth and thoroughly combined. This creates the vibrant liquid that will become your tantalizing Lemon Bars.
5. Bake the Bars: Once the crust is lightly golden, carefully pour the lemon filling over the hot crust. Return the pan to the oven and bake for another 22-25 minutes, or until the center is just set but still has a slight wobble. Overbaking can lead to a rubbery filling, so watch it closely.
6. Cool and Chill: Remove the pan from the oven and let it cool completely at room temperature for at least 2 hours. Once cooled, transfer the entire pan to the refrigerator and chill for a minimum of 2-3 hours, or preferably overnight. This crucial step allows the lemon dessert to firm up, ensuring perfect slices.
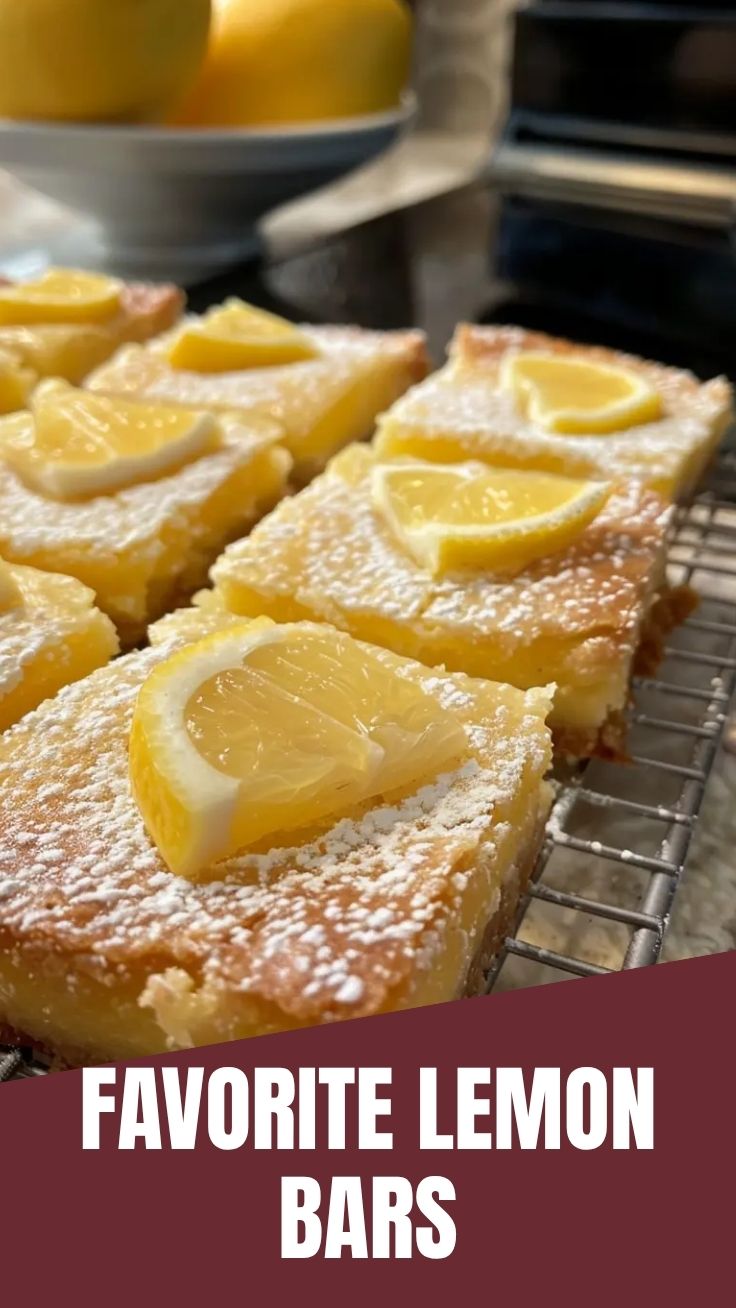
7. Serve: Once thoroughly chilled, use the parchment paper overhang to lift the entire slab of lemon bars out of the pan. Place on a cutting board and cut into squares or rectangles. Dust with powdered sugar just before serving.
Nutritional Benefits & Advantages
Beyond their incredible taste, lemon bars offer a few surprising nutritional advantages. Lemons are a fantastic source of vitamin C, an essential antioxidant that supports immune function and skin health. The eggs in the filling provide a good source of protein and essential vitamins, while the butter, though indulgent, offers healthy fats for energy. Making these at home allows you to control sugar content (though often not advisable to drastically reduce in baking) and ensures the use of fresh, high-quality ingredients, avoiding the preservatives and artificial flavors often found in store-bought versions.
Tips, Variations & Cooking Advice
- Zest First, Then Juice: Always zest your lemons before you juice them – it’s much easier!
- Gluten-Free Variation: Substitute the all-purpose flour in the crust with a 1:1 gluten-free baking blend. For the filling, many GF flour blends work, but ensure it contains xanthan gum for structure.
- Extra Zesty: For an even bolder lemon flavor, consider adding an extra teaspoon of lemon zest to the filling.
- Lime Bars: Swap out lemons for limes for a deliciously tangy, tropical twist! Use the same measurements.
- Crust Thickness: If you prefer a thicker crust, you can increase the crust ingredients by about 25%.
- Even Cooking: Rotate the pan halfway through baking the filling to ensure even cooking.
Common Mistakes to Avoid
- Overworking the Crust: Kneading the crust mixture too much can develop the gluten, resulting in a tough, chewy crust instead of a tender, crumbly one.
- Not Chilling Long Enough: This is the most common mistake! If you cut the bars before they are fully chilled, the filling will be soft and runny, and the slices will be messy. Patience is key.
- Under-baking the Filling: If the filling is too wobbly when removed from the oven, it won’t set properly. It should jiggle slightly in the center but not ripple like liquid.
- Using Bottled Lemon Juice: Bottled lemon juice lacks the vibrant, fresh flavor and often has an artificial tang that will compromise your final product. Always use freshly squeezed.
Storage & Meal Prep Tips
Store leftover lemon bars in an airtight container in the refrigerator for up to 3-5 days. To maintain their texture and flavor, bring them to room temperature for about 15-20 minutes before serving, or enjoy them chilled straight from the fridge if preferred. For longer storage, you can freeze lemon bars. Arrange them in a single layer on a baking sheet and freeze until solid, then transfer them to an airtight freezer-safe container or bag, separated by parchment paper. They will keep for up to 2-3 months. Thaw frozen bars overnight in the refrigerator. Do not dust with powdered sugar until just before serving, as it can dissolve upon refrigeration.
Conclusion
There you have it – a comprehensive guide to crafting the most exquisite Lemon Bars you’ve ever tasted. This recipe combines a crisp, buttery shortbread crust with a perfectly balanced, vibrant lemon-custard filling, creating a truly irresistible lemon dessert. We encourage you to try this recipe, savor the process, and delight in the sunny flavors. Don’t forget to share your creations and any personal tweaks in the comments below! Happy baking!
FAQs
Q1: Can I make these lemon bars ahead of time?
A1: Absolutely! Lemon bars are an excellent make-ahead dessert. In fact, they benefit from chilling overnight, allowing the flavors to meld and the filling to fully set. Just dust with powdered sugar before serving.
Q2: My lemon filling tastes too tart/sweet. What went wrong?
A2: The balance of tartness and sweetness often depends on the acidity of your lemons. If it’s too tart, you might try adding an extra tablespoon or two of sugar next time. If too sweet, ensure you’re using truly ripe lemons with ample juice.
Q3: How do I prevent my crust from getting soggy?
A3: Ensure your crust is baked until lightly golden and firm before adding the filling. Also, make sure the bars are thoroughly chilled before cutting, as this helps the filling set properly and prevents moisture migration into the crust.
Q4: Can I use Meyer lemons for this recipe?
A4: Yes, Meyer lemons can be used! They are sweeter and less acidic than regular lemons, so you might need to slightly reduce the sugar in the filling to achieve the desired balance.
Q5: What’s the best way to cut clean slices?
A5: The key is a very cold, fully set bar. Use a long, sharp knife and wipe the blade clean with a damp cloth after each cut to prevent sticking and ensure pristine edges.