Unlock the Secret to the Perfect Homemade Cheesecake: A Journey in Flavor
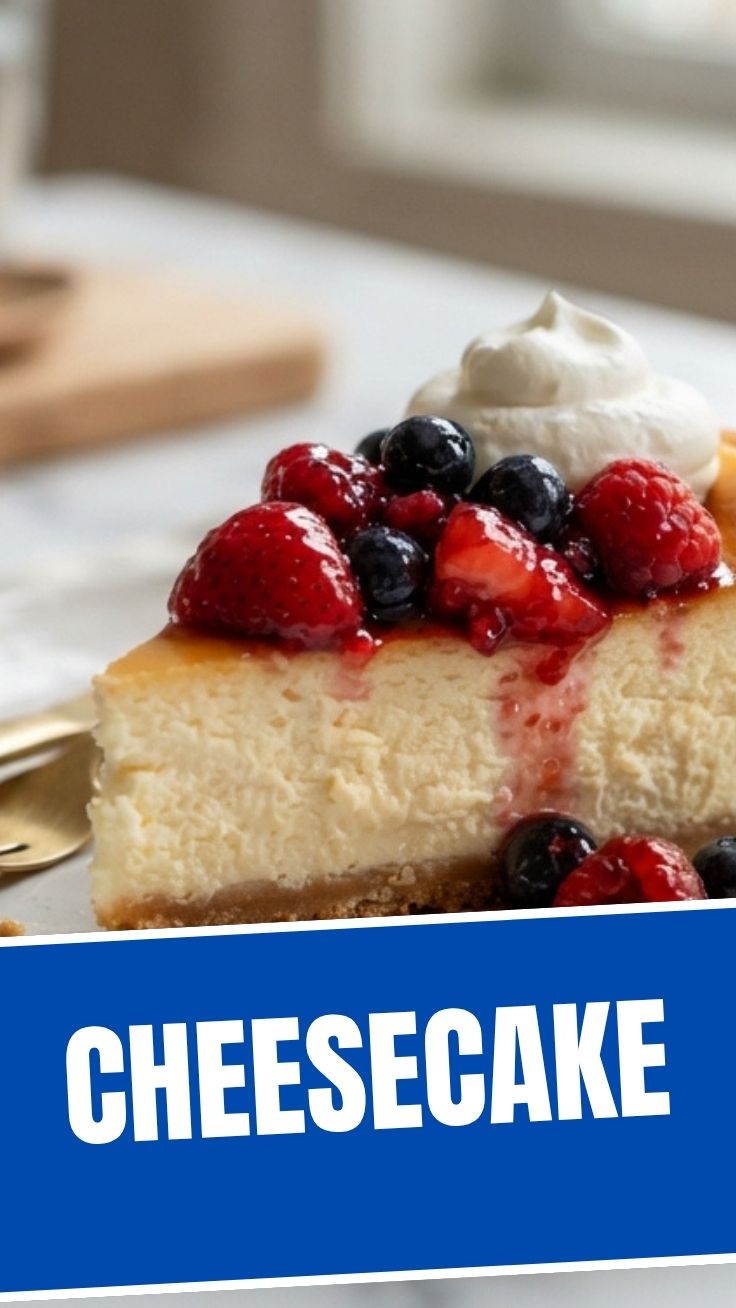
Have you ever dreamt of creating a dessert that effortlessly combines creamy indulgence with a hint of gourmet sophistication, right in your own kitchen? Picture this: a silky-smooth, perfectly set Cheesecake, its rich texture melting in your mouth, leaving a lingering taste that speaks of pure culinary bliss. Crafting this iconic dessert at home isn’t just about saving a trip to the bakery; it’s about the joy of transforming simple ingredients, especially the humble yet essential Cream Cheese, into a masterpiece. This comprehensive guide will walk you through every step, ensuring your homemade creation is not only delicious but also a source of immense satisfaction.
Ingredients & Kitchen Tools
To embark on your Cheesecake adventure, gather these essentials:
- For the Crust:
* 1 ½ cups graham cracker crumbs (or digestive biscuits, finely crushed for a buttery base)
* ¼ cup granulated sugar (adds a touch of sweetness to the crust)
* 6 tablespoons unsalted butter, melted (binds the crumbs together for a firm base)
- For the Filling:
* 3 (8-ounce) packages Cream Cheese, softened (full-fat for ultimate creaminess; ensure it’s at room temperature for smooth blending)
* 1 cup granulated sugar (for sweetness and structure)
* 1 teaspoon vanilla extract (pure vanilla for authentic flavor)
* 3 large eggs, at room temperature (binds the filling and adds richness)
* Optional: ½ cup sour cream or heavy cream (for an even silkier texture and a slight tang)
- Kitchen Tools:
* 9-inch springform pan (essential for easy removal and presentation)
* Food processor (for crushing crackers, or a Ziploc bag and rolling pin)
* Large mixing bowls
* Electric mixer (handheld or stand mixer for effortlessly smooth batter)
* Whisk
* Rubber spatula
* Aluminum foil (for water bath, if preferred)
Prep Time & Cooking Schedule
- Prep Time: 30 minutes
- Bake Time: 60-75 minutes
- Cooling Time: 1 hour at room temperature, then at least 4 hours (ideally overnight) in the refrigerator.
This schedule emphasizes the crucial cooling time, which is paramount for achieving that perfect, crack-free Cheesecake texture. Planning ahead allows the flavors to meld and the structure to set completely.
Step-by-Step Instructions
1. Prepare the Crust: Preheat your oven to 350°F (175°C). In a medium bowl, combine graham cracker crumbs, sugar, and melted butter. Press firmly into the bottom of a 9-inch springform pan. Bake for 10 minutes, then remove and let cool slightly while you prepare the filling. This pre-baking step helps prevent a soggy crust.
2. Make the Filling: In a large mixing bowl, beat the softened Cream Cheese with an electric mixer until smooth and creamy. This is the foundation of your exquisite Cheesecake, so ensure there are no lumps. Gradually add sugar, beating until just combined. Mix in the vanilla extract.
3. Incorporate Eggs: Add eggs one at a time, mixing on low speed until just incorporated after each addition. Be careful not to overmix, as too much air can cause cracks during baking. If using, gently fold in sour cream or heavy cream now.
4. Bake: Pour the filling over the cooled crust. If using a water bath (recommended for an extra creamy, crack-free finish), wrap the bottom of the springform pan tightly with aluminum foil, place it in a larger roasting pan, and pour hot water into the roasting pan until it reaches halfway up the sides of the springform pan. Bake for 60-75 minutes, or until the edges are set and the center slightly jiggles when gently shaken.
5. Cooling and Chilling: Turn off the oven, crack the door open, and let the Cheesecake cool in the oven for 1 hour. This gradual cooling prevents sudden temperature changes that can lead to cracking. Remove from the oven, run a knife around the edge of the pan, and let it cool completely on a wire rack. Once fully cooled, cover and refrigerate for at least 4 hours, or preferably overnight. The longer it chills, the better it sets and develops flavor.
Nutritional Benefits & Advantages
Beyond its undeniable deliciousness, homemade Cheesecake offers a few advantages. Cream Cheese, the star ingredient, provides calcium and phosphorus, important for bone health. By making it yourself, you control the quality of ingredients, opting for organic or pasture-raised options, and can adjust sugar levels to your preference, making it a more mindful indulgence compared to store-bought varieties.
Tips, Variations & Cooking Advice
- Flavor Variations: Swirl in fruit purees (raspberry, blueberry), chocolate ganache, or even a spiced pumpkin puree for seasonal twists.
- Crust Alternatives: Experiment with gingersnap cookies, Oreo cookies, or shortbread for a different flavor profile.
- Dairy-Free: Use vegan Cream Cheese alternatives and a plant-based butter for a delicious dairy-free option.
- Mini Cheesecakes: Bake in muffin tins lined with paper cups for individual servings, adjusting baking time to about 20-25 minutes.
Common Mistakes to Avoid
- Overmixing the Batter: This incorporates too much air, leading to a puffy Cheesecake that can crack as it cools.
- Baking at Too High a Temperature: High heat can cause the exterior to cook too quickly while the interior remains raw, also leading to cracks.
- Skipping the Water Bath: While optional, a water bath creates a moist, consistent cooking environment, resulting in a creamier texture and significantly reducing the risk of cracks.
- Insufficient Chilling: Rushing the chilling process results in a soft, unset Cheesecake. Patience is key for the perfect slice.
Storage & Meal Prep Tips
Your homemade Cheesecake can be stored, covered, in the refrigerator for up to 5-7 days. For longer storage, freeze individual slices (or the whole Cheesecake) wrapped tightly in plastic wrap and then aluminum foil for up to 1-2 months. Thaw frozen Cheesecake in the refrigerator overnight before serving. This makes it an excellent candidate for meal prep, allowing you to enjoy a slice whenever a craving strikes!
Conclusion
There you have it – the definitive guide to crafting a show-stopping homemade Cheesecake. By meticulously following these steps and embracing the nuances of temperature and timing, you’ll be able to create a dessert that rivals any patisserie. Remember, the secret lies in the quality of your Cream Cheese and a little patience. Don’t be afraid to experiment with flavors and crusts to make it your own! We encourage you to try this recipe, share your delectable results with us, and explore other culinary adventures right here on our blog. Happy baking!
FAQs
1. Why did my Cheesecake crack? Cracks often occur due to overmixing, baking at too high a temperature, or sudden temperature changes during cooling. A water bath and gradual cooling are your best defenses.
2. Can I use low-fat Cream Cheese? While technically possible, full-fat Cream Cheese is highly recommended for the best texture and flavor. Low-fat varieties can result in a less creamy and sometimes more watery filling.
3. How do I know when my Cheesecake is done baking? The edges should be set, but the center (about a 2-3 inch diameter) should still jiggle slightly when you gently shake the pan. It will continue to set as it cools.
4. Can I make this recipe gluten-free? Absolutely! Simply substitute the graham cracker crumbs with gluten-free graham cracker crumbs or use a gluten-free cookie alternative for the crust. The filling is naturally gluten-free.
5. What’s the best way to slice a Cheesecake cleanly? Dip a sharp, long knife in hot water and wipe it clean between each slice. This ensures smooth, pristine cuts.