Cozy Comfort in a Mug: Crafting the Perfect Homemade Apple Cider
Have you ever savored a mug of warm, spiced Apple Cider and thought, “I wish I could make this at home?” You’re in luck! There’s an unparalleled joy in brewing your own batch, transforming simple apples into a fragrant, soul-soothing beverage. Beyond the delightful aroma filling your kitchen, crafting homemade apple cider allows for complete control over the sweetness, spice level, and even the potential addition of a little something extra, like a splash of hard cider for an adult twist. This guide will walk you through creating the ultimate homemade apple cider, ensuring a rich, nuanced flavor that store-bought versions simply can’t match.
Ingredients & Kitchen Tools
Gathering your supplies is the first step to cider perfection!
- 10-12 medium cooking apples: A mix of sweet (e.g., Gala, Fuji) and tart (e.g., Granny Smith, Honeycrisp) apples provides the best flavor complexity.
- 1 orange: Adds a bright, citrusy note and complements the apple and spice.
- 4-5 cinnamon sticks: Essential for that classic warm, comforting cider spice.
- 1 tsp whole cloves: Offers a pungent, aromatic counterpoint to the sweetness.
- 1/2 tsp whole allspice berries: Provides a slightly peppery, woody undertone.
- 1/2 cup brown sugar (optional): Adjust to your sweetness preference; can be omitted if apples are sweet enough.
- 8-10 cups water: Enough to fully submerge the apples in your pot.
- Large stockpot (8-12 quart): To hold all your ingredients comfortably.
- Potato masher or large spoon: For mashing the cooked apples.
- Fine-mesh sieve or cheesecloth: For straining the cider into a smooth liquid.
- Large bowl or pitcher: To collect the strained cider.
Prep Time & Cooking Schedule
- Prep Time: 15 minutes (chopping apples, slicing oranges)
- Cook Time: 2-3 hours (simmering apples, steeping spices)
- Resting Time: 30 minutes (allowing spices to steep further off heat)
This recipe is perfect for a leisurely afternoon. The simmering time allows the flavors to meld beautifully, making your kitchen smell incredible. Plan ahead to give the spices ample time to infuse.
Step-by-Step Instructions
1. Prepare the Apples and Orange: Thoroughly wash your apples and cut them into quarters, removing the core but leaving the skins on for extra flavor and color. Slice the orange into thick rounds.
2. Combine in Pot: Place the quartered apples and orange slices into your large stockpot. Add the cinnamon sticks, whole cloves, and allspice berries. If using, sprinkle in the brown sugar.
3. Add Water and Simmer: Pour enough water over the ingredients to completely cover them, typically 8-10 cups. Bring the mixture to a rolling boil over high heat, then reduce the heat to low, cover, and let it simmer for at least 2 hours, or until the apples are very soft and easily mashed. The longer you simmer, the more intense the apple flavor will be.
4. Mash the Apples: Once the apples are soft, remove the pot from the heat. Using a potato masher or a sturdy spoon, gently mash the cooked apples directly in the pot. This releases more of their delicious juices and pulp, contributing to a richer Apple Cider.
5. Strain the Cider: Carefully strain the entire contents of the pot through a fine-mesh sieve or a cheesecloth-lined colander into a large bowl or pitcher. Press down on the solids with the back of a spoon to extract as much liquid as possible. You should be left with a clear, fragrant cider. Discard the solids.
6. Taste and Adjust: Taste your freshly made cider. If desired, you can add more sweetener (honey, maple syrup, or sugar) or a pinch more of ground cinnamon. For an adult beverage, now is the time to stir in a splash of your favorite hard cider per serving for an extra layer of complexity.
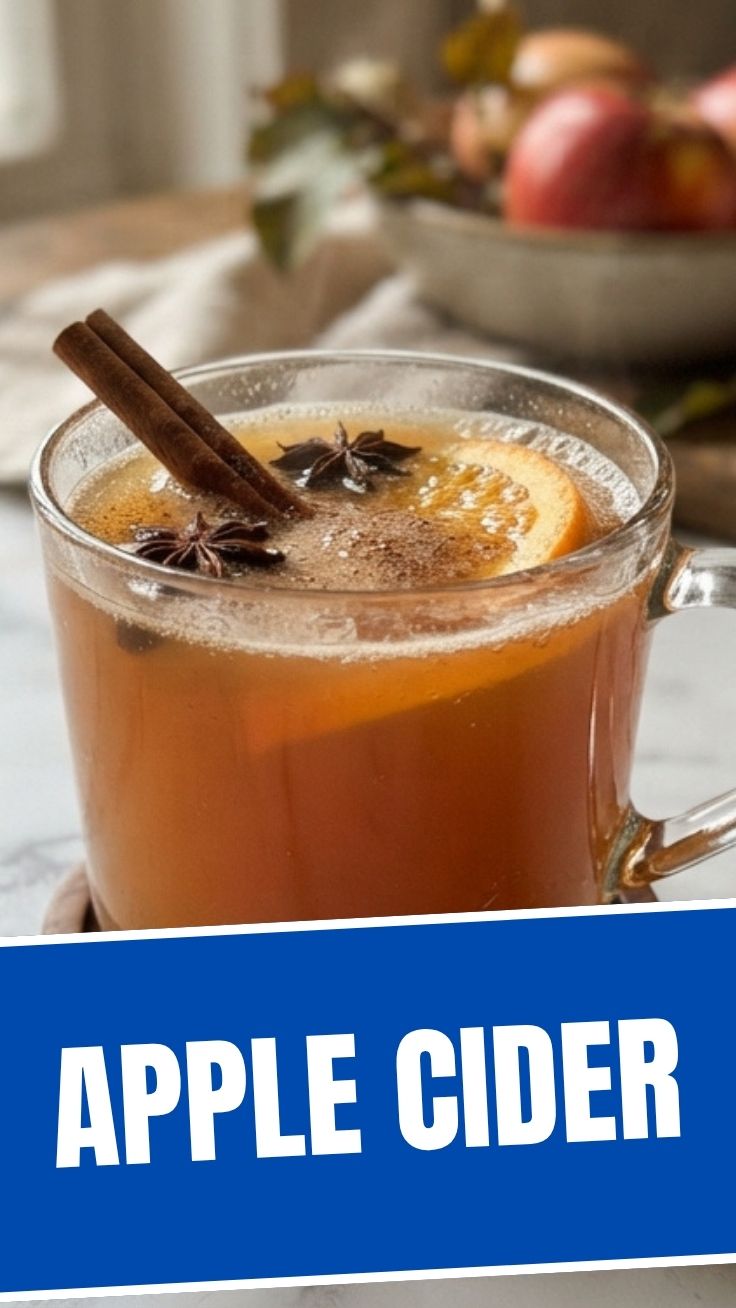
7. Serve Warm: Ladle the warm cider into mugs and enjoy! Garnish with a cinnamon stick or an orange slice if you like.
Nutritional Benefits & Advantages
Homemade Apple Cider, especially when made with whole apples, offers several benefits. Apples are a good source of dietary fiber and antioxidants, which can contribute to digestive health and fight oxidative stress. The spices like cinnamon and cloves also have anti-inflammatory properties. Unlike many store-bought versions that often contain high-fructose corn syrup and artificial flavors, your homemade cider is free from these additives, giving you a purer, more natural beverage.
Tips Variations & Cooking Advice
- Spice it up: Feel free to experiment with other spices like star anise, cardamom pods, or a slice of fresh ginger for different flavor profiles.
- Sweetener Alternatives: Instead of brown sugar, try honey, maple syrup, or agave nectar for natural sweetness.
- Sparkling Cider: For a fizzy version, chill your homemade cider completely and then mix with an equal part of sparkling water or ginger ale just before serving.
- Adult Version: As mentioned, a shot of dark rum, bourbon, or hard cider in each mug transforms this into a delightful adult beverage.
- Slow Cooker Method: For a hands-off approach, combine all ingredients in a slow cooker and cook on low for 4-6 hours.
- Apple Variety: Don’t be afraid to mix and match apple varieties. Granny Smiths offer tartness, while Fuji or Gala add sweetness. Honeycrisp provides a crisp, balanced flavor.
Common Mistakes to Avoid
- Not using enough water: Ensure the apples are fully submerged to extract maximum flavor and prevent scorching.
- Over-mashing: While you want to break down the apples, be gentle. Mashing too vigorously can result in a cloudy cider with too much sediment.
- Skipping the straining: A fine-mesh sieve is crucial for a smooth cider, free from pulp and spice remnants.
- Adding too much sugar too soon: Taste the cider before adding all the sugar. Apples vary in sweetness, and you might need less than expected.
- Neglecting the simmer time: Don’t rush it! The long, slow simmer is key to developing deep, rich apple flavor.
Storage & Meal Prep Tips
Homemade Apple Cider can be stored in an airtight container in the refrigerator for up to 5-7 days. It can also be frozen for up to 3 months. To reheat, gently warm on the stovetop over low heat or in the microwave. Freezing can make it a little cloudy, but it won’t affect the taste. For meal prep, consider making a large batch and dividing it into individual portions for easy grab-and-go enjoyment throughout the week.
Conclusion
There’s nothing quite like the comforting aroma and taste of homemade Apple Cider. From the simple act of simmering fruit and spices to the satisfying sip of a warm, perfectly spiced drink, this recipe offers a heartwarming experience that transcends the ordinary. Whether you’re enjoying a cozy evening by the fire or sharing it with loved ones, this cider is sure to be a hit. Don’t forget that a splash of hard cider can elevate this classic for an adult gathering. Give it a try, experiment with your favorite spices, and share your delightful creations!
FAQs
Q1: Can I make this with unsweetened apple juice instead of whole apples?
A1: While you can, the depth of flavor won’t be as rich. Using whole apples with their skins and cores (which you strain out) provides a more complex and authentic apple flavor that simple juice can’t replicate.
Q2: My cider is cloudy. What did I do wrong?
A2: A slightly cloudy appearance is common with homemade cider, especially if you mashed the apples vigorously or didn’t use a fine enough sieve. It doesn’t affect the taste but if clarity is important, consider a double strain through cheesecloth.
Q3: Can I reuse the leftover apple pulp?
A3: Unfortunately, the pulp has given most of its flavor to the cider and is generally not recommended for reuse in other recipes. It’s best to discard it.
Q4: How can I make my cider less sweet?
A4: Reduce or omit the brown sugar entirely. The natural sweetness of the apples should be sufficient for many palates. You can always add a touch more sugar at the end if needed.
Q5: What’s the best way to get a stronger spice flavor?
A5: Increase the quantity of cinnamon sticks, cloves, and allspice. You can also let the spices steep in the hot cider for an extra 30-60 minutes off the heat after straining for a more intense spice infusion.