Unlock the Secret to the Ultimate Homemade Chocolate Cake: Your Guide to Decadent Perfection
Ever dreamt of baking a show-stopping dessert that leaves everyone craving more? What if we told you that the secret to a moist, rich, and utterly divine Chocolate Cake is well within your grasp, even if you’re new to baking? Forget store-bought imitations; crafting this classic at home offers unparalleled freshness, customizable flavors, and the sheer joy of creating something truly special from scratch. Not only will you control the quality of your ingredients, ensuring a superior taste, but you’ll also discover the immense satisfaction of achieving that perfect balance of sweetness and deep cocoa notes. This comprehensive guide will walk you through every step, ensuring your homemade creation is crowned with the silkiest chocolate frosting, turning a simple baking project into a culinary triumph. Get ready to impress!
Ingredients & Kitchen Tools
- All-Purpose Flour: 1 ¾ cups (210g) – Standard flour for structure.
- Granulated Sugar: 2 cups (400g) – For sweetness and moisture.
- Unsweetened Cocoa Powder: ¾ cup (75g) – High-quality cocoa is key for deep chocolate flavor.
- Baking Soda: 1 ½ teaspoons – A leavening agent for rise.
- Baking Powder: 1 ½ teaspoons – Another leavening agent for a tender crumb.
- Salt: 1 teaspoon – Enhances all flavors.
- Eggs: 2 large – Binds ingredients and adds richness.
- Milk: 1 cup (240ml) – Adds moisture; whole milk is recommended.
- Vegetable Oil: ½ cup (120ml) – For a moist texture.
- Vanilla Extract: 2 teaspoons – Essential for depth of flavor.
- Boiling Water: 1 cup (240ml) – Activates cocoa and enhances its flavor.
- For the chocolate frosting: 1 cup (2 sticks) unsalted butter, softened, 4 cups powdered sugar, ¾ cup unsweetened cocoa powder, ½ cup milk (or heavy cream), 1 teaspoon vanilla extract, a pinch of salt.
- Kitchen Tools: 9×13 inch baking pan, large mixing bowls, whisk, electric mixer (stand or hand-held), measuring cups and spoons, spatula, cooling rack.
Prep Time & Cooking Schedule
- Prep Time: 20 minutes (estimated) – This includes gathering ingredients and mixing the batter.
- Cook Time: 30-35 minutes (estimated) – Actual baking time for the cake.
- Cooling Time: 1-2 hours (minimum) – Crucial for stabilization before frosting.
- Frosting Time: 15-20 minutes – Once the cake is cool.
Plan to start your cake preparation at least 3-4 hours before you intend to serve it, allowing ample time for baking and essential cooling. Rushing the cooling process can lead to a crumbly cake when sliced and a melted frosting.
Step-by-Step Instructions
1. Preheat & Prepare: Preheat your oven to 350°F (175°C). Grease and flour a 9×13 inch baking pan, ensuring every corner is coated to prevent sticking.
2. Combine Dry Ingredients: In a large bowl, whisk together the all-purpose flour, granulated sugar, unsweetened cocoa powder, baking soda, baking powder, and salt. Make sure there are no lumps for an even texture.
3. Mix Wet Ingredients: In a separate medium bowl, whisk together the eggs, milk, vegetable oil, and vanilla extract until well combined and smooth.
4. Combine Wet and Dry: Pour the wet ingredients into the dry ingredients. Mix with an electric mixer on low speed until just combined. Do not overmix; overmixing develops gluten, leading to a tough cake. Scrape down the sides of the bowl as needed.
5. Add Boiling Water: Carefully pour the boiling water into the batter. Mix on low speed until the batter is smooth and appears thin. This step is crucial for activating the cocoa and achieving the deep, rich flavor of your Chocolate Cake.
6. Bake: Pour the batter evenly into the prepared baking pan. Bake for 30-35 minutes, or until a wooden skewer inserted into the center comes out clean.
7. Cool: Allow the cake to cool in the pan on a wire rack for at least 15-20 minutes before gently inverting it onto the rack to cool completely. This prevents the cake from breaking and ensures it’s fully stable for frosting.
8. Prepare chocolate frosting: In a large bowl, using an electric mixer, beat the softened butter until creamy. Gradually add the powdered sugar, cocoa powder, milk, vanilla extract, and salt. Beat on low speed until combined, then increase to high speed and beat for 2-3 minutes until light and fluffy.
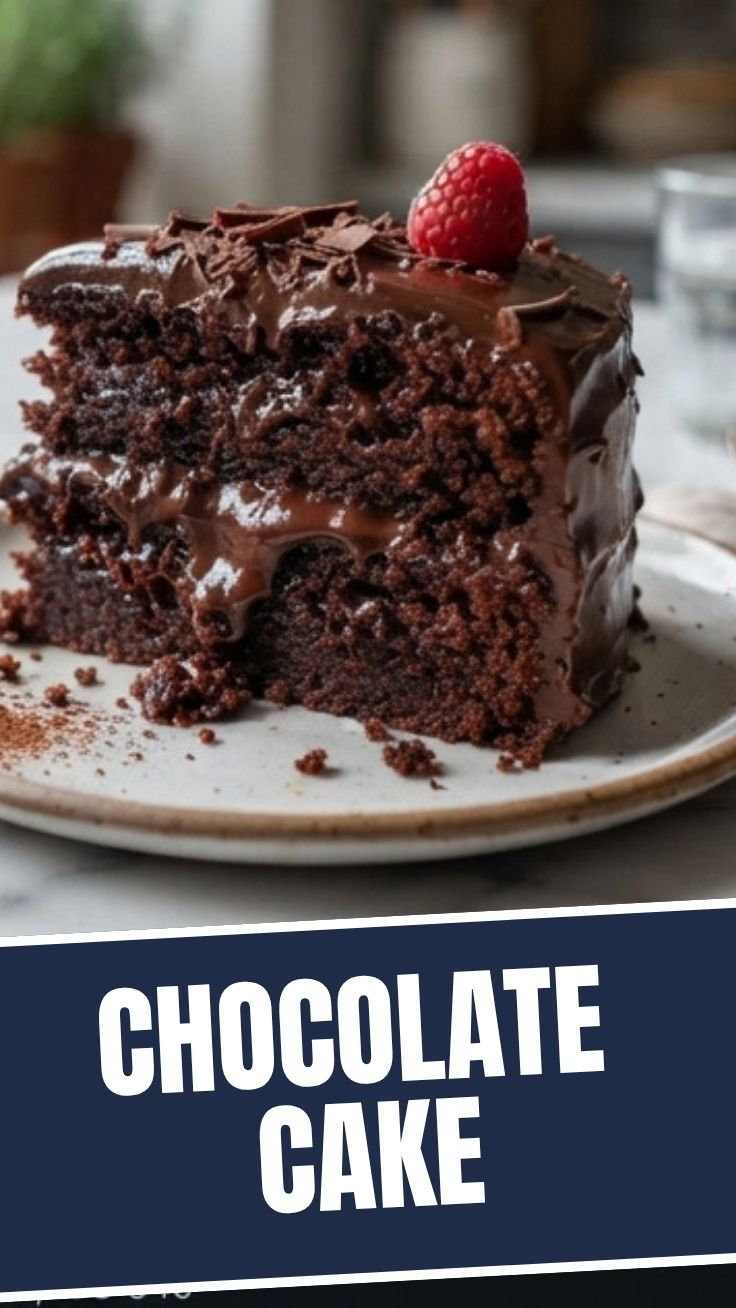
9. Frost & Serve: Once the cake is completely cool, spread the luscious chocolate frosting evenly over the top and sides. Slice and enjoy!
Nutritional Benefits & Advantages
This homemade Chocolate Cake, while a treat, offers some advantages over highly processed store-bought alternatives. By using unsweetened cocoa powder, you benefit from its rich antioxidant content, which can help combat free radicals in the body. The eggs provide a good source of protein and essential vitamins, while milk contributes calcium. Making it at home allows you to control sugar levels and avoid artificial flavors, colors, and preservatives often found in commercial baked goods, resulting in a more wholesome indulgence.
Tips, Variations & Cooking Advice
- Coffee Boost: For an even deeper chocolate flavor, swap half of the boiling water with hot brewed coffee. The coffee doesn’t make the cake taste like coffee, but it significantly enhances the cocoa.
- Buttermilk Substitute: For an extra tender crumb, use buttermilk instead of regular milk. If you don’t have buttermilk, add 1 tablespoon of white vinegar or lemon juice to regular milk and let it sit for 5 minutes before using.
- Gluten-Free Option: Substitute all-purpose flour with a 1:1 gluten-free baking flour blend for a delicious gluten-free version.
- Dairy-Free Option: Use plant-based milk (almond, soy, or oat) and dairy-free butter substitute for a dairy-free cake and frosting. Ensure your chocolate chips are also dairy-free if adding.
- Portion Control: Slice into smaller portions to enjoy this treat responsibly.
Common Mistakes to Avoid
- Overmixing: This is the arch-nemesis of soft cakes. Mix until just combined to keep your crumb tender.
- Under-baking: An under-baked cake will sink in the middle and have a gooey texture. Always check for doneness with a skewer.
- Not Cooling Completely: Frosting a warm cake is a recipe for disaster. It will melt the frosting, creating a messy, unappetizing result. Patience is key!
- Using Low-Quality Cocoa: The quality of your cocoa powder directly impacts the flavor of your cake. Invest in a good unsweetened cocoa for the best results.
Storage & Meal Prep Tips
Store leftover Chocolate Cake in an airtight container at room temperature for up to 3 days, or in the refrigerator for up to 5 days. If refrigerating, let it come to room temperature for about 30 minutes before serving to ensure optimal flavor and texture of both the cake and the chocolate frosting. For longer storage, individual slices can be wrapped tightly in plastic wrap and then foil, then frozen for up to 2-3 months. Thaw frozen cake overnight in the refrigerator before bringing to room temperature.
Conclusion
Mastering the art of a homemade Chocolate Cake is a truly rewarding experience, transforming simple ingredients into a celebration-worthy dessert. From the rich, moist crumb to the velvety smooth chocolate frosting, this recipe promises a decadent experience that will delight your taste buds and impress your guests. We encourage you to try this recipe and share your delicious creations with us! Unlock your inner baker and prepare to enjoy the sweet success of this timeless classic.
FAQs
1. Can I make this cake in advance?
Yes, the cake can be baked a day ahead and stored at room temperature, unfrosted and tightly covered. Frost it a few hours before serving.
2. Why did my cake sink in the middle?
Common causes include opening the oven door too early, under-baking, or an inaccurate oven temperature. Ensure your oven is properly calibrated, and resist opening the door until the final few minutes of baking.
3. Can I use light milk instead of whole milk?
While you can, whole milk provides a richer flavor and moister texture. Light milk might result in a slightly drier cake.
4. My chocolate frosting is too thick/thin. How do I fix it?
If it’s too thick, add milk (or heavy cream) one tablespoon at a time until it reaches the desired consistency. If it’s too thin, gradually add more powdered sugar until it thickens.