Unlock Authentic Flavors: Your Ultimate Guide to Homemade Chicken Enchiladas
Are you ready to transform your weeknight dinners into a vibrant culinary fiesta? There’s something undeniably satisfying about crafting a beloved dish from scratch, and when it comes to classic comfort food with a kick, few things beat the rich, savory goodness of Chicken Enchiladas. While dining out offers convenience, preparing these cheesy, saucy delights at home allows for personalized touches, fresher ingredients, and the incredible aroma that fills your kitchen. This comprehensive guide will equip you with everything you need to create perfect Chicken Enchiladas that rival any restaurant, while embracing the authentic spirit of Mexican enchiladas. Get ready to impress your taste buds and your dinner guests!
Ingredients & Kitchen Tools
Crafting sensational enchiladas starts with the right components. Here’s what you’ll need:
- Cooked Shredded Chicken (3 cups): Leftover rotisserie chicken works wonderfully, or boil/bake chicken breasts until tender and shred.
- Corn Tortillas (12-15): Essential for that classic texture; look for pliable ones. Flour tortillas can be substituted for a softer bite.
- Enchilada Sauce (28 oz can): Your choice of red or green. For an extra rich flavor, consider a homemade sauce.
- Shredded Monterey Jack or Mexican Cheese Blend (2 cups): Melts beautifully and provides that signature gooeyness. Cheddar also works.
- Onion (1 medium, finely diced): Adds a foundational aromatic layer. Red or white onion.
- Garlic (3 cloves, minced): Essential for depth of flavor.
- Green Chiles (4 oz can, diced): Adds a mild, earthy kick. Optional for those sensitive to spice.
- Sour Cream or Greek Yogurt (1/2 cup): For a creamy filling or a dollop on top.
- Cumin (1 tsp): A quintessential spice for Mexican cuisine.
- Chili Powder (1 tsp): Provides warmth and a smoky note.
- Salt & Pepper (to taste): Seasoning is key!
- Olive Oil (2 tbsp): For sautéing.
- Cilantro (fresh, chopped, for garnish): Adds freshness and a pop of color.
Kitchen Tools:
- 9×13 inch Baking Dish: The perfect size for a family-sized batch.
- Large Skillet: For cooking the filling.
- Medium Bowl: For mixing ingredients.
- Tongs: Useful for dipping tortillas.
- Measuring Cups & Spoons: For accurate ingredient portions.
Prep Time & Cooking Schedule
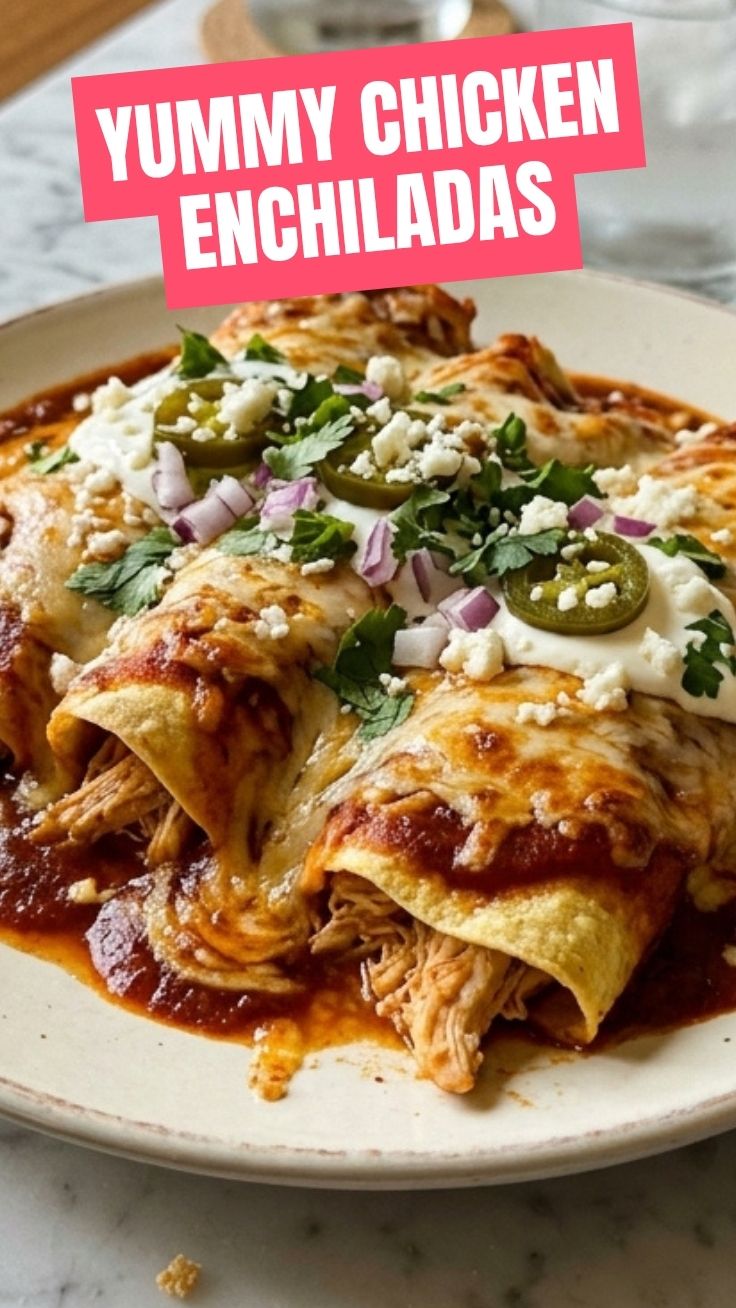
- Prep Time: 25 minutes
- Cook Time: 20-25 minutes
- Resting Time: 5-10 minutes (after baking)
This recipe is designed to be relatively quick and efficient. If using pre-cooked chicken, your prep time is significantly reduced. You can chop your onions and garlic while the oven preheats, streamlining the entire process. The resting time allows the cheese and sauce to set, making for cleaner serving.
Step-by-Step Instructions
1. Preheat & Prep: Preheat your oven to 375°F (190°C). Lightly grease your 9×13 inch baking dish.
2. Sauté Aromatics: In a large skillet, heat olive oil over medium heat. Add diced onion and cook until softened, about 5 minutes. Stir in minced garlic and cook for another minute until fragrant.
3. Build the Filling: Add the shredded chicken, diced green chiles, cumin, chili powder, salt, and pepper to the skillet. Cook for 2-3 minutes, stirring to combine and heat through. Remove from heat and stir in the sour cream (or Greek yogurt) and 1/2 cup of the shredded cheese blend. This is the heart of your Chicken Enchiladas.
4. Prepare Tortillas: Pour about 1 cup of enchilada sauce into a shallow dish. Dip each corn tortilla briefly into the warm sauce (about 5-10 seconds per side) to soften it. This prevents cracking and adds flavor, a crucial step for authentic Mexican enchiladas.
5. Assemble Enchiladas: Place a softened tortilla on a clean surface. Spoon about 1/4 cup of the chicken mixture down the center. Tightly roll up the tortilla and place it seam-side down in the prepared baking dish. Repeat with the remaining tortillas and filling.
6. Sauce & Cheese: Once all tortillas are rolled and arranged, pour the remaining enchilada sauce evenly over the top. Sprinkle the remaining shredded cheese generously over the sauce.
7. Bake: Bake for 20-25 minutes, or until the cheese is
bubbly and golden, and the enchiladas are heated through.
8. Serve & Garnish: Let the enchiladas rest for 5-10 minutes before serving. Garnish with fresh cilantro, if desired.
Nutritional Benefits & Advantages
These homemade enchiladas offer several nutritional advantages. Chicken provides a lean source of protein, crucial for muscle repair and satiety. Corn tortillas are a good source of fiber, and when you choose reduced-fat cheese and a homemade sauce, you can control sodium and unhealthy fats. Incorporating fresh vegetables like onions and optionally bell peppers or spinach in the filling further boosts nutrient content, delivering vitamins, minerals, and antioxidants.
Tips Variations & Cooking Advice
- Spice it Up: Add a pinch of cayenne pepper or a chopped jalapeño to the filling for extra heat.
- Vegetarian Option: Substitute black beans, corn, and sautéed bell peppers for the chicken.
- Sauce Swap: Experiment with different types of enchilada sauce – a smoky chipotle variety or a vibrant salsa verde.
- Cheesy Topping: For an extra decadent touch, mix a bit of cream cheese into your filling or drizzle with queso fresco after baking.
- Gluten-Free: Ensure your enchilada sauce is certified gluten-free, and stick to corn tortillas.
- Dairy-Free: Use dairy-free cheese alternatives and a vegan sour cream or cashew cream.
Common Mistakes to Avoid
- Overfilling Tortillas: This makes them difficult to roll and prone to bursting. Use just enough filling.
- Skipping the Tortilla Dip: Not softening the tortillas in sauce leads to dry, brittle shells that crack easily.
- Cold Ingredients: Ensure all filling ingredients are heated through before assembling to ensure even cooking.
- Not Enough Sauce: Enchiladas need to be adequately sauced to prevent drying out during baking and provide moisture.
- Rushing Rest Time: Letting them rest allows the cheese to set, preventing a messy, falling-apart dish.
Storage & Meal Prep Tips
Leftover enchiladas are a fantastic next-day meal!
- Refrigeration: Store cooled enchiladas in an airtight container in the refrigerator for up to 3-4 days.
- Freezing: For longer storage, freeze unbaked or baked enchiladas. If freezing unbaked, assemble them in a foil pan, cover tightly with foil, and freeze for up to 2-3 months. Thaw in the refrigerator overnight before baking. If freezing baked, individual portions wrapped tightly can be frozen and reheated.
- Reheating: Reheat individual portions in the microwave until heated through, or cover the baking dish with foil and reheat in a 350°F (175°C) oven for 20-30 minutes, or until bubbly.
Conclusion
Mastering homemade Chicken Enchiladas is a truly rewarding culinary experience. By following these detailed steps, you’re not just making a meal; you’re creating a comforting, flavorful dish that brings people together and celebrates the rich traditions of Mexican enchiladas. So, dive in, experiment with flavors, and enjoy the delicious journey of crafting these amazing enchiladas. We’d love to hear about your creations! Share your results in the comments below or explore our other vibrant recipes. Happy cooking!
FAQs
Q1: Can I make enchilada sauce from scratch?
A1: Absolutely! Homemade enchilada sauce offers superior flavor. There are many recipes online for both red and green versions, often using chili powder, broth, and spices.
Q2: What’s the best way to keep tortillas from breaking?
A2: Warming them slightly in oil or dipping them in warm enchilada sauce before filling makes them pliable and prevents breaking. Don’t overheat them, as this can dry them out.
Q3: Can I prepare these enchiladas ahead of time?
A3: Yes! You can assemble the enchiladas up to 24 hours in advance. Cover and refrigerate, then bake as directed, adding an extra 10-15 minutes to the baking time if baking from cold.
Q4: What are some good side dishes for enchiladas?
A4: Classic sides include Mexican rice, refried beans, a simple green salad with a lime vinaigrette, or a fresh corn and black bean salsa.
Q5: My enchiladas came out a bit dry. What went wrong?
A5: This usually means there wasn’t enough sauce, or they were baked for too long. Ensure tortillas are adequately moistened in sauce and that there’s plenty of sauce covering the top before baking.