Unlock Sweet Nostalgia: The Ultimate Guide to Perfect Rice Krispie Treats
Ever found yourself craving that irresistibly chewy, gloriously sweet, and delightfully crispy bite that instantly transports you back to childhood? You’re not alone! While store-bought versions offer convenience, there’s an unparalleled joy and satisfaction in crafting your own batch of homemade Rice Krispie Treats from scratch. Not only do you control the quality of ingredients, but you also get to infuse them with that extra secret ingredient: love. This comprehensive guide will walk you through creating the perfect batch using humble rice krispie cereal, ensuring every bite is a symphony of texture and flavor, far surpassing any pre-packaged option.
Ingredients & Kitchen Tools
Gather your culinary arsenal for this delightful adventure:
- Unsalted Butter (3 tablespoons): Provides richness and helps the marshmallows melt smoothly. Salted butter can be used, but reduce or omit any added salt.
- Mini Marshmallows (10 ounces, about 6 cups): The star binder! Mini marshmallows melt more evenly and quickly than large ones. (Optional substitution: Vegan marshmallows for a plant-based option).
- Rice Krispie Cereal (6 cups): The essential crispy element! Any puffed rice cereal will work, but the classic Kellogg’s brand is recommended for authentic texture.
- Vanilla Extract (1 teaspoon, optional): Enhances the overall flavor profile with a warm, comforting aroma.
- Pinch of Salt (optional): Balances the sweetness and enhances other flavors.
- Large Saucepan or Pot: For melting the butter and marshmallows.
- Large Mixing Bowl: For combining the melted marshmallow mixture with the cereal.
- 9×13 inch Baking Pan: For shaping and cooling the treats.
- Parchment Paper or Non-Stick Spray: To prevent sticking and make removal easy.
- Rubber Spatula: For mixing and pressing the treats. A non-stick spatula is ideal.
Prep Time & Cooking Schedule
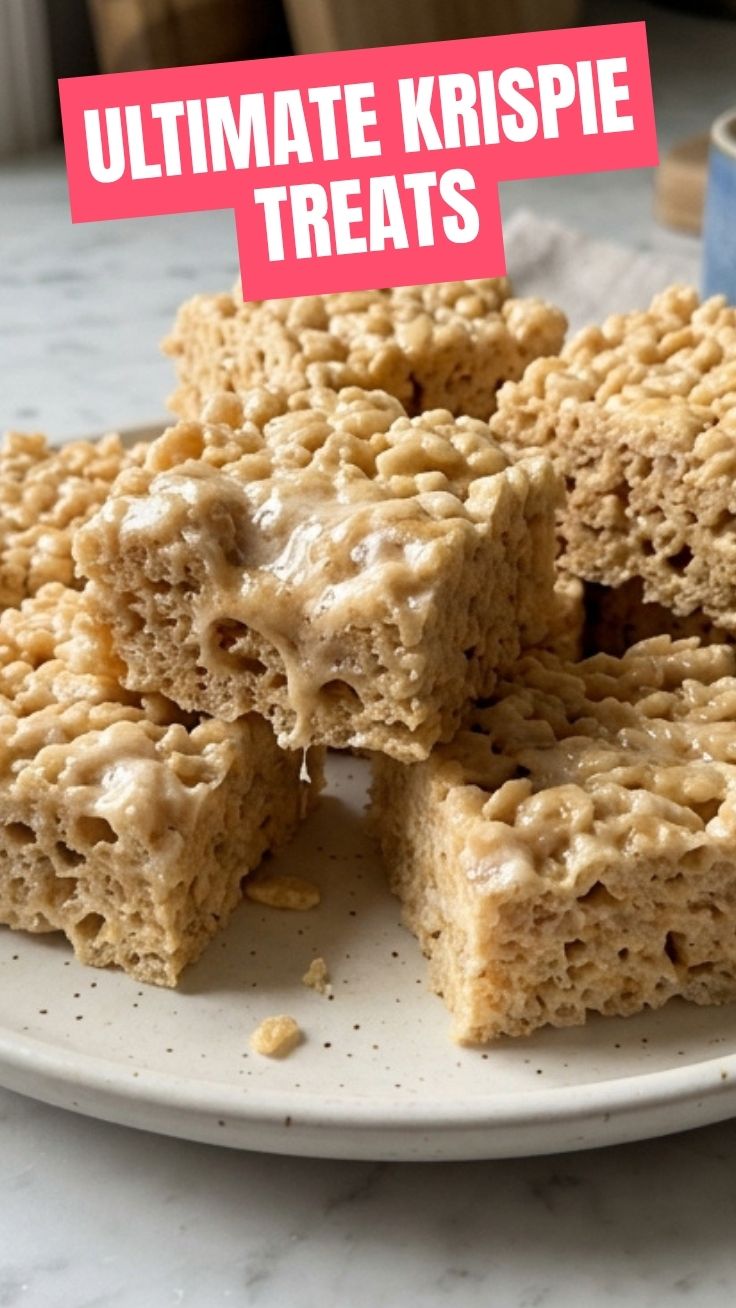
One of the many beauties of these confections is their quick turnaround!
- Prep Time: 5 minutes
- Cook Time: 5-7 minutes
- Cooling Time: 30-60 minutes (or until set)
This recipe is perfect for last-minute cravings or an impromptu potluck, requiring minimal planning and yielding maximum deliciousness in under an hour.
Step-by-Step Instructions
Let’s get cooking! Follow these simple steps for perfectly gooey Rice Krispie Treats:
1. Prepare Your Pan: Grease a 9×13 inch baking pan with non-stick spray or line it with parchment paper, leaving an overhang on the sides for easy removal.
2. Melt Butter: In a large saucepan or pot, melt 3 tablespoons of unsalted butter over low to medium heat. Low heat is crucial to prevent the butter from browning too quickly.
3. Add Marshmallows: Once the butter is melted, add the 10 ounces of mini marshmallows. Stir continuously with a rubber spatula until the marshmallows are completely melted and smooth. Remove from heat immediately to avoid overcooking.
4. Flavor (Optional): Stir in 1 teaspoon of vanilla extract and a pinch of salt (if using) into the melted marshmallow mixture.
5. Incorporate Cereal: Quickly add the 6 cups of rice krispie cereal to the marshmallow mixture. Stir gently but thoroughly until the cereal is evenly coated. Work quickly as the mixture will start to set.
6. Press into Pan: Transfer the mixture to the prepared baking pan. Using a lightly buttered or wet rubber spatula (or your hands, lightly buttered to prevent sticking), gently and evenly press the mixture into the pan. Do not press too firmly, as this can result in hard, dense treats.
7. Cool and Set: Allow the treats to cool completely at room temperature for at least 30-60 minutes, or until set.
8. Cut and Serve: Once firm, lift the treats out of the pan using the parchment paper overhang (if used) or carefully invert them onto a cutting board. Cut into squares and enjoy!
Nutritional Benefits & Advantages
While Rice Krispie Treats are undeniably a sweet indulgence, they offer some unique advantages. Rice krispie cereal itself is typically low in fat and, depending on the brand, can be fortified with essential vitamins and minerals like iron and B vitamins. When made at home, you can control sugar levels (to an extent) and avoid artificial additives often found in commercially produced versions. These treats are naturally gluten-free if you use certified gluten-free marshmallows and cereal, making them a safe and delicious option for those with sensitivities.
Tips Variations & Cooking Advice
- Brown Butter: For a richer, nuttier flavor, brown the butter slightly before adding the marshmallows. Keep a close eye on it to prevent burning.
- Add-ins: Get creative! Stir in chocolate chips, sprinkles, chopped nuts, dried fruit, or even a swirl of peanut butter once the mixture is in the pan.
- Flavor Extracts: Experiment with almond extract, peppermint extract, or orange zest for different flavor profiles.
- Dietary Adaptations:
* Gluten-Free: Ensure your marshmallows and rice krispie cereal are certified gluten-free.
* Dairy-Free/Vegan: Use a plant-based butter substitute and vegan marshmallows.
- Thickness: For thicker treats, use an 8×8 inch pan instead of 9×13.
Common Mistakes to Avoid
- Overcooking Marshmallows: This is the most common culprit for hard treats. Melt marshmallows over low heat and remove from heat as soon as they are smooth.
- Pressing Too Firmly: Over-compressing the mixture in the pan crushes the cereal, leading to dense, brick-like treats instead of light and airy ones.
- Skipping Non-Stick Prep: Greasing your pan and spatula is essential for easy removal and handling.
- Waiting Too Long to Mix: The marshmallow mixture sets quickly. Have your cereal measured out and ready to go immediately after the marshmallows melt.
Storage & Meal Prep Tips
Store your homemade Rice Krispie Treats in an airtight container at room temperature for up to 3-4 days. They tend to harden over time, so enjoy them fresh! Avoid refrigerating them, as this can make them tough and chewy; room temperature storage maintains their optimal texture. These treats are not ideal for freezing, as the texture can become inconsistent upon thawing.
Conclusion
There you have it – the definitive guide to crafting the perfect batch of Rice Krispie Treats. From the gentle melting of marshmallows to the satisfying crunch of rice krispie cereal, this recipe is a testament to the joy of simple, homemade pleasures. So, gather your ingredients, follow these steps, and prepare to delight your taste buds and those of your loved ones. We encourage you to try this recipe, share your creations, and rediscover the magic of this timeless dessert!
FAQs
Q1: Why are my Rice Krispie Treats hard?
A1: The most common reason is overcooking the marshmallows. Ensure you melt them over low heat and remove them from heat as soon as they are smooth. Also, avoid pressing the mixture too firmly into the pan.
Q2: Can I use large marshmallows instead of mini ones?
A2: Yes, but you’ll need to cut them into smaller pieces to ensure they melt evenly and quickly. Mini marshmallows are generally preferred for their ease of use.
Q3: How can I make my Rice Krispie Treats extra gooey?
A3: For extra gooeyness, reduce the amount of rice krispie cereal slightly (e.g., to 5-5.5 cups) or increase the marshmallow amount by an ounce or two.
Q4: Can I add chocolate to this recipe?
A4: Absolutely! Stir in 1 cup of chocolate chips (milk, dark, or white) along with the cereal. The residual heat from the marshmallow mixture will slightly melt them, creating delicious chocolatey swirls.
Q5: How long do these treats last?
A5: When stored in an airtight container at room temperature, homemade Rice Krispie Treats are best enjoyed within 3-4 days. They tend to lose their optimal texture beyond that.