Craving Autumnal Bliss? How to Master Apple Cider Donuts at Home!
Is there anything that screams “autumn” more than the sweet, comforting aroma of freshly baked donuts, especially when they’re infused with the crisp, tangy essence of fall apples? If you’ve ever dreamt of recreating that quintessential orchard experience in your own kitchen, you’re in the right place. Preparing homemade apple cider donuts isn’t just about baking; it’s about embracing the season, creating heartwarming memories, and enjoying a treat that simply can’t be replicated by store-bought versions. Get ready to dive into the delightful world of crafting your very own Homemade Apple Cider Donuts. This comprehensive guide will walk you through every step, ensuring your kitchen becomes a haven of autumnal goodness.
Ingredients & Kitchen Tools
Gather your culinary arsenal for this delightful adventure.
- 2 cups all-purpose flour: The foundational structure of our donuts. Sifted for best results.
- ½ cup granulated sugar: For sweetness and delicate crunch.
- 1 ½ teaspoons baking powder: Our leavening agent, creating fluffy texture.
- ½ teaspoon baking soda: Works with the cider’s acidity for extra lift.
- 1 teaspoon ground cinnamon: The quintessential fall spice.
- ½ teaspoon ground nutmeg: Adds warmth and depth.
- ¼ teaspoon ground allspice: For a complex, aromatic note.
- ¼ teaspoon salt: Balances flavors and enhances sweetness.
- ½ cup unsalted butter, melted: Adds richness and moisture.
- ½ cup apple cider, reduced: The star ingredient! Reduce 1 cup of cider to ½ cup for intense flavor.
- 1 large egg, room temperature: Binds ingredients and adds richness.
- 1 teaspoon vanilla extract: Enhances overall flavor.
- For the Glaze/Coating (Optional):
* ½ cup granulated sugar or powdered sugar: For coating.
* 1 teaspoon ground cinnamon: For a classic cinnamon-sugar coating.
* 2 tablespoons melted butter (for cinnamon sugar coating): Helps the sugar adhere.
* 2 tablespoons apple cider (for glaze): Thins the powdered sugar.
Kitchen Tools:
- Large mixing bowl: For combining dry ingredients.
- Medium mixing bowl: For wet ingredients.
- Whisk: To blend ingredients evenly.
- Rubber spatula or wooden spoon: For mixing dough.
- Doughnut pan (6-12 cavities): Essential for baked donuts.
- Pastry bag with a large round tip (or zip-top bag with corner snipped): For easy filling of the donut pan.
- Cooling rack: For even cooling.
- Small saucepan: For reducing apple cider.
- Measuring cups and spoons: For precise ingredient measurements.
Prep Time & Cooking Schedule
Planning is key to perfect donuts!
- Active Prep Time: 20 minutes (includes cider reduction)
- Baking Time: 10-12 minutes
- Cooling Time: 10-15 minutes
- Total Time: Approximately 45-60 minutes
Begin by reducing your apple cider. Simmer 1 cup of apple cider in a small saucepan over medium heat until it reduces to about ½ cup (this intensifies the flavor significantly). This usually takes 10-15 minutes. Allow it to cool slightly while you prepare other ingredients. This crucial step extracts the maximum apple goodness, ensuring your donuts are bursting with flavor.
Step-by-Step Instructions
Let’s transform simple ingredients into irresistible Apple Cider Donuts!
1. Preheat & Grease: Preheat your oven to 350°F (175°C). Lightly grease your doughnut pan with butter or non-stick spray, ensuring every crevice is coated to prevent sticking.
2. Combine Dry Ingredients: In a large mixing bowl, whisk together the all-purpose flour, granulated sugar, baking powder, baking soda, cinnamon, nutmeg, allspice, and salt. Make sure there are no lumps and the spices are evenly distributed.
3. Combine Wet Ingredients: In a separate medium bowl, whisk together the melted unsalted butter, the reduced and cooled apple cider, the large egg, and vanilla extract until well combined.
4. Combine Wet and Dry: Pour the wet ingredients into the dry ingredients. Stir gently with a rubber spatula or wooden spoon until just combined. Be careful not to overmix, as this can lead to tough donuts. A few small lumps are perfectly fine.
5. Pipe into Pan: Spoon the batter into a pastry bag fitted with a large round tip (or a zip-top bag with the corner snipped). Pipe the batter evenly into the prepared doughnut cavities, filling each about two-thirds full.
6. Bake: Bake for 10-12 minutes, or until the donuts are golden brown and spring back when lightly touched. A toothpick inserted into the thickest part should come out clean.
7. Cool: Let the donuts cool in the pan for 5 minutes before carefully transferring them to a wire rack to cool completely.
8. Prepare Coating/Glaze (Optional):
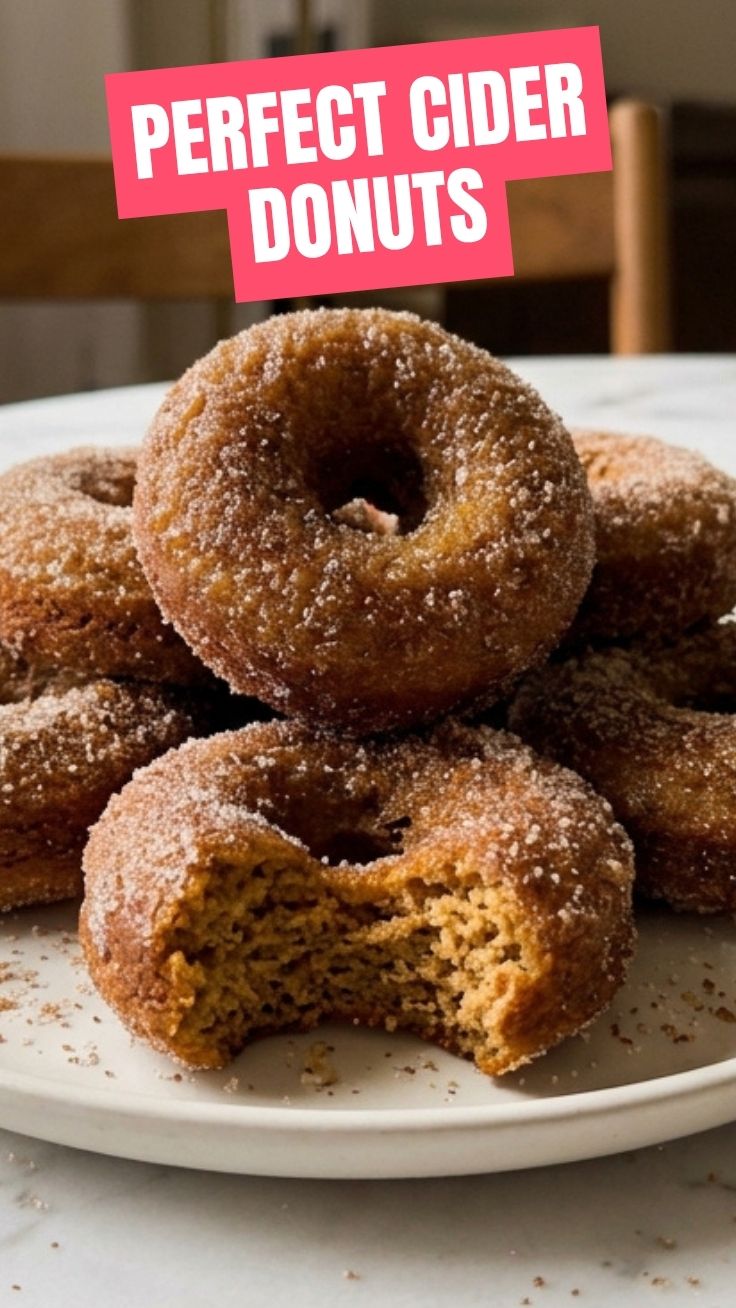
* For Cinnamon Sugar Coating: In a shallow dish, combine ½ cup granulated sugar and 1 teaspoon cinnamon. Melt 2 tablespoons of butter. Once the donuts are slightly cooled but still warm, brush each lightly with melted butter and immediately dredge in the cinnamon-sugar mixture.
* For Glaze: Whisk ½ cup powdered sugar with 2 tablespoons of apple cider until smooth. Dip the cooled Homemade Apple Cider Donuts into the glaze, allowing excess to drip off, then place back on the wire rack to set.
Nutritional Benefits & Advantages
These delightful treats aren’t just delicious; they offer a few surprising advantages. Baking, rather than frying, significantly reduces the fat content, making them a slightly “healthier” indulgence. Apple cider, even in reduced form, provides a touch of beneficial antioxidants. Furthermore, the inclusion of spices like cinnamon and nutmeg brings anti-inflammatory properties and can help regulate blood sugar levels. Enjoying a homemade baked good means you control the ingredients, avoiding artificial flavors, preservatives, and excessive sugars often found in store-bought options.
Tips, Variations & Cooking Advice
- Intensify Cider Flavor: For an even more profound apple flavor, add a tiny pinch of apple pie spice to your dry ingredients. You can also grate a small amount of fresh apple into the batter, but be mindful of adding too much moisture.
- Gluten-Free Version: Substitute all-purpose flour with a 1:1 gluten-free baking blend that contains xanthan gum.
- Dairy-Free Version: Use a plant-based butter substitute and a dairy-free milk alternative (if your recipe is adapted to include milk).
- Spice Adjustments: Feel free to adjust the amount of cinnamon, nutmeg, and allspice to your personal preference. A touch of ground ginger can also add a nice zing.
- Donut Hole Delights: If your pan creates donut holes, bake them separately for 5-7 minutes. They make fantastic miniature treats!
- Chocolate Drizzle: After glazing, melt some white or dark chocolate and drizzle over the donuts for an extra decadent touch.
Common Mistakes to Avoid
- Overmixing the Batter: This is the cardinal sin of baking! Overmixing develops gluten, leading to dense, tough donuts instead of light and fluffy ones. Mix only until the dry ingredients are just incorporated.
- Not Reducing the Cider Enough: The reduction step is crucial for concentrated apple flavor. Don’t skip or rush it!
- Overfilling the Donut Pan: Filling the cavities too much will result in misshapen donuts that might overflow. Aim for two-thirds full.
- Not Greasing the Pan Properly: A poorly greased pan means your beautiful donuts will stick and break when removed. Grease thoroughly!
- Applying Coating/Glaze Too Soon: If coating with cinnamon sugar, the donuts should still be warm. If glazing with a runny glaze, they should be mostly cooled to prevent the glaze from simply melting off.
Storage & Meal Prep Tips
These donuts are best enjoyed fresh, but they can be stored to extend their deliciousness.
- Room Temperature: Store plain or cinnamon-sugar coated donuts in an airtight container at room temperature for up to 2 days.
- Refrigeration: Glazed donuts can be stored in an airtight container in the refrigerator for up to 3 days. The glaze might become slightly sticky or firm.
- Freezing: Plain or cinnamon-sugar coated donuts freeze beautifully for up to 1 month. Wrap individually in plastic wrap, then place in a freezer-safe bag or container. Thaw at room temperature or gently reheat in the microwave for a few seconds.
Conclusion
There you have it – your comprehensive guide to creating homemade, bakery-quality Apple Cider Donuts right in your own kitchen. From the tantalizing aroma to the delightful first bite, these treats capture the very essence of autumn. We’ve covered everything from ingredient selection and precise baking techniques to ensuring your results are consistently perfect. Don’t settle for store-bought when you can craft these heartwarming Homemade Apple Cider Donuts with love. We encourage you to try this recipe, experiment with the variations, and share your delicious creations with family and friends. Let us know how your autumnal baking adventure turns out in the comments below!
FAQs
Q1: Can I make these fried instead of baked?
A1: Yes, you can! Use a slightly different batter recipe designed for frying (usually with less liquid). Fry at 350°F (175°C) until golden brown, about 1-2 minutes per side.
Q2: My apple cider isn’t reducing quickly enough. What should I do?
A2: Ensure your saucepan is wide enough and the heat is at a gentle simmer, not just a bare whisper. A wider surface area allows for faster evaporation. Avoid covering the pan.
Q3: How can I tell if my donuts are undercooked?
A3: An undercooked donut will feel doughy or heavy, and a toothpick inserted will come out with wet batter. They should be light, fluffy, and spring back when gently pressed.
Q4: Can I use apple juice instead of apple cider?
A4: While you can, apple cider has a tangier, more complex flavor profile than apple juice, which is sweeter and milder. Reducing apple juice won’t yield the same robust apple cider flavor.
Q5: What’s the best way to get the cinnamon-sugar to stick?
A5: The key is to coat the donuts while they are still warm (not hot!) and immediately after lightly brushing them with melted butter. The butter acts as a “glue.”