Unlock Summer’s Sweetness: Crafting Your Own Homemade Blackberry Jam
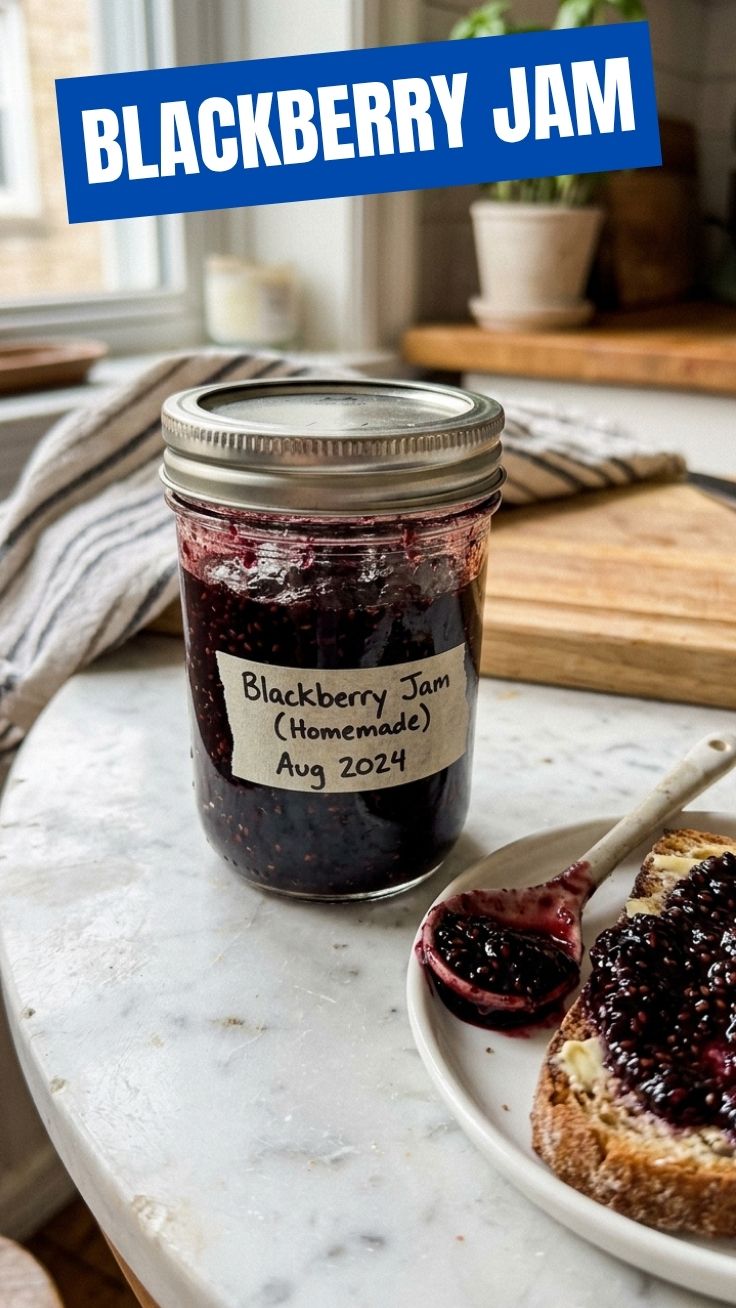
Ever dreamt of capturing the vibrant taste of summer in a jar? Imagine that burst of juicy, sun-ripened blackberries, ready to elevate your breakfast toast or afternoon scone. Making your own Blackberry Jam (Homemade) is not just about a delicious spread; it’s about connecting with your food, understanding the simple magic of transforming fresh produce, and creating a truly unique culinary experience. This guide will walk you through crafting a delightful spread that far surpasses anything you’d find on a grocery store shelf, offering a depth of flavor and freshness that is truly unparalleled. Forget artificial flavors and excessive sugars – with a few key ingredients and some passion, you can master this rewarding process and finally make that perfect Blackberry preserves recipe you’ve been craving.
Ingredients & Kitchen Tools
- Fresh Blackberries (4 cups): Choose ripe, plump berries for the best flavor and natural sweetness. Frozen berries can also work if fresh are unavailable, just ensure they are thawed first.
- Granulated Sugar (3-4 cups): Adjust to your sweetness preference and the natural sweetness of your berries. Sugar acts as a preservative and aids in setting.
- Lemon Juice (¼ cup, freshly squeezed): Essential for providing acidity, which helps the pectin in the berries set the jam and brightens the flavor.
- Pectin (1 packet or 1.75 oz liquid pectin): Optional, but highly recommended for a consistent set. Different pectin types have different instructions; follow package directions carefully.
- Large, Heavy-Bottomed Pot or Dutch Oven: Prevents scorching and provides even heat distribution.
- Canning Jars with Lids and Bands (4-5 half-pint jars): Sterilized and ready for your delicious creation.
- Canning Funnel: Makes filling jars clean and efficient.
- Ladle: For transferring hot jam.
- Skimmer or Large Spoon: To remove foam from the jam surface.
- Potato Masher or Fork: For crushing berries.
- Candy Thermometer (optional): Helpful for monitoring temperature for a perfect set.
- Jar Lifter (for canning): Safely handles hot jars.
- Tongs: For handling hot lids.
Prep Time & Cooking Schedule
- Prep Time: 20 minutes (includes washing berries, sterilizing jars)
- Cook Time: 25-40 minutes (may vary based on berry ripeness and desired consistency)
- Resting Time (in jars): 24 hours (for proper sealing and setting)
Plan to dedicate a focused block of time for this recipe. While hands-on time is relatively short, the cooking process requires attention to prevent scorching and ensure a good set. Sterilizing jars can be done concurrently while you prepare the fruit.
Step-by-Step Instructions
1. Prepare Your Jars: Wash jars, lids, and bands thoroughly with hot, soapy water. Sterilize jars by boiling them in a large pot for 10 minutes, or run them through a hot sanitize cycle in your dishwasher. Keep them hot until ready to fill. Set lids and bands aside.
2. Combine Ingredients: In your large, heavy-bottomed pot, combine the fresh or thawed blackberries and lemon juice. If using powdered pectin, sprinkle it over the cold fruit and stir well.
3. Heat and Crush: Bring the blackberry mixture to a boil over medium-high heat, stirring constantly. As the berries soften, use a potato masher or fork to crush them to your desired consistency – some prefer a chunkier Blackberry Jam (Homemade), while others like it smoother.
4. Add Sugar: Once the berries are boiling and crushed, add the granulated sugar. If using liquid pectin, add it after the sugar has dissolved and the mixture has returned to a full rolling boil. Stir continuously to dissolve the sugar.
5. Boil to Set: Bring the jam to a rapid, rolling boil that cannot be stirred down. Boil for 5-10 minutes, stirring occasionally to prevent sticking. For a precise set, you can use a candy thermometer to reach 220°F (104°C) at sea level, or test for thickness by placing a small spoonful on a chilled plate; if it wrinkles when pushed, it’s ready. Skim off any foam that rises to the surface. This critical step ensures your delicious Blackberry preserves recipe achieves the perfect consistency.
6. Fill Jars: Carefully ladle the hot jam into the hot, sterilized jars, leaving ¼ inch headspace. Wipe jar rims clean with a damp cloth. Place lids and screw bands fingertip tight.
7. Process (Optional, for shelf stability): For long-term, shelf-stable storage, process the filled jars in a boiling water canner for 10 minutes. If skipping this step, store jam in the refrigerator and consume within a few weeks.
8. Cool and Check Seals: Remove jars from the canner (if processed) and place them on a towel-lined counter, undisturbed, for 24 hours. You should hear a “pop” as the jars seal. Check seals by pressing on the center of the lid; if it doesn’t flex, it’s sealed.
Nutritional Benefits & Advantages
Blackberries are powerhouse fruits, rich in antioxidants, particularly anthocyanins, which contribute to their deep color and offer anti-inflammatory benefits. They are also an excellent source of Vitamin C, Vitamin K, manganese, and fiber. Enjoying homemade jam means you control the sugar content, avoiding high-fructose corn syrup and artificial additives often found in store-bought varieties. The process also retains more of the fruit’s natural goodness compared to heavily processed options.
Tips Variations & Cooking Advice
- Less Sugar? While sugar aids in setting and preservation, you can reduce it slightly. However, be aware that a lower sugar content may result in a softer set and a shorter shelf life (refrigeration required).
- Spice It Up: A pinch of cinnamon, a tiny grating of fresh ginger, or a few star anise pods (removed before jarring) can add intriguing complexity.
- Herbaceous Twist: A sprig of fresh rosemary or thyme cooked briefly with the berries can offer a surprising savory note.
- Seedless Jam: For a perfectly smooth jam, strain the crushed berries through a fine-mesh sieve or food mill before adding sugar.
- Mixed Berry Jam: Combine blackberries with raspberries or blueberries for a delightful medley of flavors.
Common Mistakes to Avoid
- Not Sterilizing Jars: This is crucial for food safety and preventing spoilage, especially if you plan for shelf-stable jam.
- Under-boiling: Insufficient boiling time means the pectin won’t activate properly, resulting in runny jam.
- Over-boiling: Boiling for too long can lead to a harsh flavor and an overly stiff, jello-like consistency.
- Not Skimming Foam: While harmless, foam can affect the appearance of your jam.
- Filling Jars Improperly: Too little headspace can prevent a proper seal, while too much can lead to discoloration.
Storage & Meal Prep Tips
Unopened, properly processed and sealed jars of Blackberry Jam (Homemade) can be stored in a cool, dark pantry for up to one year. Once opened, refrigerate and consume within 2-3 weeks. Unprocessed jam or partial jars should always be refrigerated and eaten within a few weeks. Jam can also be frozen for longer storage in freezer-safe containers, though the texture might be slightly softer when thawed.
Conclusion
There’s a profound satisfaction that comes from opening a jar of homemade jam, knowing you painstakingly crafted it yourself. This Blackberry Jam (Homemade) isn’t just a spread; it’s a jarred memory of summer, a testament to simple, honest ingredients, and a truly authentic Blackberry preserves recipe. We encourage you to embark on this delicious journey, fill your pantry with this exquisite homemade goodness, and share your creations with loved ones. What unique twists will you bring to your next batch?
FAQs
Q: Can I use sugar substitutes for this jam?
A: Sugar substitutes can alter the texture and setting properties. If you wish to use them, look for pectin specifically designed for low-sugar or no-sugar jams and follow its instructions carefully.
Q: Why isn’t my jam setting?
A: Common reasons include not enough pectin (especially if using low-pectin fruits), not enough acid (lemon juice is vital!), or not boiling the jam long enough to reach proper setting temperature. Re-boiling with added pectin and lemon juice can sometimes fix it.
Q: Do I really need to “process” the jars?
A: Processing in a boiling water canner creates a vacuum seal, making the jam shelf-stable for long-term storage. If you skip this step, the jam is not shelf-stable and must be refrigerated.
Q: How do I know if my jar sealed properly?
A: After 24 hours, the center of the lid should be concave (curved inwards) and should not flex when pressed. If it does flex, the jar did not seal and should be refrigerated.
Q: Can I make a smaller batch?
A: Yes, you can halve the recipe, but ensure your pot is appropriately sized to allow for a good boil without scorching.