Unlock the Secret to Creamy Perfection: Your Guide to Homemade Vanilla Ice Cream
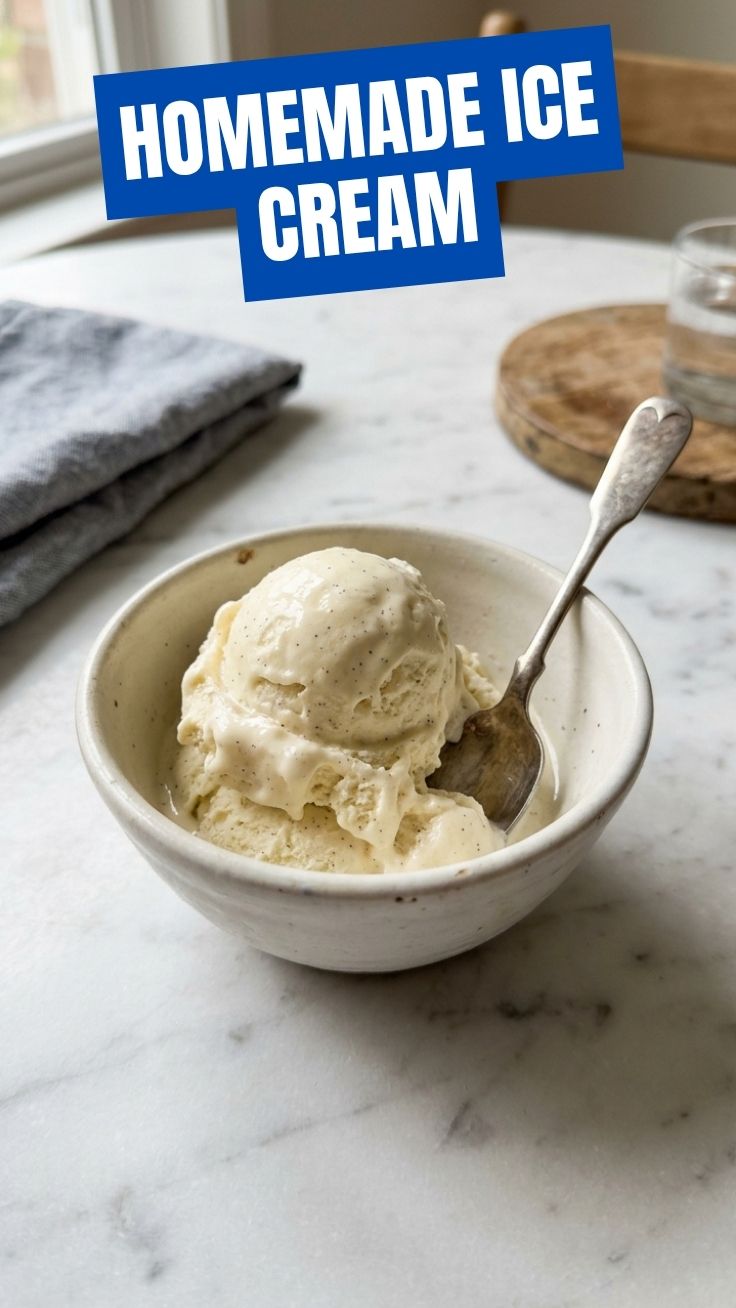
Have you ever savored that first spoonful of intensely creamy, perfectly sweet ice cream and thought, “I wish I could make this at home?” The good news is, you absolutely can! Preparing your own Homemade Ice Cream (Vanilla) isn’t just about crafting a delicious dessert; it’s about controlling the quality of your ingredients, customizing flavors, and experiencing the pure joy of a truly artisanal treat. Forget the artificial additives and bland flavors of store-bought versions. This guide will walk you through creating a luscious vanilla ice cream that will elevate your dessert game and impress everyone who tastes it. We’ll delve into the secrets behind rich, smooth textures, ensuring your homemade creation rivals any scoop shop. Whether you’re a seasoned chef or a kitchen novice, mastering Ice Cream Recipes is a rewarding culinary adventure.
Ingredients & Kitchen Tools
- 2 cups heavy cream: The foundation for richness and body. Choose full-fat for the best results.
- 1 cup whole milk: Balances the creaminess and contributes to a smooth texture.
- ¾ cup granulated sugar: Sweetens and helps prevent ice crystal formation.
- 1 vanilla bean, split and scraped: The star of the show! Provides authentic, deep vanilla flavor. Alternatively, 2 teaspoons pure vanilla extract for a more budget-friendly option.
- Pinch of salt: Enhances all the other flavors.
- 4 large egg yolks: The secret to an ultra-creamy, custard-like base (French-style ice cream).
- Large saucepan: For gently heating the custard base.
- Whisk: For combining ingredients and tempering egg yolks.
- Fine-mesh sieve: To strain out any cooked egg bits or vanilla bean remnants for a silky smooth texture.
- Heatproof bowl: To hold the strained custard while it cools.
- Ice bath: A larger bowl filled with ice and a little water, used to quickly cool the custard.
- Ice cream maker: Essential for churning the mixture into smooth ice cream.
- Airtight freezer-safe container: For storing your finished ice cream.
Prep Time & Cooking Schedule
- Prep time: 20 minutes (active cooking and assembling ingredients)
- Chill time: 4 hours to overnight (crucial for custard to cool completely and develop flavor)
- Churning time: 20-30 minutes (depending on your ice cream maker model)
- Freezing time: 2-4 hours (for ice cream to firm up to a scoopable consistency)
This recipe requires a good amount of advance planning due to the chilling and freezing times. Start the day before you want to serve it, allowing ample time for chilling the base overnight for optimal results.
Step-by-Step Instructions
1. Prepare the Vanilla Infusion: In your large saucepan, combine the heavy cream, whole milk, sugar, vanilla bean seeds (scraped from the bean), the vanilla pod itself, and a pinch of salt. Heat over medium-low heat, stirring occasionally, until the sugar dissolves and the mixture is warm but not boiling (small bubbles may form around the edges). Remove from heat.
2. Temper the Egg Yolks: In a separate heatproof bowl, whisk the egg yolks until they are light yellow and slightly thickened. Slowly, while continuously whisking the yolks, ladle about half a cup of the warm cream mixture into the egg yolks. This “tempers” the yolks, gradually raising their temperature to prevent them from scrambling.
3. Combine & Cook the Custard: Pour the tempered egg yolk mixture back into the saucepan with the remaining cream mixture. Return the saucepan to medium-low heat. Cook, stirring constantly with a wooden spoon or spatula, until the mixture thickens enough to coat the back of the spoon (the custard should reach about 175°F-180°F or 80°C-82°C). Do not boil!
4. Strain and Chill: Immediately remove the custard from the heat. Strain the custard through a fine-mesh sieve into your clean heatproof bowl. This removes the vanilla bean pod and any potential bits of cooked egg, ensuring a perfectly smooth texture. Place the bowl in an ice bath, stirring occasionally, until the custard cools down. Once cooled, cover the bowl with plastic wrap, pressing it directly onto the surface of the custard to prevent a skin from forming. Refrigerate for at least 4 hours, or preferably overnight, until thoroughly chilled. This chilling process is vital for achieving the best consistency for your Homemade Ice Cream (Vanilla).
5. Churn the Ice Cream: Once the custard is completely chilled, remove the vanilla bean pod (if still present). Pour the custard into your ice cream maker and churn according to the manufacturer’s instructions, typically 20-30 minutes, until it reaches the consistency of soft-serve ice cream. This is where the magic happens for all Ice Cream Recipes.
6. Freeze to Firm: Transfer the soft ice cream to your airtight freezer-safe container. Press plastic wrap directly onto the surface of the ice cream, then cover tightly with a lid. Freeze for at least 2-4 hours, or until firm enough to scoop.
Nutritional Benefits & Advantages
Making your own vanilla ice cream allows you to control sugar levels and avoid artificial flavors, colors, and preservatives often found in commercial brands. Using whole ingredients like fresh cream, milk, and eggs provides essential nutrients such as calcium, protein, and vitamins A and D. The presence of egg yolks also contributes to a richer, more satisfying dessert, meaning you might be content with smaller portions. It’s a comforting treat that, when enjoyed in moderation, can be part of a balanced diet.
Tips, Variations & Cooking Advice
- For a no-churn version: Omit egg yolks. Whip 2 cups heavy cream to stiff peaks. In a separate bowl, combine 1 can sweetened condensed milk with 1 tablespoon vanilla extract. Gently fold the whipped cream into the condensed milk mixture. Freeze for 6 hours.
- Flavor variations: Add chocolate chips, cookie pieces, fruit purees (swirled in after churning), a pinch of cinnamon, or a splash of bourbon or coffee liqueur for adult-friendly twists.
- Dairy-free option: Substitute full-fat coconut milk (canned, not from a carton) for heavy cream and whole milk. Use a cornstarch slurry to thicken if needed, and omit egg yolks. The texture will be slightly different but still delicious.
- Perfect scoop: If your ice cream is too hard, let it sit at room temperature for 5-10 minutes before scooping.
Common Mistakes to Avoid
- Not chilling the base long enough: This leads to grainy, icy ice cream because the fats don’t emulsify properly during churning. Patience is key!
- Overcooking the custard: If you boil the custard or cook it too long, the eggs will scramble, resulting in a lumpy texture. Gentle heat and constant stirring are crucial.
- Overfilling the ice cream maker: The mixture expands as it churns, so leave some space according to your machine’s instructions.
- Using low-fat dairy: While tempting, low-fat milk and cream will produce an icier, less flavorful result. Stick to full-fat for that classic creamy texture.
Storage & Meal Prep Tips
Your Homemade Ice Cream (Vanilla) will stay fresh in an airtight freezer-safe container for up to 2-3 weeks. Beyond that, ice crystals may start to form, affecting the texture. To prevent freezer burn and flavor absorption from other foods, always press plastic wrap directly onto the surface of the ice cream before securing the lid. For meal prep, consider making a large batch of the custard base and dividing it for future churning sessions. You can store the unchurned custard in the refrigerator for up to 3 days.
Conclusion
Crafting your own Homemade Ice Cream (Vanilla) is a truly rewarding experience, yielding a dessert that surpasses store-bought varieties in both flavor and texture. By following these detailed steps, you can create a velvety, rich, and utterly delicious vanilla ice cream that will become a staple in your home. Experiment with different additions and make this recipe your own, joining the ranks of home cooks who’ve mastered delightful Ice Cream Recipes. Don’t be shy – dive in, churn up some magic, and share your delightful creations with friends and family!
FAQs
Q1: Why do I need to temper the egg yolks?
A1: Tempering gradually warms the egg yolks before adding them to the hot cream mixture, preventing them from scrambling and ensuring a smooth, custard-like base.
Q2: Can I omit the vanilla bean and just use vanilla extract?
A2: Yes, you can substitute 2 teaspoons of good quality pure vanilla extract for the vanilla bean. Add the extract after the custard has been strained and is cooling down, as heat can diminish its flavor.
Q3: My ice cream is icy and not creamy. What went wrong?
A3: This is often due to the base not being chilled long enough, too little fat in the dairy, or an issue with your ice cream maker’s churning process. Ensure your base is very cold and your ice cream maker bowl is fully frozen.
Q4: How long does it take for the ice cream to firm up in the freezer?
A4: Typically, it takes 2-4 hours for the ice cream to reach a scoopable consistency. If your freezer is very cold, it might be quicker, or if it’s packed full, it might take a bit longer.
Q5: Can I make this recipe without an ice cream maker?
A5: While possible, it’s more challenging. You would need to freeze the mixture in a shallow pan and vigorously whisk or beat it every 30-60 minutes for several hours to break up ice crystals and achieve a creamy texture. However, for the best results, an ice cream maker is highly recommended.