Craving the Perfect Crisp? Unlock the Secret to Irresistible Homemade Waffles!
Have you ever savored the airy crispness of a perfectly golden waffle, only to wish you could recreate that magic in your own kitchen? The good news is, you absolutely can! Preparing delectable Waffles (Belgian Style) at home isn’t just about enjoying a delicious breakfast; it’s about crafting an experience, a moment of culinary joy that permeates your home with warmth and tantalizing aromas. Forget pre-packaged mixes and embrace the satisfaction of knowing exactly what goes into your food. We’re embarking on a journey to master classic Belgian waffles, and for those with a sweet tooth and a desire for something truly decadent, we’ll even touch upon the wonders of Liege waffles. Get ready to elevate your breakfast game!
Ingredients & Kitchen Tools
Here’s what you’ll need to create your culinary masterpiece:
- All-Purpose Flour (2 cups): The backbone of our waffles, providing structure. Sifting ensures a lighter texture.
- Granulated Sugar (2 tablespoons): For a touch of sweetness and browning.
- Baking Powder (1 tablespoon): Our leavening agent, responsible for the fluffy, airy interior.
- Salt (1/2 teaspoon): Enhances all the other flavors.
- Large Eggs (2, separated): Yolks add richness, whites provide lift and structure when beaten.
- Whole Milk (1 ¾ cups): Hydrates the batter and contributes to a tender crumb.
- Unsalted Butter (½ cup, melted and cooled): Adds richness and contributes to the golden crispness.
- Vanilla Extract (1 teaspoon): Aromatic depth and classic waffle flavor.
- Waffle Iron: Essential for cooking the waffles. A deep-pocketed iron is ideal for Belgian style.
- Mixing Bowls (2-3): For separating egg whites and mixing batter components.
- Whisk: For combining dry ingredients and beating egg whites.
- Rubber Spatula: For folding and scraping.
- Ladle or Measuring Cup: For pouring batter onto the waffle iron.
- Optional Substitutions: Almond milk or soy milk for whole milk; coconut oil for butter (note flavor change); gluten-free flour blend for all-purpose flour (adjust liquid as needed).
Prep Time & Cooking Schedule
- Prep Time: 15 minutes
- Cook Time: 3-5 minutes per waffle (depending on your waffle iron)
- Resting Time: 10 minutes (for the batter, allowing flour to fully hydrate)
Allowing the batter to rest briefly helps in developing a more tender crumb and ensures optimal leavening. This quick prep and cook time make these waffles a fantastic option for a leisurely weekend breakfast or even a special weeknight treat.
Step-by-Step Instructions
1. Whisk Dry Ingredients: In a large bowl, combine the all-purpose flour, granulated sugar, baking powder, and salt. Whisk thoroughly to ensure even distribution of the leavening agent.
2. Combine Wet Ingredients (Except Egg Whites): In a separate bowl, whisk together the egg yolks, whole milk, melted and cooled butter, and vanilla extract until well combined and smooth.
3. Combine Wet and Dry: Pour the wet mixture into the dry ingredients. Stir gently with a whisk or rubber spatula until just combined. A few lumps are perfectly fine; overmixing will develop gluten and result in tough waffles.
4. Beat Egg Whites: In a clean, dry bowl, beat the egg whites with a whisk or electric mixer until stiff peaks form. This aerates the batter and contributes significantly to the light, fluffy texture that defines perfect Waffles (Belgian Style).
5. Fold in Egg Whites: Gently fold the beaten egg whites into the waffle batter in three additions. Use a rubber spatula and a cutting motion, being careful not to deflate the air.
6. Rest the Batter: Let the batter rest for 10 minutes. This allows the flour to fully hydrate and the baking powder to start working its magic.
7. Preheat Waffle Iron: While the batter rests, preheat your waffle iron according to the manufacturer’s instructions. Lightly grease if necessary.
8. Cook Waffles: Pour about ½ cup of batter (or as directed by your waffle iron) onto the hot waffle iron. Close the lid and cook for 3-5 minutes, or until golden brown and crisp. The steam will usually subside when the waffle is done.
9. Serve Immediately: Transfer cooked waffles to a wire rack to prevent them from becoming soggy. Serve immediately with your favorite toppings. If you’re a fan of something richer and sweeter, often featuring pearl sugar, keep your eye out for recipes for Liege waffles – a delightful, denser alternative for a truly indulgent treat.
Nutritional Benefits & Advantages
These homemade waffles offer a wholesome alternative to many processed breakfast options. Made with fresh eggs, milk, and flour, they provide protein, calcium, and essential carbohydrates for sustained energy. While they contain some sugar and fat, controlling portion sizes and topping choices allows for a balanced meal. Pairing them with fresh fruit, yogurt, or a dollop of whipped cream can enhance their nutritional profile, adding vitamins, fiber, and probiotics.
Tips, Variations & Cooking Advice
- Crispier Waffles: For extra crispness, cook for an additional 30 seconds to 1 minute after they’re golden.
- Flavor Boost: Add a pinch of cinnamon or nutmeg to the dry ingredients for a warm spice note. A tablespoon of cocoa powder can create chocolate waffles.
- Buttermilk Waffles: Substitute whole milk with buttermilk for a tangier flavor and even more tender crumb. Reduce baking powder to 2 teaspoons if using buttermilk, as it reacts with the acidity.
- Sourdough Waffles: For an overnight option, consider adapting this recipe with a sourdough discard for depth of flavor and improved digestibility.
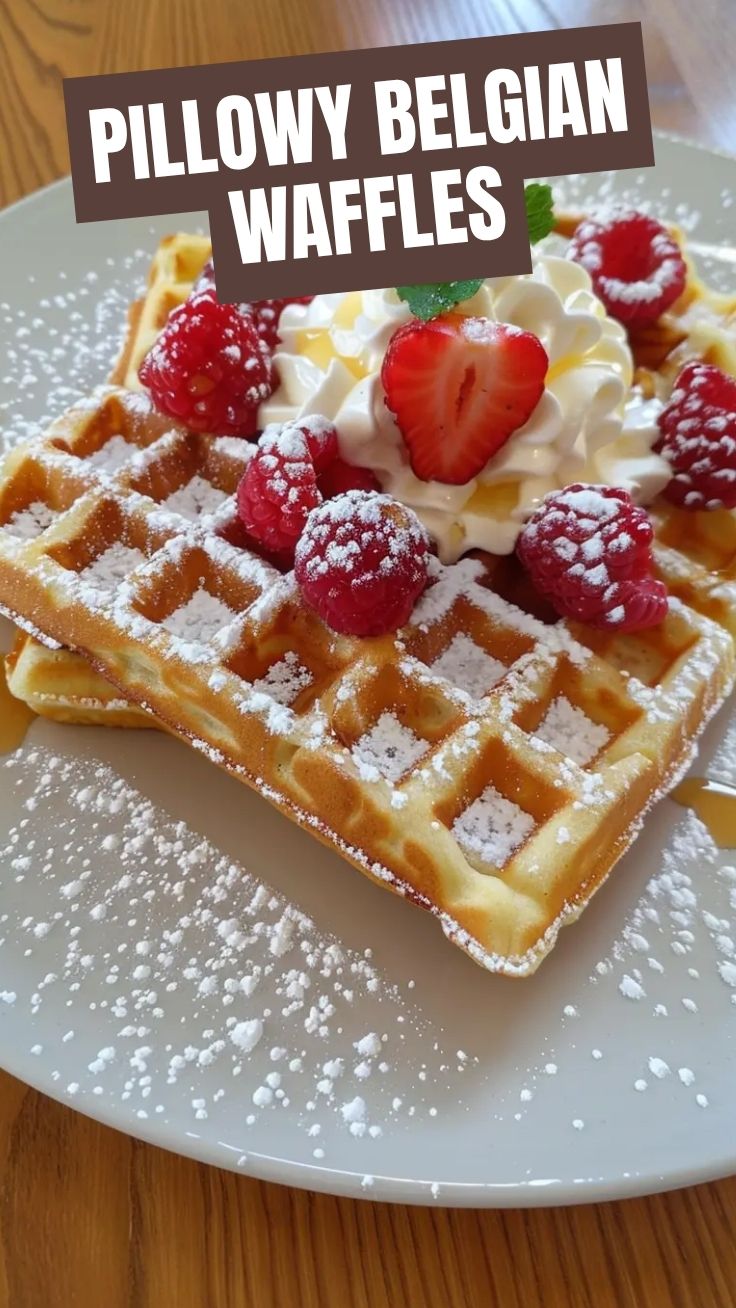
- Sweet Toppings: Classic maple syrup, fresh berries, sliced bananas, powdered sugar, chocolate sauce, or a scoop of ice cream.
- Savory Waffles: Omit sugar, add herbs like chives or dill, and serve with fried chicken, bacon, or a poached egg.
Common Mistakes to Avoid
- Overmixing the Batter: This develops gluten, leading to tough, chewy waffles instead of light and airy ones. Mix until just combined.
- Not Separating Eggs: While some recipes skip this, separating and beating egg whites is crucial for the signature light texture of Belgian waffles.
- Opening Waffle Iron Too Soon: Resist the urge! Opening the iron prematurely can cause the waffle to tear or not fully cook, resulting in a soggy center.
- Not Greasing the Iron: Even non-stick irons can benefit from a light greasing, especially after initial use, to prevent sticking.
- Piling Cooked Waffles: Placing hot waffles directly on top of each other will steam them, making them soggy. Place them on a wire rack to maintain crispness.
Storage & Meal Prep Tips
Leftover waffles can be stored in an airtight container in the refrigerator for up to 3-4 days. For longer storage, freeze cooled waffles in a single layer on a baking sheet until solid, then transfer them to a freezer-safe bag or container. They will last for up to 2-3 months. Reheat frozen waffles directly in a toaster or toaster oven until crisp and warmed through, or in a preheated oven at 350°F (175°C) for about 5-10 minutes. This method helps maintain their texture much better than a microwave.
Conclusion
Mastering homemade Waffles (Belgian Style) is a satisfying culinary achievement that promises endless delicious rewards. From the initial whisking of ingredients to the triumphant moment you pull a perfectly golden-brown waffle from the iron, the process is as enjoyable as the outcome. Remember, the key to those irresistible airy pockets and crispy exteriors lies in a light touch with the batter and the magic of beaten egg whites. Whether you’re crafting a relaxed weekend breakfast or exploring the richer, chewier delights of a true Liege waffles recipe, the joy of fresh, homemade waffles is unparalleled. Give this recipe a try, share your delightful creations, and embark on your own waffle-making adventure! We’d love to hear about your favorite toppings and any variations you discover.
FAQs
Q1: Can I make the batter ahead of time?
A1: While you can mix the dry ingredients ahead, it’s best to combine the wet and dry ingredients and fold in the egg whites just before cooking for the lightest, fluffiest results. The leavening agents start reacting once wet, and the air from the egg whites can deflate over time.
Q2: My waffles aren’t crispy; what went wrong?
A2: Common culprits include overmixing the batter (leading to tough, not crispy), not cooking long enough, or immediately stacking hot waffles. Ensure your waffle iron is adequately hot and cook until deeply golden. Use a wire rack for cooling.
Q3: Can I use different flours?
A3: Yes, you can experiment with gluten-free flour blends. Be aware that the liquid absorption might differ, so you may need to adjust the milk slightly. Whole wheat flour can also be used, but it will result in a denser waffle.
Q4: How do I know my waffle iron is hot enough?
A4: Most waffle irons have an indicator light that signals when it’s preheated and ready. If not, a good test is to drop a few drops of water on the surface; if it sizzles and evaporates quickly, it’s ready.
Q5: What are “pearl sugar” waffles, and how are they different?
A5: Waffles made with pearl sugar are typically Liege waffles, which are a denser, sweeter, and chewier type of waffle. Pearl sugar is mixed into the dough and caramelizes while cooking, creating delicious pockets of sweetness. This recipe focuses on the lighter, airier Belgian-style waffle.