Unveiling the Ultimate Summer Berry Trifle: Your Guide to a Breathtaking Dessert
Tired of the same old predictable desserts? Imagine a show-stopping creation, layered with vibrant berries, fluffy cream, and delicate cake, tasting as incredible as it looks. Today, we’re diving deep into the art of crafting the Summer Berry Trifle, a true masterpiece that embodies the essence of summer. Preparing this magnificent Dessert Recipe at home isn’t just about saving money; it’s about infusing love and personal touch into every spoonful, creating memories with family and friends, and showcasing your culinary prowess. This guide will walk you through every step, ensuring your homemade trifle is a resounding success, making it your go-to for delightful summer treats.
Ingredients & Kitchen Tools
Crafting the perfect Summer Berry Trifle requires a careful selection of fresh ingredients and a few essential tools.
- Fresh Mixed Berries (2 lbs): Strawberries, blueberries, raspberries – a vibrant mix for flavor and color. Wash and gently pat dry.
- Angel Food Cake (1 large, pre-baked): Store-bought or homemade, cut into 1-inch cubes. Provides a light, airy base.
- Heavy Cream (3 cups, cold): Essential for whipping into a light, airy cream.
- Granulated Sugar (½ cup, or to taste): Sweetens the whipped cream. Adjust based on berry sweetness.
- Vanilla Extract (1 teaspoon): Enhances the flavor of the cream.
- Lemon Zest (1 tablespoon): Adds a bright, citrusy note to the cream. Optional, but highly recommended.
- Berry Liqueur or Orange Juice (½ cup): For moistening the cake. Choose liqueur for an adult version, orange juice for family-friendly.
- Large Trifle Bowl (3-4 quart): The star vessel for showcasing your beautiful layers. Alternatively, use individual parfait glasses for single servings.
- Electric Mixer (stand or hand-held): For whipping cream efficiently.
- Rubber Spatula: For gentle folding and spreading.
- Sharp Knife: For cutting cake and berries.
- Cutting Board: A stable surface for prep.
Prep Time & Cooking Schedule
This recipe is all about assembly and chill time, making it perfect for preparing ahead.
- Prep Time: 30 minutes
- Assembly Time: 20 minutes
- Chilling Time: Minimum 4 hours (preferably overnight)
Begin by washing and slicing your berries. If making homemade angel food cake, factor in extra time. The bulk of the work is in the assembly and the waiting! Plan to assemble the trifle at least half a day before serving to allow the flavors to meld beautifully and the layers to set. This makes it an ideal make-ahead Dessert Recipe for gatherings.
Step-by-Step Instructions
Let’s build this stunning Summer Berry Trifle layer by delicious layer.
1. Prepare the Berries: Gently wash your mixed berries. Slice strawberries into uniform pieces. Leave blueberries and raspberries whole.
2. Cut the Cake: Cut your angel food cake into 1-inch cubes.
3. Whip the Cream: In a large bowl, combine the cold heavy cream, granulated sugar, vanilla extract, and lemon zest (if using). Using an electric mixer, beat on medium-high speed until stiff peaks form. Be careful not to overbeat, as it can turn grainy.
4. Moisten the Cake: Lightly drizzle the cake cubes with your chosen berry liqueur or orange juice. Don’t over-saturate; just a hint of moisture is key.
5. First Layer – Cake: Place about one-third of the moistened cake cubes into the bottom of your trifle bowl, forming an even layer.
6. Second Layer – Berries: Spread about one-third of the prepared mixed berries over the cake layer.
7. Third Layer – Cream: Gently spread about one-third of the whipped cream over the berries. Ensure an even coating.
8. Repeat Layers: Continue layering – cake, then berries, then cream – two more times, ending with a generous top layer of whipped cream.
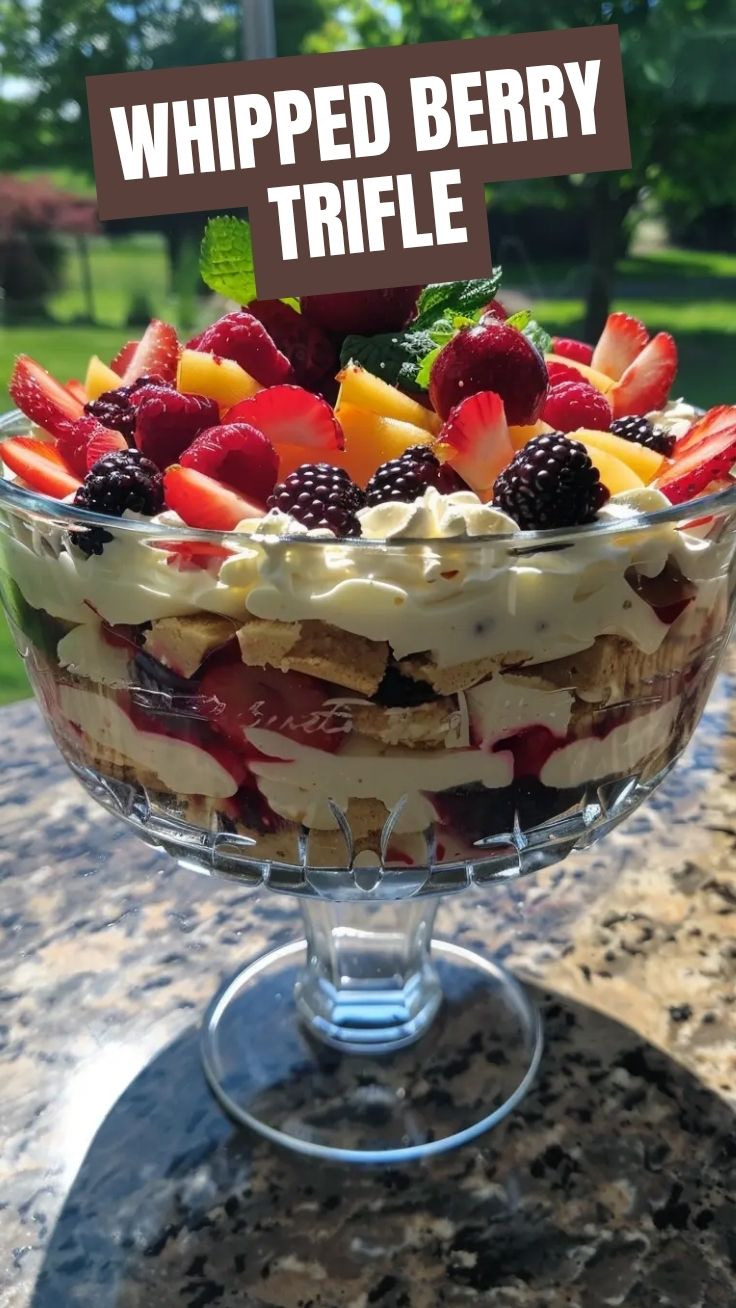
9. Garnish: Arrange a beautiful display of remaining fresh berries on top of the whipped cream. You can also add a sprig of fresh mint for extra flair.
10. Chill: Cover the trifle bowl loosely with plastic wrap and refrigerate for a minimum of 4 hours, or ideally, overnight. This allows the flavors to meld and the layers to set, making this Dessert Recipe truly irresistible.
Nutritional Benefits & Advantages
Beyond its stunning appearance, the Summer Berry Trifle offers delightful benefits. Berries are powerhouse antioxidants, packed with vitamins (especially Vitamin C) and fiber, supporting immune health and digestion. Angel food cake is naturally low in fat compared to other cakes, and using fresh, vibrant fruits adds natural sweetness, reducing the need for excessive added sugars. This dessert, when enjoyed in moderation, provides a refreshing and relatively lighter option compared to many richer treats.
Tips, Variations & Cooking Advice
- Flavor Boost: For an extra punch, macerate some of the berries in a tablespoon of sugar and a squeeze of lemon juice for 15-30 minutes before layering.
- Cake Alternatives: Try pound cake, sponge cake, or even ladyfingers for different textures.
- Creamy Variations: Substitute mascarpone cheese or a cream cheese mixture for some of the whipped cream for a richer, tangier element.
- Seasonal Fruits: While berries are classic, feel free to experiment with other seasonal fruits like peaches, nectarines, or even kiwi.
- Individual Servings: Assemble the trifle in individual clear glasses or Mason jars for elegant single portions.
Common Mistakes to Avoid
- Over-whipping the Cream: This results in grainy, curdled cream. Stop as soon as stiff peaks form.
- Over-saturating the Cake: Too much liquid makes the cake soggy. A light drizzle is all you need.
- Not Chilling Long Enough: Rushing the chilling process leads to a runny, un-set trifle. Patience is key!
- Using Frozen Berries Incorrectly: If using frozen, thaw them completely and drain any excess liquid to prevent a watery trifle.
Storage & Meal Prep Tips
The Summer Berry Trifle is best served within 2-3 days of preparation. Store it covered in the refrigerator. After day 3, the cake might begin to get too soft. Unfortunately, trifles do not freeze well due to the whipped cream and fresh fruit. For meal prepping, you can prepare the whipped cream and slice the cakes/berries a day ahead, storing them separately in airtight containers, and then assemble closer to serving time.
Conclusion
Creating a homemade Summer Berry Trifle is an incredibly rewarding experience, resulting in a dessert that’s as delightful to look at as it is to eat. By following these detailed steps, you’re not just making a dish; you’re crafting a memorable centerpiece for any gathering. This guide has equipped you with all the knowledge needed to perfect this vibrant Dessert Recipe, making it a staple in your summer entertaining repertoire. We encourage you to try this recipe, share your beautiful creations, and revel in the joy of homemade goodness!
FAQs
Q1: Can I make this trifle gluten-free?
A1: Absolutely! Simply substitute the conventional angel food cake with a gluten-free version or use gluten-free ladyfingers.
Q2: How far in advance can I make this trifle?
A2: For best results, assemble the trifle 12-24 hours before serving to allow flavors to meld and layers to set perfectly.
Q3: What if I don’t have a trifle bowl?
A3: A large, clear glass bowl or even individual parfait glasses can be used to showcase the beautiful layers.
Q4: Can I use different fruits?
A4: Yes! While berries are traditional, feel free to experiment with other soft, seasonal fruits like sliced peaches, kiwi, or even mango for a tropical twist in your Dessert Recipe. Just ensure they aren’t overly watery.