Unlock the Secret to the Best Banana Pudding: Your Ultimate Homemade Guide!
Ever wondered what makes a truly unforgettable banana pudding? Is it the creamy vanilla custard, the perfectly ripened bananas, or the delightful crunch of vanilla wafers? Today, we’re diving deep into the art of crafting a homemade dessert that will tantalize your taste buds and earn you rave reviews. Forget store-bought shortcuts; preparing your own Southern Banana Pudding at home offers an unparalleled experience of fresh flavors and heartwarming comfort. This guide isn’t just about following directions; it’s about mastering a culinary tradition, ensuring every spoonful brings pure joy. We’ll also touch upon the timeless appeal of Classic Banana Pudding, a beloved dessert that transcends generations, offering a comforting end to any meal.
Ingredients & Kitchen Tools
To embark on your banana pudding journey, gather these essential components:
Ingredients:
- Ripe Bananas (4-5 medium): Look for yellow bananas with a few brown spots for optimal sweetness and aroma.
- Vanilla Wafers (12 oz box): The classic choice for a delicate crunch and buttery flavor.
- Sweetened Condensed Milk (1 can, 14 oz): Adds rich sweetness and silky texture to the custard.
- Milk (2 cups, whole or 2%): Forms the base of our luscious custard.
- Egg Yolks (4 large): Provides richness, color, and helps thicken the custard.
- Granulated Sugar (½ cup): Balances the sweetness and enhances flavor.
- Cornstarch (¼ cup): A crucial thickener for a smooth, velvety custard.
- Vanilla Extract (2 tsp): Essential for authentic flavor.
- Whipped Cream/Meringue Topping (Optional): For an elegant finish. (Heavy cream, powdered sugar, vanilla extract OR egg whites, sugar for meringue).
Kitchen Tools:
- 9×13 inch baking dish: Ideal for assembling and serving.
- Medium saucepan: For preparing the custard.
- Whisk: Essential for smoothly combining ingredients and preventing lumps.
- Rubber spatula: For scraping bowls and folding.
- Mixing bowls (2-3): For separating eggs, combining wet/dry ingredients.
- Measuring cups and spoons: For precise ingredient amounts.
- Electric mixer (optional): For whipping cream or meringue.
Prep Time & Cooking Schedule
- Prep Time: 25 minutes (includes slicing bananas, preparing custard base)
- Cook Time: 15-20 minutes (custard preparation)
- Chilling Time: Minimum 4 hours, ideally overnight. This allows the flavors to meld beautifully and the wafers to soften to the perfect consistency. Plan accordingly to ensure your pudding is perfectly set and chilled before serving.
Step-by-Step Instructions
1. Prepare the Custard Base: In a medium saucepan, whisk together the egg yolks, granulated sugar, cornstarch, and a splash of milk until smooth. Gradually whisk in the remaining milk and the sweetened condensed milk.
2. Cook the Custard: Place the saucepan over medium heat, whisking constantly. Continue to cook, stirring frequently, for 8-12 minutes, or until the mixture thickens significantly and coats the back of a spoon. Do not boil. Remove from heat and stir in the vanilla extract.
3. Cool the Custard: Transfer the hot custard to a clean bowl, cover the surface directly with plastic wrap (to prevent a skin from forming), and allow it to cool slightly at room temperature for about 30 minutes, then refrigerate for at least an hour until completely cool. This cooling step is crucial for achieving the perfect texture for your Southern Banana Pudding.
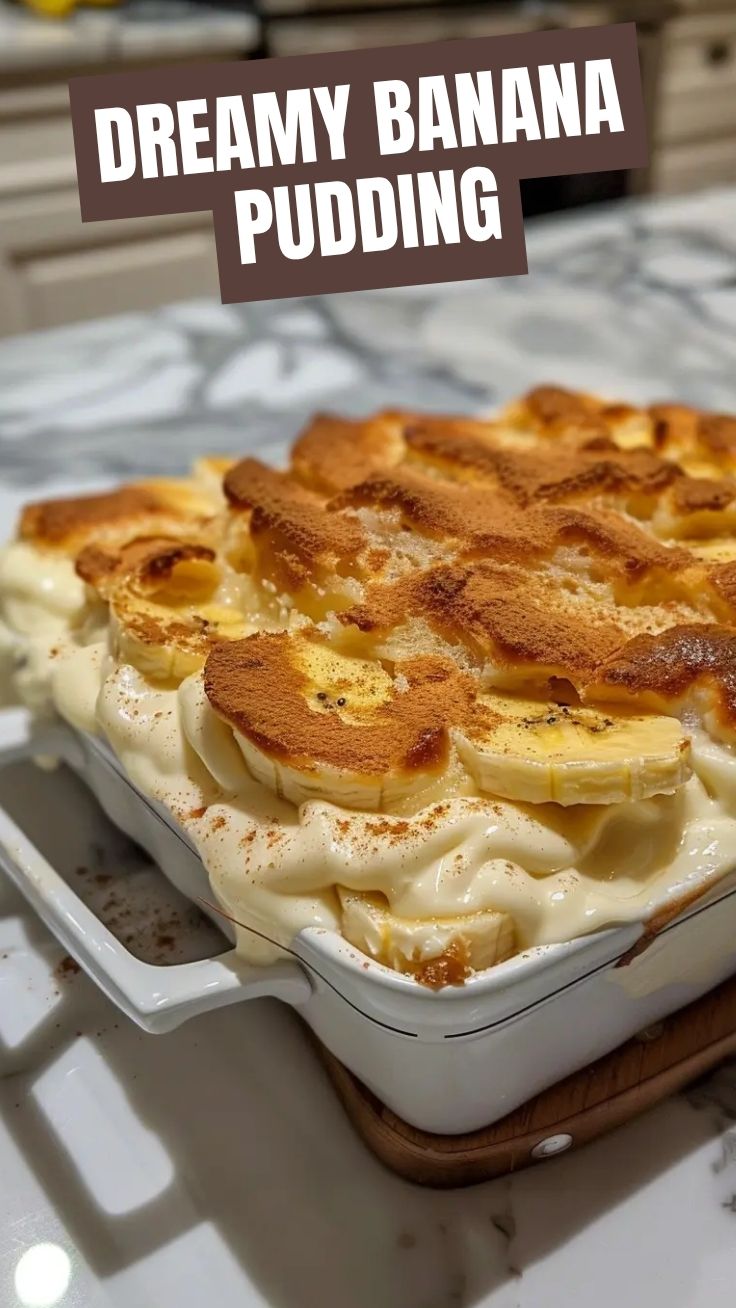
4. Assemble the Pudding: In your 9×13 inch baking dish, spread a thin layer of cooled custard on the bottom. Arrange a single layer of vanilla wafers over the custard. Top with a layer of sliced bananas. Repeat these layers (custard, wafers, bananas) until all ingredients are used, finishing with a generous layer of custard.
5. Chill and Serve: Cover the dish loosely with plastic wrap and refrigerate for at least 4 hours, or preferably overnight. The longer it chills, the better the flavors will develop and the wafers will soften, creating the quintessential Classic Banana Pudding experience.
6. Optional Topping: Just before serving, top with freshly whipped cream or a baked meringue, if desired.
Nutritional Benefits & Advantages
Bananas are a fantastic source of potassium, vitamin B6, and vitamin C, contributing to heart health and providing a quick energy boost. While this is a dessert, the inclusion of fresh fruit offers some dietary fiber. Making it at home gives you control over the quality of ingredients and allows you to avoid artificial flavors and preservatives often found in store-bought versions.
Tips, Variations & Cooking Advice
- Flavor Boost: Add a pinch of cinnamon or nutmeg to the custard for a warm, spiced note.
- Lemon Zest: A small amount of lemon zest in the custard can brighten the flavors and prevent banana browning.
- Cookie Alternatives: Experiment with shortbread cookies or graham crackers instead of vanilla wafers for a different texture.
- Dairy-Free: Substitute regular milk with a plant-based milk (almond, oat) and use a dairy-free sweetened condensed milk alternative. Ensure your wafers are also dairy-free.
- Gluten-Free: Use gluten-free vanilla wafers to accommodate dietary needs.
- Individual Servings: Assemble the pudding in individual ramekins or mason jars for a charming presentation.
Common Mistakes to Avoid
- Overcooking the Custard: This can lead to a lumpy, curdled texture. Remove the custard from heat as soon as it thickens sufficiently.
- Not Chilling Long Enough: Patience is key! Insufficient chilling results in a runny pudding and crunchy wafers.
- Using Underripe Bananas: Green bananas lack the sweetness and soft texture needed. Always use ripe, but not overly mushy, bananas.
- Not Covering Custard While Cooling: This creates a thick skin on top of the custard, which can be unappealing.
Storage & Meal Prep Tips
Store leftover banana pudding covered tightly with plastic wrap in the refrigerator for up to 3-4 days. While it can be frozen, the texture of the bananas may change slightly, becoming softer and a bit watery upon thawing. If freezing, consume within 2-3 months for best quality. For meal prep, assemble in individual jars for easy grab-and-go portions. Reheating is not recommended as it changes the texture of the wafers and bananas.
Conclusion
Crafting a homemade Southern Banana Pudding is more than just following a recipe; it’s an act of love and a celebration of classic American comfort food. By mastering the art of the perfect custard and understanding the nuances of layering, you can create a dessert that brings smiles to every face. We hope this comprehensive guide inspires you to whip up your own batch and experience the unparalleled delight of this sweet treat. Whether you prefer the traditional richness of Southern style or the simple elegance of a Classic Banana Pudding, the joy of a homemade dessert truly is unmatched. Share your creations with us, and let’s keep these cherished recipes alive!
FAQs
Q1: Can I make this banana pudding ahead of time for a party?
A1: Absolutely! In fact, banana pudding tastes best when allowed to chill overnight. This gives the wafers time to soften and all the flavors to meld beautifully.
Q2: My custard turned out lumpy. What went wrong?
A2: Lumpy custard often occurs from not whisking constantly enough while cooking or from cooking it at too high a heat. Ensure you’re whisking continuously over medium heat. Straining the custard through a fine-mesh sieve after cooking can help smooth out minor lumps.
Q3: How do I prevent the bananas from browning?
A3: While some browning is natural, a little lemon juice (e.g., ½ teaspoon per banana) tossed gently with the sliced bananas can significantly slow down oxidation. You can also cover the banana layers more quickly with custard.
Q4: Can I use instant pudding mix for a quicker version?
A4: While you can use instant pudding mix for a faster assembly, it won’t replicate the rich, homemade flavor and velvety texture of a custard made from scratch. For the authentic experience, we highly recommend making the custard.
Q5: What’s the best way to incorporate meringue?
A5: Prepare a traditional meringue (whipped egg whites and sugar). Spread it on top of the assembled pudding, ensuring it touches the edges of the dish to seal it. Then, bake at 350°F (175°C) for 10-15 minutes, or until the meringue peaks are golden brown.