Craving Restaurant-Quality Sesame Chicken? Here’s How to Master It at Home!
Are you tired of expensive Chinese Takeout that leaves you wanting more, or perhaps less, of that mystery sauce? What if we told you that you could whip up a phenomenal batch of Sesame Chicken right in your own kitchen, one that rivals your favorite restaurant, and is healthier to boot? Preparing this classic at home offers unparalleled control over ingredients, freshness, and flavor, transforming a weeknight meal into a culinary triumph. Imagine sinking your teeth into tender, crispy chicken coated in a rich, sweet, and savory sauce – all made with love and expertise by you. Forget the greasy aftertaste and questionable ingredients; homemade is always the way to go.
Ingredients & Kitchen Tools
To embark on your journey to perfect Sesame Chicken, gather these essentials:
For the Chicken:
- 1 ½ lbs Boneless, Skinless Chicken Thighs or Breasts: Thighs offer more flavor and tenderness; breasts are leaner. Cut into 1-inch pieces.
- ½ cup Cornstarch: For a crispy coating.
- ¼ cup All-Purpose Flour: Adds to the crispiness and helps bind.
- 1 tsp Salt: Enhances chicken’s flavor.
- ½ tsp Black Pepper: A touch of spice.
- 2 Large Eggs: For dipping the chicken.
- 2-3 cups Vegetable Oil (or Peanut Oil): For frying. Peanut oil offers authentic Asian flavor.
For the Sauce:
- ½ cup Soy Sauce (low sodium preferred): The umami base.
- ½ cup Chicken Broth: Thins the sauce and adds depth.
- ¼ cup Rice Vinegar: Adds a tangy, bright note.
- ¼ cup Honey or Brown Sugar: For sweetness. Honey offers a richer flavor.
- 1 tbsp Sesame Oil: Essential for that distinctive sesame aroma.
- 1 tbsp Cornstarch: To thicken the sauce.
- 2 cloves Garlic, minced: Aromatic base.
- 1-inch Fresh Ginger, grated: Pungent and fragrant.
- Red Pepper Flakes (optional): For a touch of heat.
Garnish (Optional):
- Toasted Sesame Seeds: For classic presentation and nutty crunch.
- Green Onions, sliced: Adds freshness and color.
Kitchen Tools:
- Large Skillet or Wok: Ideal for frying and sauce preparation.
- Shallow Bowls (3): For dredging station (flour, eggs, cornstarch).
- Whisk: For combining sauce ingredients.
- Tongs: For handling chicken during frying.
- Wire Rack & Paper Towels: For draining excess oil.
- Measuring Cups and Spoons: For accurate ingredient proportions.
Prep Time & Cooking Schedule
- Prep Time: 20 minutes
- Cook Time: 25-30 minutes
- Marinating Time (Optional for extra flavor): 30 minutes (marinade chicken in 1 tbsp soy sauce and 1 tsp sesame oil before breading).
This dish comes together relatively quickly, making it a perfect weeknight option. The key is to have all your ingredients prepped and ready before you start cooking – a practice known as “mise en place” – ensuring a smooth and enjoyable cooking process. Frying the chicken in batches is crucial to maintain oil temperature and achieve maximum crispiness.
Step-by-Step Instructions
1. Prepare the Chicken: Pat chicken pieces dry with paper towels. In one shallow bowl, combine cornstarch, flour, salt, and pepper. In another, whisk the eggs. Dredge each chicken piece first in the flour mixture, then dip in egg, and finally coat evenly in the flour mixture again. This double-dredging technique ensures extra crispiness, just like your favorite Chinese Takeout.
2. Fry the Chicken: Heat 2-3 cups of oil in a large skillet or wok over medium-high heat to 350°F (175°C). Carefully add chicken pieces in batches, ensuring not to overcrowd the pan. Fry for 4-6 minutes, turning occasionally, until golden brown and cooked through. Remove with tongs and place on a wire rack lined with paper towels to drain excess oil.
3. Prepare the Sauce: While the chicken fries, whisk together soy sauce, chicken broth, rice vinegar, honey/brown sugar, sesame oil, and cornstarch in a medium bowl.
4. Sauté Aromatics: Discard all but 1 tablespoon of oil from the skillet. Add minced garlic and grated ginger. Sauté for 30 seconds until fragrant, being careful not to burn. If using, add red pepper flakes.
5. Simmer the Sauce: Pour the prepared sauce mixture into the skillet. Bring to a gentle simmer, stirring constantly, until the sauce thickens to your desired consistency (about 2-3 minutes). It should be thick enough to coat the back of a spoon.
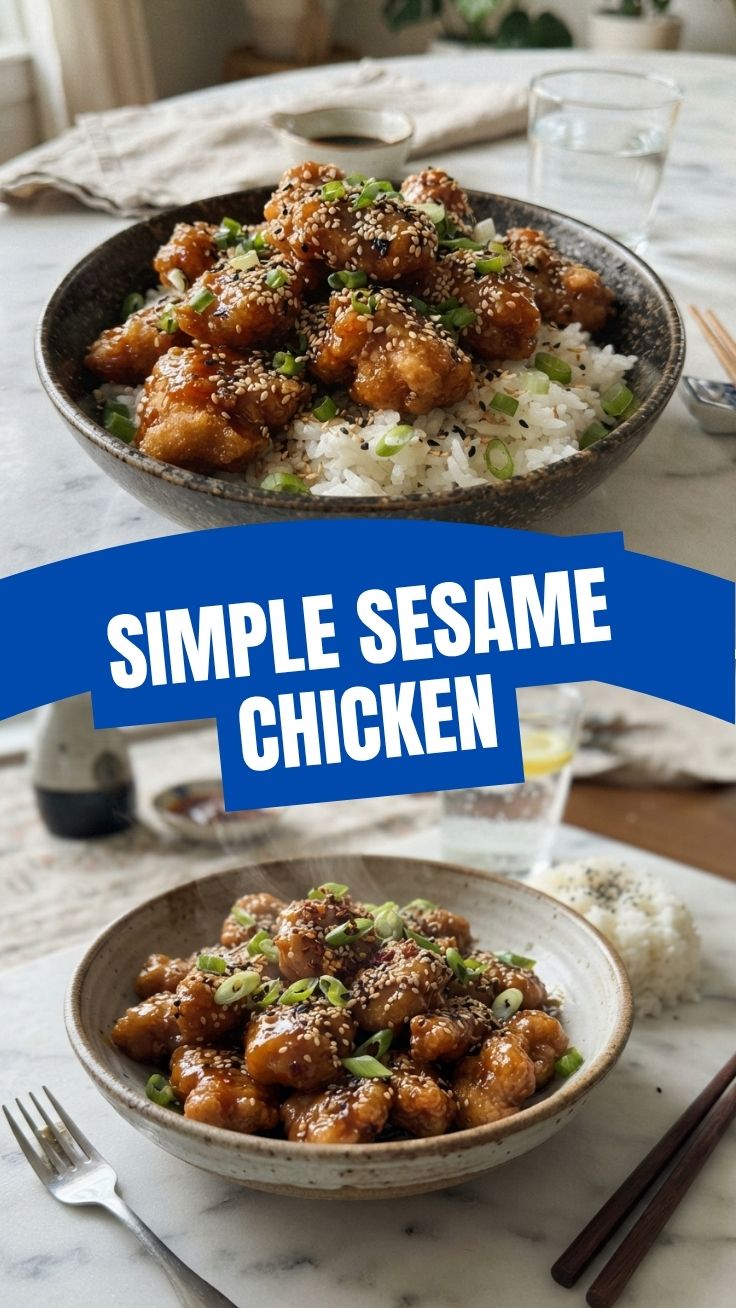
6. Combine & Serve: Add the fried Sesame Chicken pieces to the skillet with the sauce. Toss gently to coat every piece evenly. Serve immediately over steamed rice, garnished with toasted sesame seeds and sliced green onions.
Nutritional Benefits & Advantages
Homemade Sesame Chicken offers several advantages over its restaurant counterpart. By preparing it yourself, you control the amount of sugar and sodium, making it a healthier choice. Chicken is an excellent source of lean protein, essential for muscle repair and growth. The ginger and garlic contribute anti-inflammatory and immune-boosting properties. Choosing brown rice instead of white rice can add fiber and complex carbohydrates, providing sustained energy.
Tips, Variations & Cooking Advice
- Spicier Kick: Add extra red pepper flakes to the sauce, or a dash of sriracha.
- Vegetarian Option: Substitute chicken with pan-fried tofu or cauliflower florets.
- Gluten-Free: Use tamari instead of soy sauce, and gluten-free flour for dredging. Ensure all other ingredients are certified gluten-free.
- Air Fryer Method: For a lighter version, spray coated chicken pieces with oil and air fry at 400°F (200°C) for 15-20 minutes, flipping halfway, until crispy.
- Broccoli Boost: Steam some broccoli florets and toss them with the sauced chicken for a complete meal.
- Deep Frying vs. Pan Frying: Deep frying typically yields a crispier result due to even oil coverage, but pan-frying in sufficient oil works well too.
Common Mistakes to Avoid
- Overcrowding the Pan: Leads to steamed, not crispy, chicken. Fry in batches!
- Not Draining Excess Oil: Leaves your chicken greasy. Use a wire rack.
- Overcooking the Sauce: A cornstarch-thickened sauce can become gloopy if overcooked. Simmer until just thickened.
- Skipping the Pat Dry Step: Wet chicken won’t get crispy when fried. Pat it thoroughly.
- Using Cold Oil: Chicken will absorb too much oil. Ensure oil is at the correct temperature before adding chicken.
Storage & Meal Prep Tips
Store leftover Sesame Chicken in an airtight container in the refrigerator for up to 3-4 days. To reheat, warm gently in a skillet over medium heat or in a microwave. For best results and to retain some crispiness, a quick reheat in an air fryer or oven is recommended. The sauce can be made ahead and stored separately for up to a week. For meal prep, cook the chicken and sauce separately, then combine and reheat portions as needed throughout the week.
Conclusion
Mastering homemade Sesame Chicken is a rewarding culinary achievement that brings the vibrant flavors of Chinese Takeout directly to your table, with the added benefits of freshness and control. By following this comprehensive guide, you’re not just cooking a meal; you’re crafting an experience that’s both delicious and satisfying. So, roll up your sleeves, gather your ingredients, and prepare to impress yourself and your loved ones with this incredible dish. Don’t forget to share your creations and tag us – we love seeing your culinary triumphs!
FAQs
Q1: Can I make this dish spicier?
A1: Absolutely! Increase the red pepper flakes in the sauce, or add a dash of sriracha or chili garlic sauce along with the aromatics.
Q2: What’s the best way to ensure crispy chicken?
A2: Double dredging, frying in batches to avoid overcrowding, and ensuring the oil is at the correct temperature (350°F or 175°C) are key for maximum crispiness.
Q3: Can I use different cuts of chicken?
A3: Boneless, skinless chicken thighs or breasts are recommended. Thighs stay more tender, while breasts are leaner. You can also use tenders.
Q4: My sauce isn’t thickening. What went wrong?
A4: Ensure your cornstarch was thoroughly whisked into the cold liquids before heating. If it still isn’t thickening, you can make a slurry with 1 tsp cornstarch and 1 tbsp water, then slowly whisk it into the simmering sauce until it reaches the desired consistency.
Q5: How can I make this dish healthier?
A5: Opt for lean chicken breasts, reduce the amount of honey/sugar, use low-sodium soy sauce, and consider air frying the chicken instead of deep frying. Serve with plenty of steamed vegetables and brown rice.