Craving the Ultimate Comfort? Unlock the Secret to Perfect Chocolate Chip Cookies!
Who can resist the warm, chewy, and utterly delightful allure of a freshly baked chocolate chip cookie? More than just a sweet treat, they’re a symbol of home, comfort, and simple joys. While countless recipes exist, mastering the art of creating truly exceptional Chocolate Chip Cookies from scratch often feels like an elusive quest. But what if I told you the secret lies in a carefully crafted, easy-to-follow guide, rich with expert tips and designed for baking success? Preparing these iconic cookies at home isn’t just about saving a trip to the bakery; it’s about infusing love and personalized flavor into every bite, creating memories, and effortlessly experimenting with other delightful baking recipes along the way. Get ready to transform your kitchen into a haven of irresistible aromas and become a baking maestro!
Ingredients & Kitchen Tools
- All-Purpose Flour (2 ¼ cups): The foundational structure. Don’t pack it; spoon it into your measuring cup and level.
- Baking Soda (1 teaspoon): The leavening agent that helps cookies spread and achieve a chewy texture.
- Salt (1 teaspoon): Enhances flavor and balances sweetness. A crucial but often overlooked ingredient.
- Unsalted Butter (1 cup, 2 sticks, softened): Provides richness and tenderness. Softened means it should yield to gentle pressure, not be melted.
- Granulated Sugar (¾ cup): Contributes to crispiness and sweetness.
- Packed Light Brown Sugar (¾ cup): Adds moisture, chewiness, and a delightful caramel note.
- Large Eggs (2, room temperature): Binds ingredients and adds moisture. Room temperature eggs emulsify better with butter and sugar.
- Vanilla Extract (2 teaspoons): Essential for that classic cookie aroma and flavor. Use pure vanilla for best results.
- Semi-Sweet Chocolate Chips (1 ½ cups): The star of the show! Feel free to mix in milk chocolate, dark chocolate, or even chunks.
Kitchen Tools:
- Large Mixing Bowls (2): For dry and wet ingredients.
- Electric Mixer (stand or hand-held): For creaming butter and sugars efficiently.
- Measuring Cups & Spoons: For accurate ingredient measurement.
- Rubber Spatula: For scraping bowls and folding ingredients.
- Baking Sheets (2): Lined with parchment paper or silicone mats for non-stick baking.
- Cookie Scoop (1.5-2 tablespoons): Ensures uniformly sized cookies for even baking.
- Wire Cooling Rack: Allows cookies to cool evenly and prevents sogginess.
Prep Time & Cooking Schedule
- Prep Time: 15-20 minutes
- Chill Time: 30 minutes (minimum, but preferably 2-24 hours for enhanced flavor and texture)
- Bake Time: 9-11 minutes per batch
- Cooling Time: 5 minutes on the baking sheet, then 10-15 minutes on a wire rack
The chilling step is paramount for superior cookies. It allows the flavors to meld, the butter to re-solidify (preventing excessive spreading), and the flour to fully hydrate, leading to a chewier, more flavorful cookie. Don’t skip it if you want that perfect bakery-style result!
Step-by-Step Instructions
1. Whisk Dry Ingredients: In a medium bowl, whisk together the flour, baking soda, and salt. Set aside. This ensures even distribution of leavening and seasoning.
2. Cream Butter & Sugars: In a large bowl, using an electric mixer, beat the softened butter, granulated sugar, and brown sugar on medium speed until light and fluffy, about 2-3 minutes. This process incorporates air, contributing to a tender crumb.
3. Add Eggs & Vanilla: Beat in the eggs one at a time, ensuring each is fully incorporated before adding the next. Stir in the vanilla extract until just combined. Overmixing at this stage can lead to tough cookies.
4. Combine Wet & Dry: Gradually add the dry ingredient mixture to the wet ingredients, mixing on low speed until just combined. Be careful not to overmix the dough once flour is added, as this can develop the gluten too much.
5. Fold in Chocolate Chips: Gently fold in the semi-sweet chocolate chips with a rubber spatula until evenly distributed throughout the dough.
6. Chill the Dough: Cover the bowl with plastic wrap and refrigerate for at least 30 minutes. For truly outstanding Chocolate Chip Cookies, chill for 2-24 hours. This deepens flavor and improves texture significantly, making it one of the most important considerations for delicious baking recipes.
7. Preheat Oven & Scoop: When ready to bake, preheat your oven to 375°F (190°C). Line baking sheets with parchment paper. Scoop rounded tablespoons of dough onto the prepared baking sheets, leaving about 2 inches between cookies.
8. Bake: Bake for 9-11 minutes, or until the edges are golden brown and the centers are still slightly soft. They will firm up as they cool.
9. Cool: Let cookies cool on the baking sheet for 5 minutes before transferring them to a wire rack to cool completely.
Nutritional Benefits & Advantages
While a treat, homemade Chocolate Chip Cookies offer some advantages over their store-bought counterparts. You control the quality of ingredients, opting for organic butter, real vanilla, and high-quality chocolate. Dark chocolate, in particular, contains antioxidants. Baking at home also allows you to manage sugar levels more effectively, and the satisfaction derived from eating something you’ve created can be a genuine mood booster!
Tips, Variations & Cooking Advice
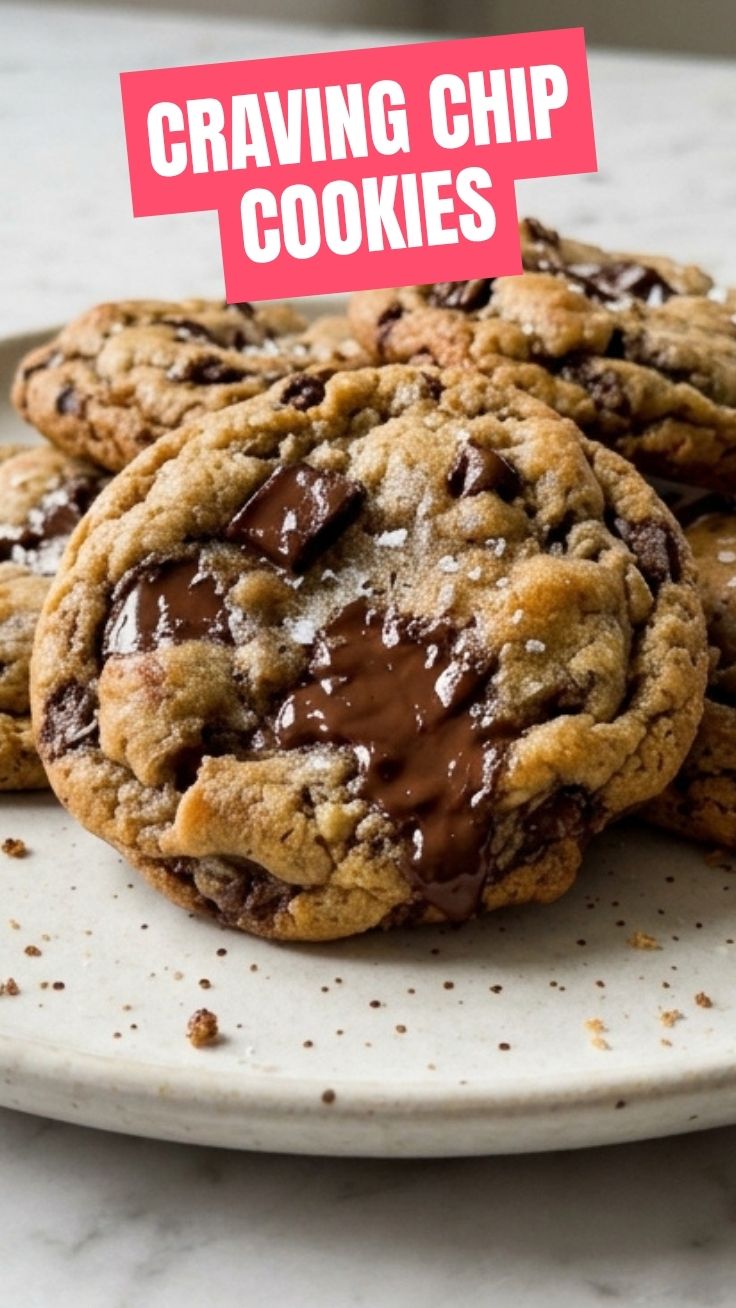
- Sea Salt Flakes: Sprinkle a touch of flaky sea salt on top of the cookies right after they come out of the oven for a gourmet touch that enhances the chocolate flavor.
- Cookie Size Matters: For larger, chewier cookies, use a larger scoop and add a minute or two to the baking time.
- Flavor Boosts: Try adding a pinch of espresso powder to the dough to enhance the chocolate flavor without making it taste like coffee.
- Ingredient Swaps: Substitute M&Ms, white chocolate chips, nuts, or dried cranberries for some of the chocolate chips.
- Gluten-Free: Use a 1:1 gluten-free baking blend that includes xanthan gum.
- Dairy-Free: Use vegan butter sticks and ensure your chocolate chips are dairy-free.
Common Mistakes to Avoid
- Overmixing the Dough: This develops gluten too much, leading to tough, cakey cookies. Mix only until ingredients are just combined.
- Not Chilling the Dough: Skipping the chill time results in flatter, greasier cookies that spread too much.
- Overbaking: Cookies will be dry and hard. Look for golden edges and a slightly underbaked center.
- Baking on a Hot Sheet: Always use a cool or room-temperature baking sheet to ensure even heat distribution and prevent the cookies from spreading too quickly.
Storage & Meal Prep Tips
Store cooled Chocolate Chip Cookies in an airtight container at room temperature for up to 3-5 days. To keep them soft, you can place half a slice of bread in the container with them; the cookies will absorb moisture from the bread.
Freezing Dough: Scoop raw cookie dough onto a parchment-lined baking sheet and freeze until solid (1-2 hours). Transfer the frozen dough balls to a freezer-safe bag or container for up to 3 months. Bake from frozen, adding an extra 2-4 minutes to the baking time, for a fresh-baked treat anytime!
Conclusion
There you have it – the definitive guide to crafting the most irresistible Chocolate Chip Cookies. By following these steps and embracing the subtle nuances of each ingredient, you’re not just baking; you’re creating a moment, a memory, and a truly delightful treat. Remember, patience with the chilling process is key to achieving that perfect texture and depth of flavor. We encourage you to try this recipe, experiment with the variations, and discover the sheer joy of mastering one of the most beloved baking recipes. Share your baking triumphs with us – we love seeing your creations!
FAQs
1. Can I use melted butter if I forgot to soften it?
It’s not recommended. Melted butter will change the cookie’s texture, leading to a flatter, greasier cookie. Softened butter creams properly with sugar to incorporate air.
2. Why are my cookies spreading too much?
This often happens if your butter was too warm/melted, the dough wasn’t chilled, or your oven temperature is too low. Ensure exact measurements and chill the dough thoroughly.
3. How do I get chewier cookies?
Using more brown sugar than granulated, chilling the dough longer, and slightly underbaking them (leaving the center just a little soft) will yield chewier results.
4. Can I halve or double the recipe?
Yes, this recipe can be easily halved or doubled. Just ensure all ingredient ratios remain consistent.
5. My cookies are hard after cooling; what went wrong?
Most likely, they were overbaked. Next time, pull them out when the edges are golden, and the centers still look slightly doughy. They will continue to cook as they cool on the hot baking sheet.